

Yesterday I shared with you my playroom makeover. Today I wanted to give you a more detailed instruction on how I redid the art table in my daughters’ playroom. This table was mine when I was a little girl and I spent hours making things and sitting at it. It warms my heart to know that my little girls are going to get a lot of use and have lots of memories with this little table as well. Although the table was adorable as is I wanted to give it a little makeover. Here is how the table looked before it’s first makeover:

A couple of years ago I redid it by painting it with a chalkboard top and a coral body. It was the dead of winter so I spent quite a while painting it because of all the nooks and crannies. I started with some primer and then did 2-3 coats of the coral. It was such a bold color that it needed multiple coats for complete coverage.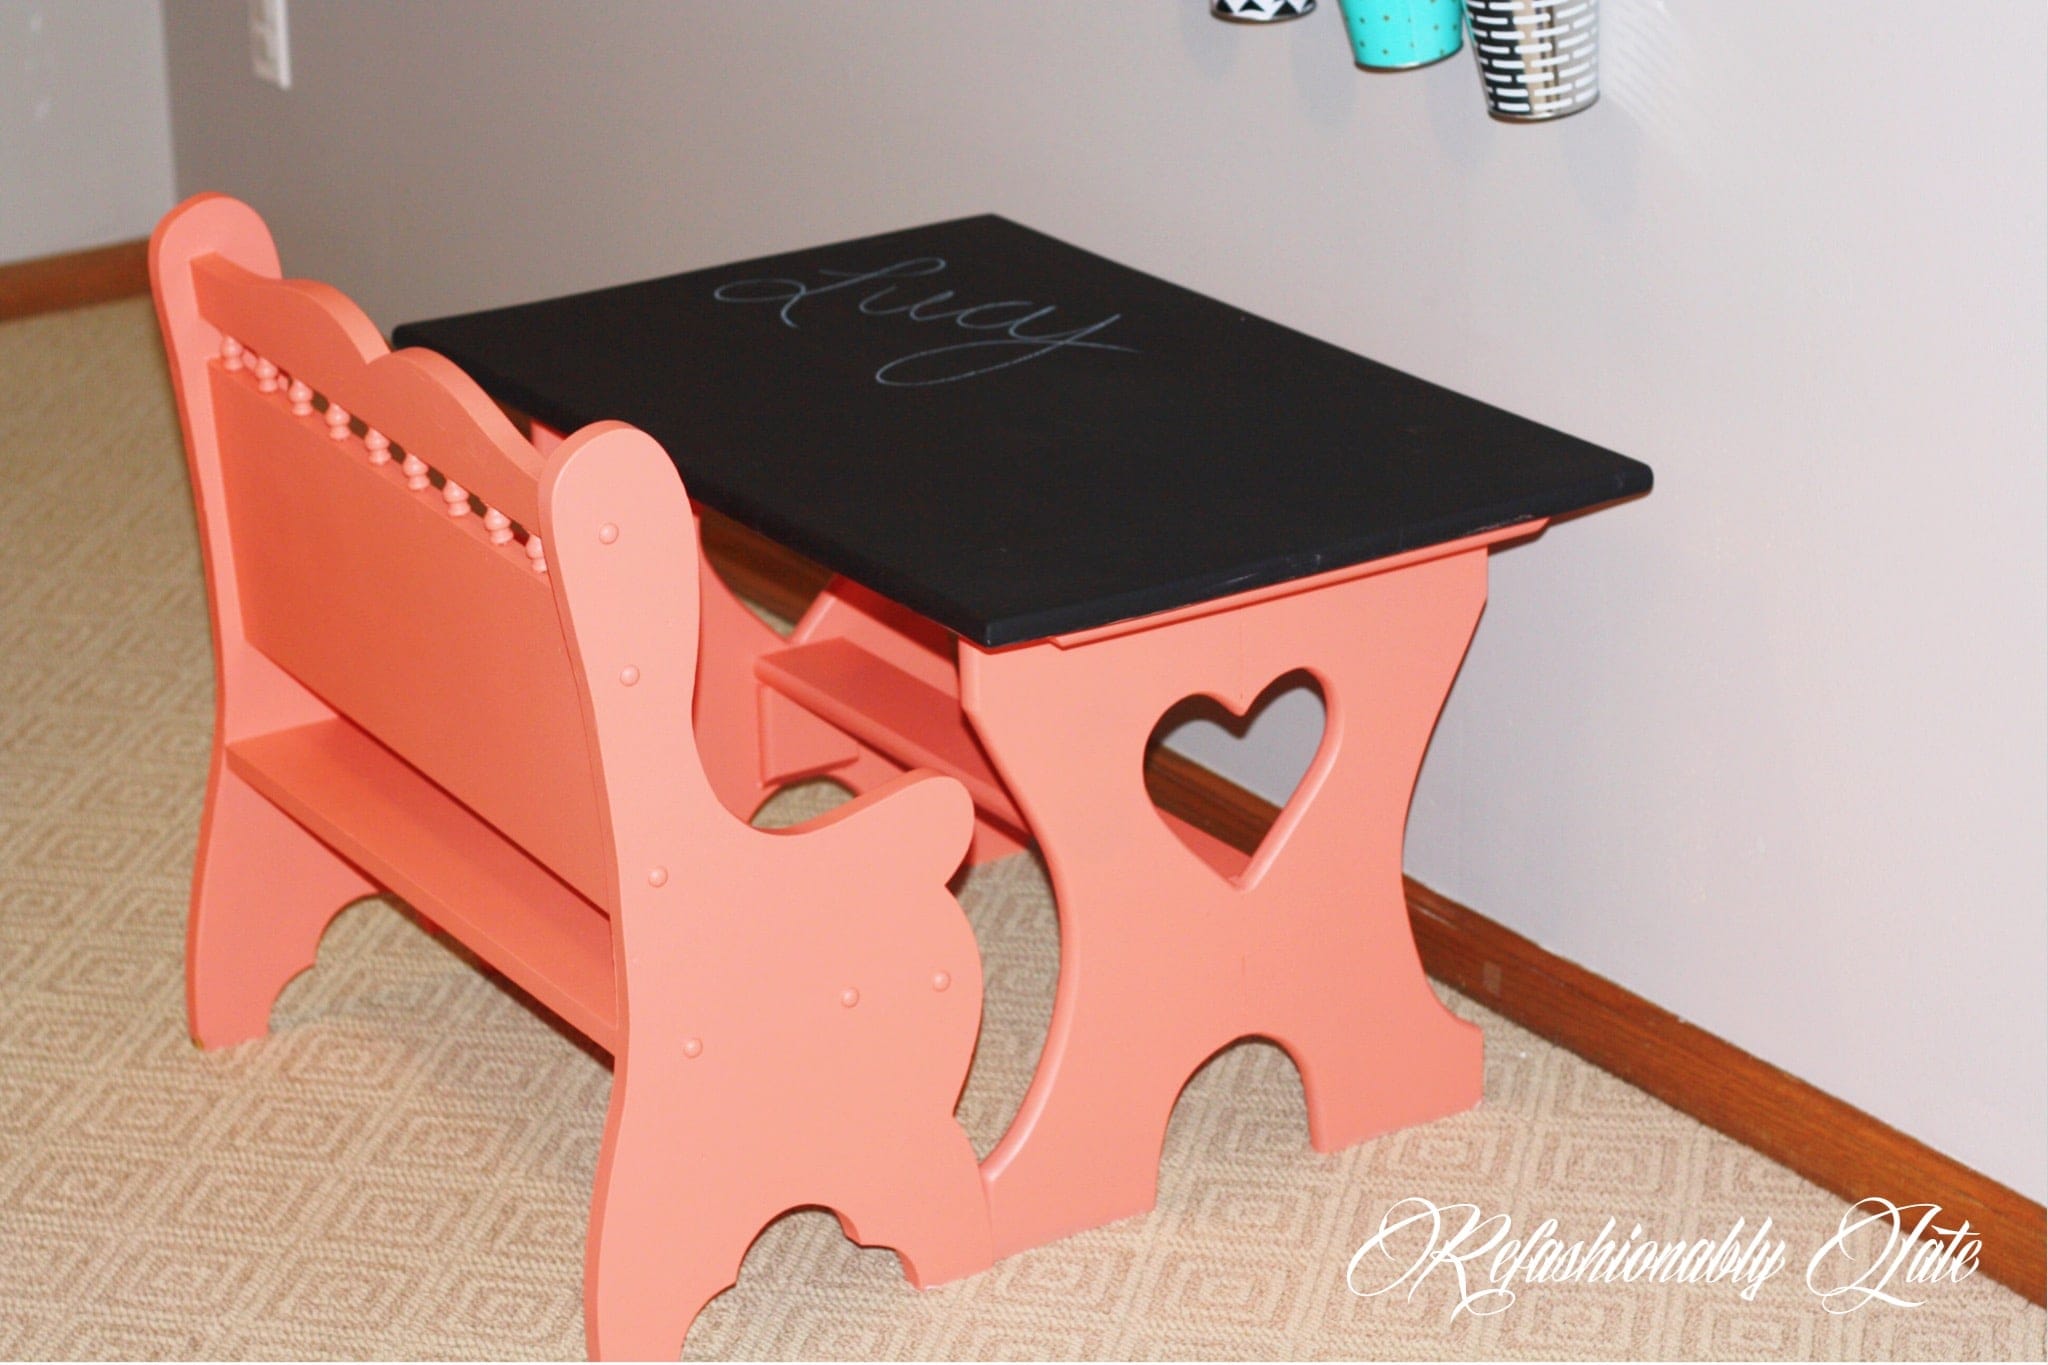
I really loved the coral but as I slowly added in some pink accents I was feeling it wasn’t working anymore. My daughter and her friends decided one day to draw all over it as well. That made my final decision to give it yet another makeover.
I started off by taking everything outside to paint. I have been obsessed with my Finish Max Sprayer for quite some time so I was really excited to give the Super Finish Max Extra a try! My favorite feature so far of this sprayer is that you don’t have to thin out the paint! That is huge and such a time saver! 
I did a Facebook live demonstration of how quick and easy it is to use the Super Finish Max Extra and you can check it out here:
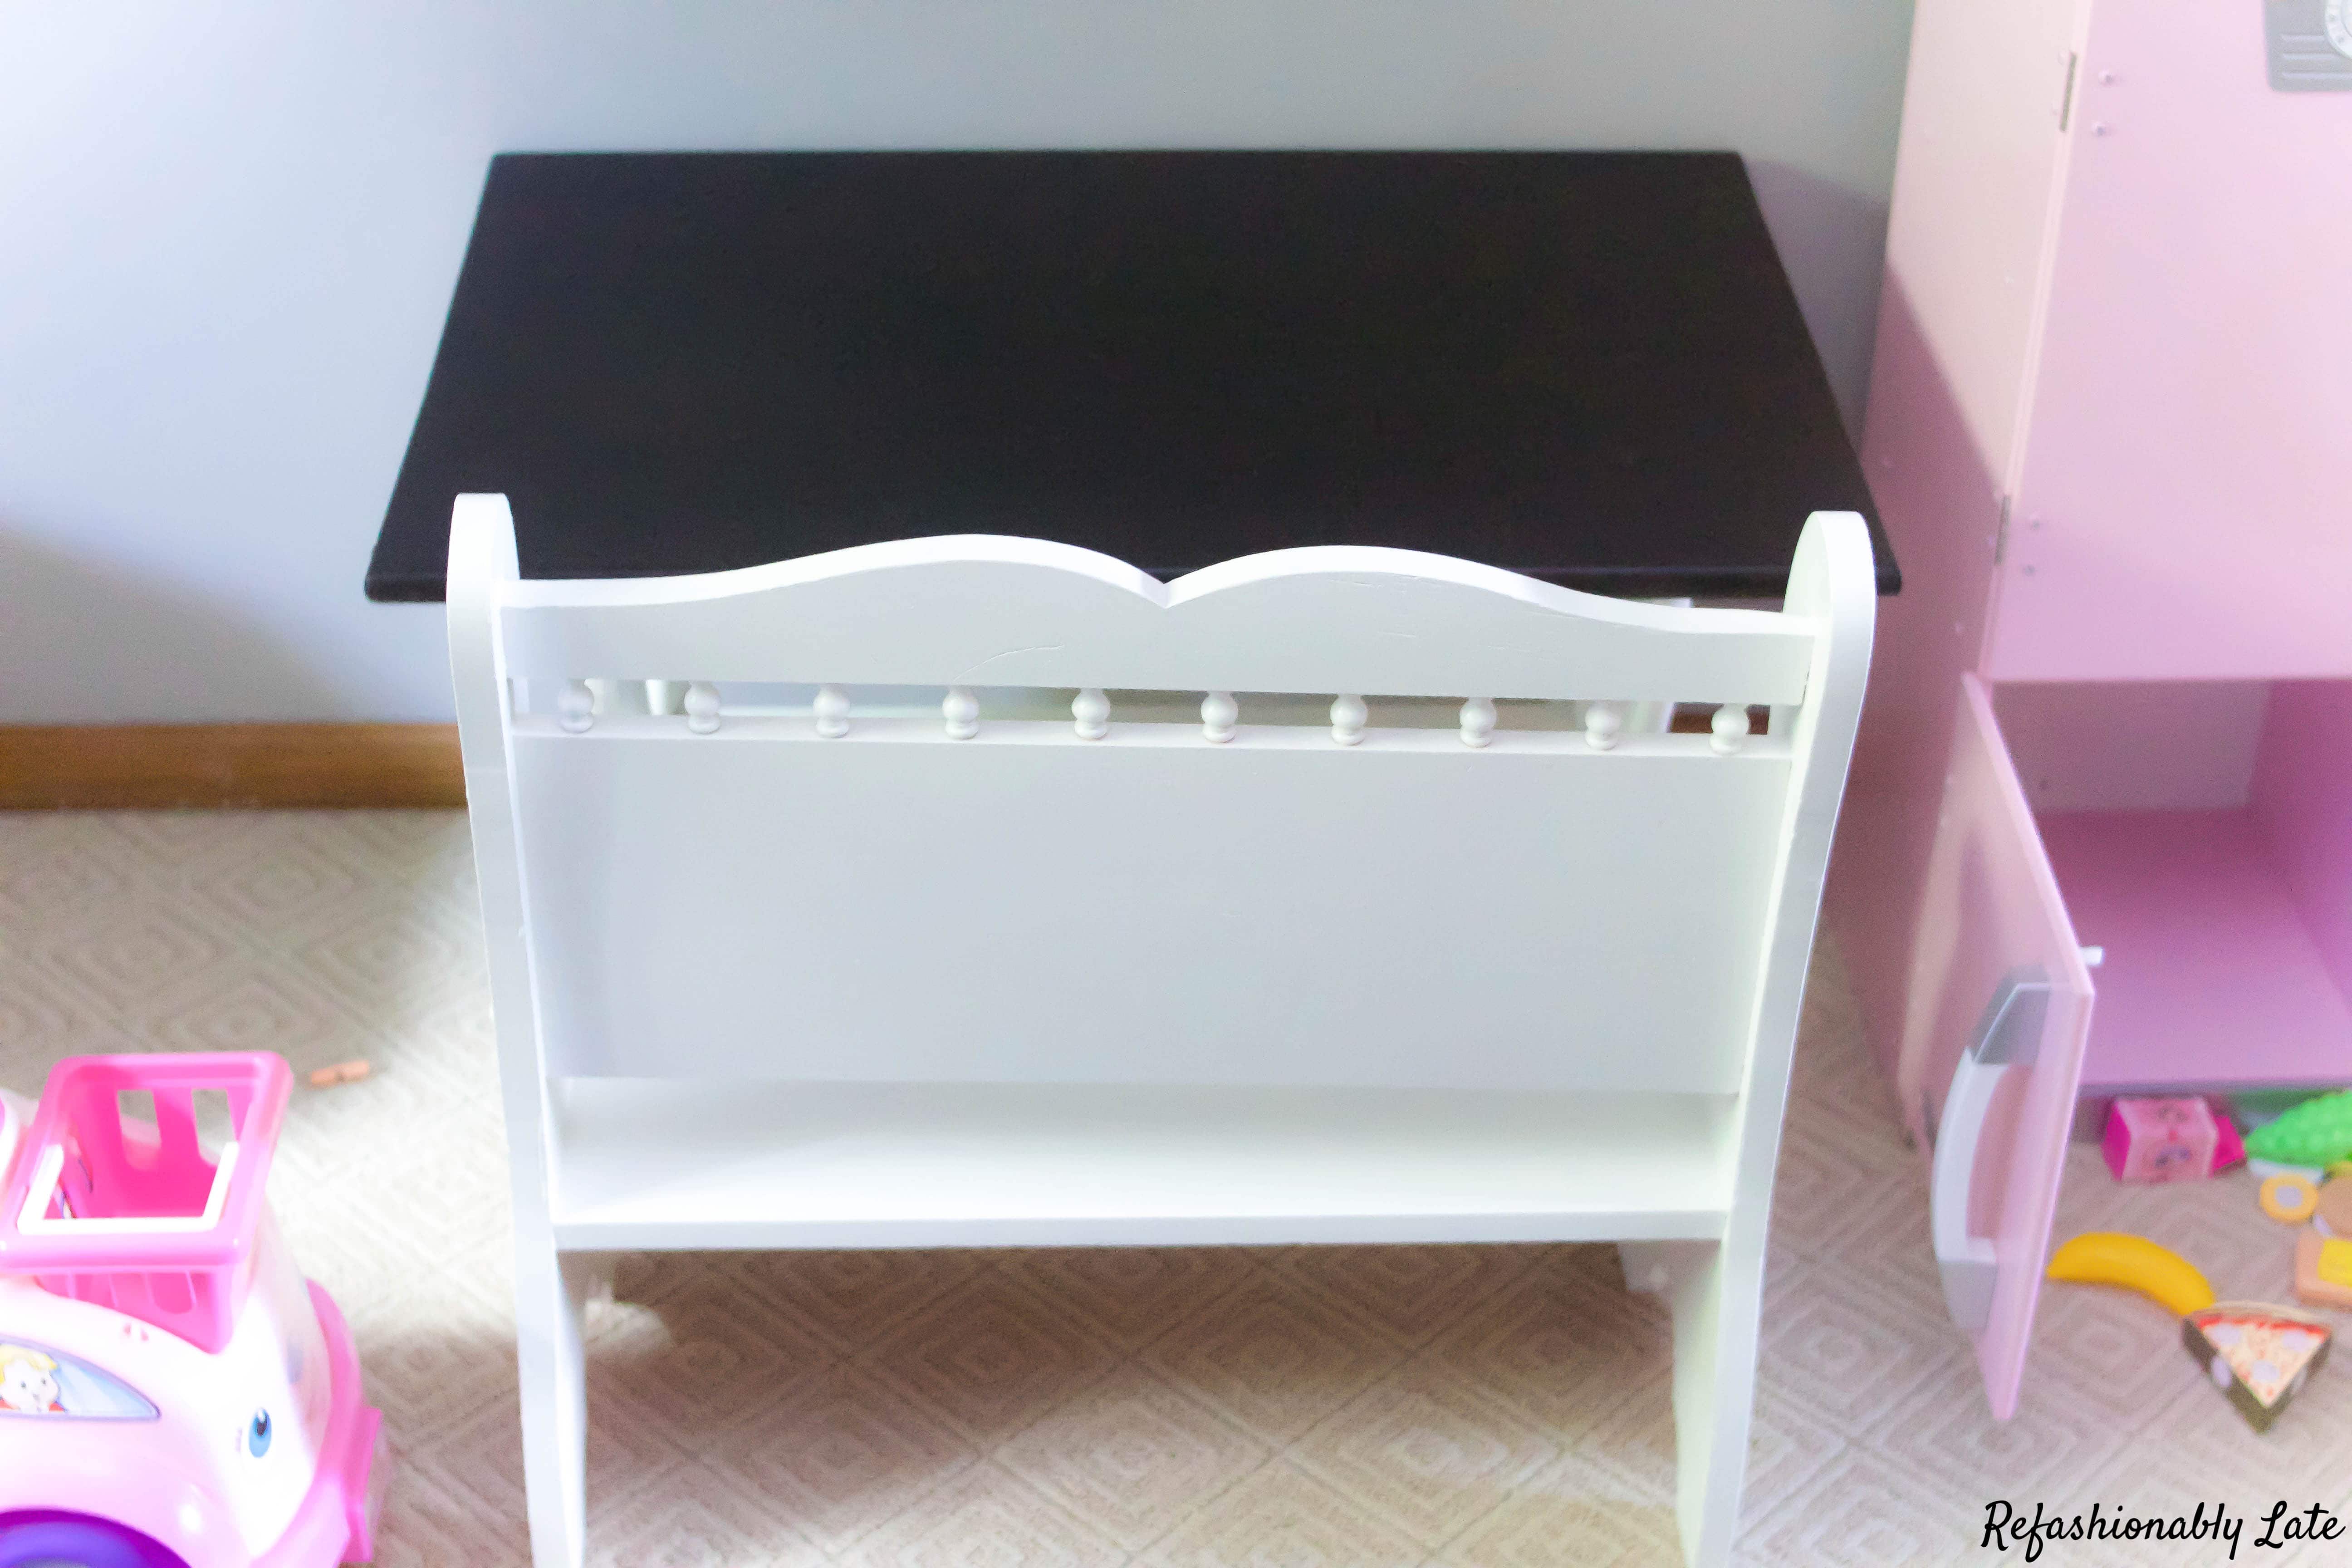
I did two coats of paint to get complete coverage over the coral and let it dry overnight! I then touched up the chalkboard paint on top of the table as it had gotten worn over the past couple of years.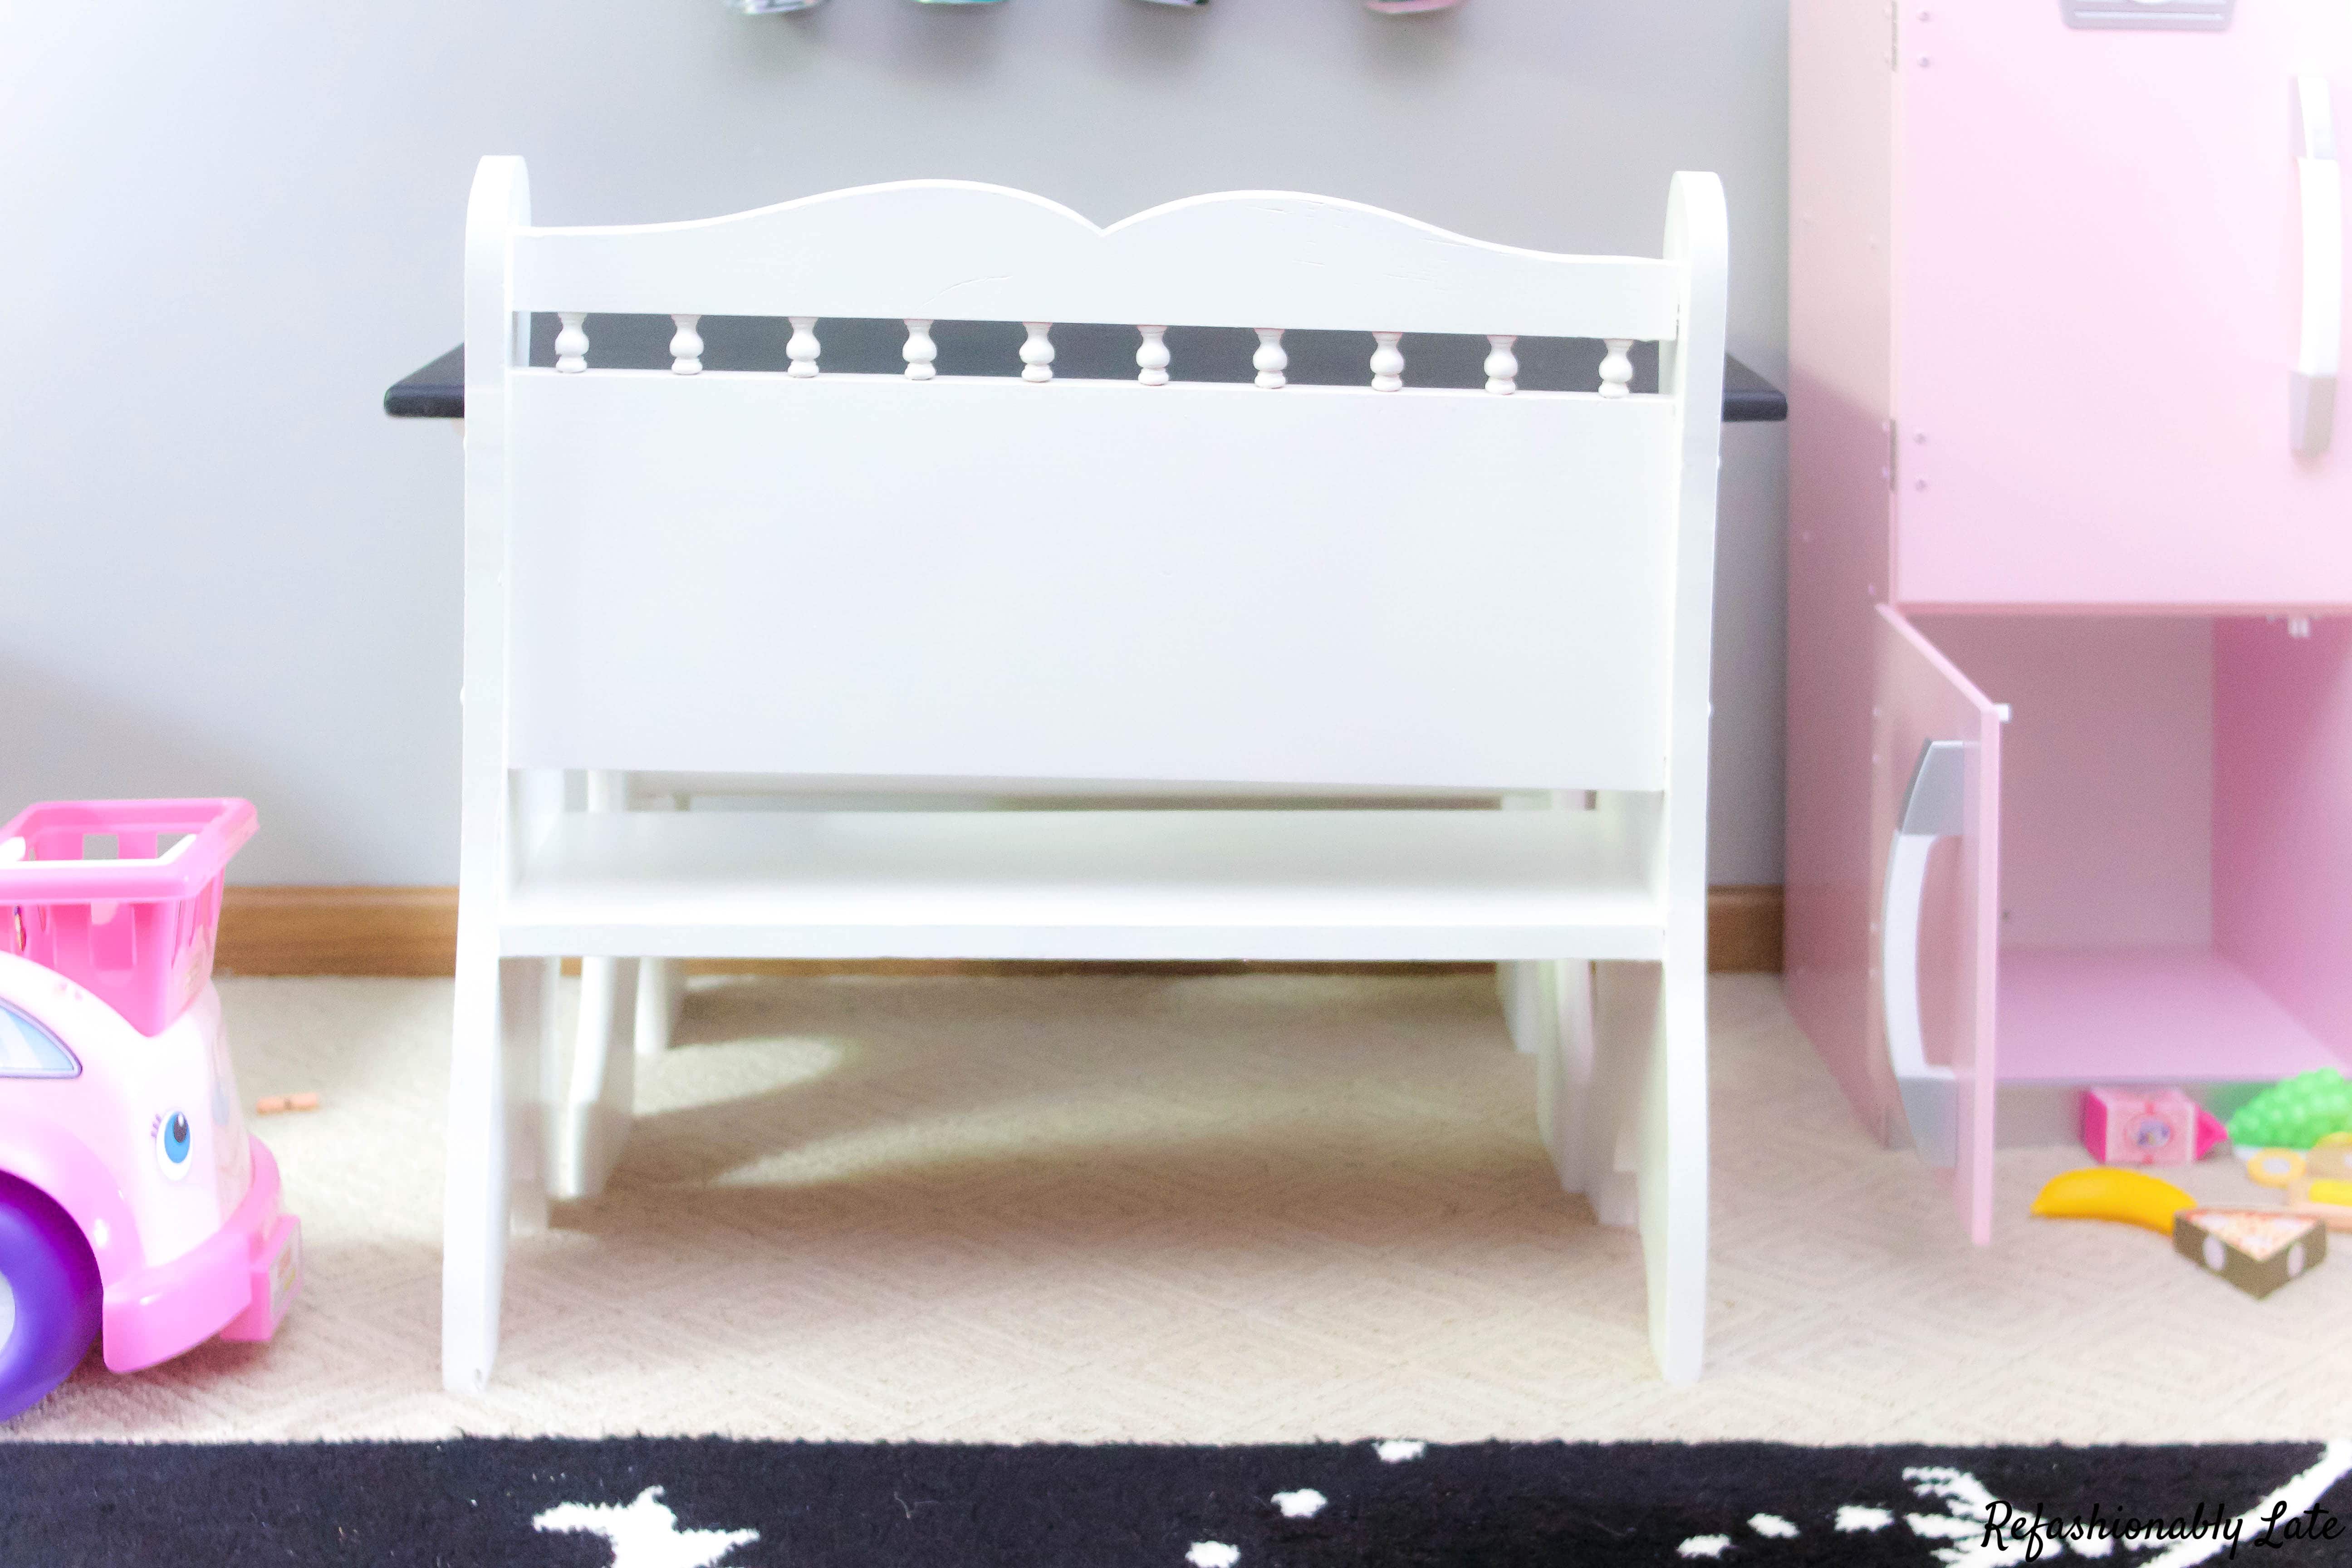
The table was now ready to be decorated. I have done a lot of stenciling in the past but I thought I would be fun to use my Cricut Explore Air 2 for this project. I love the scalloped pattern so I found an adorable pattern on the Cricut Design Space. I set it up to cut and because of how big the table is I needed to use the larger cutting mat.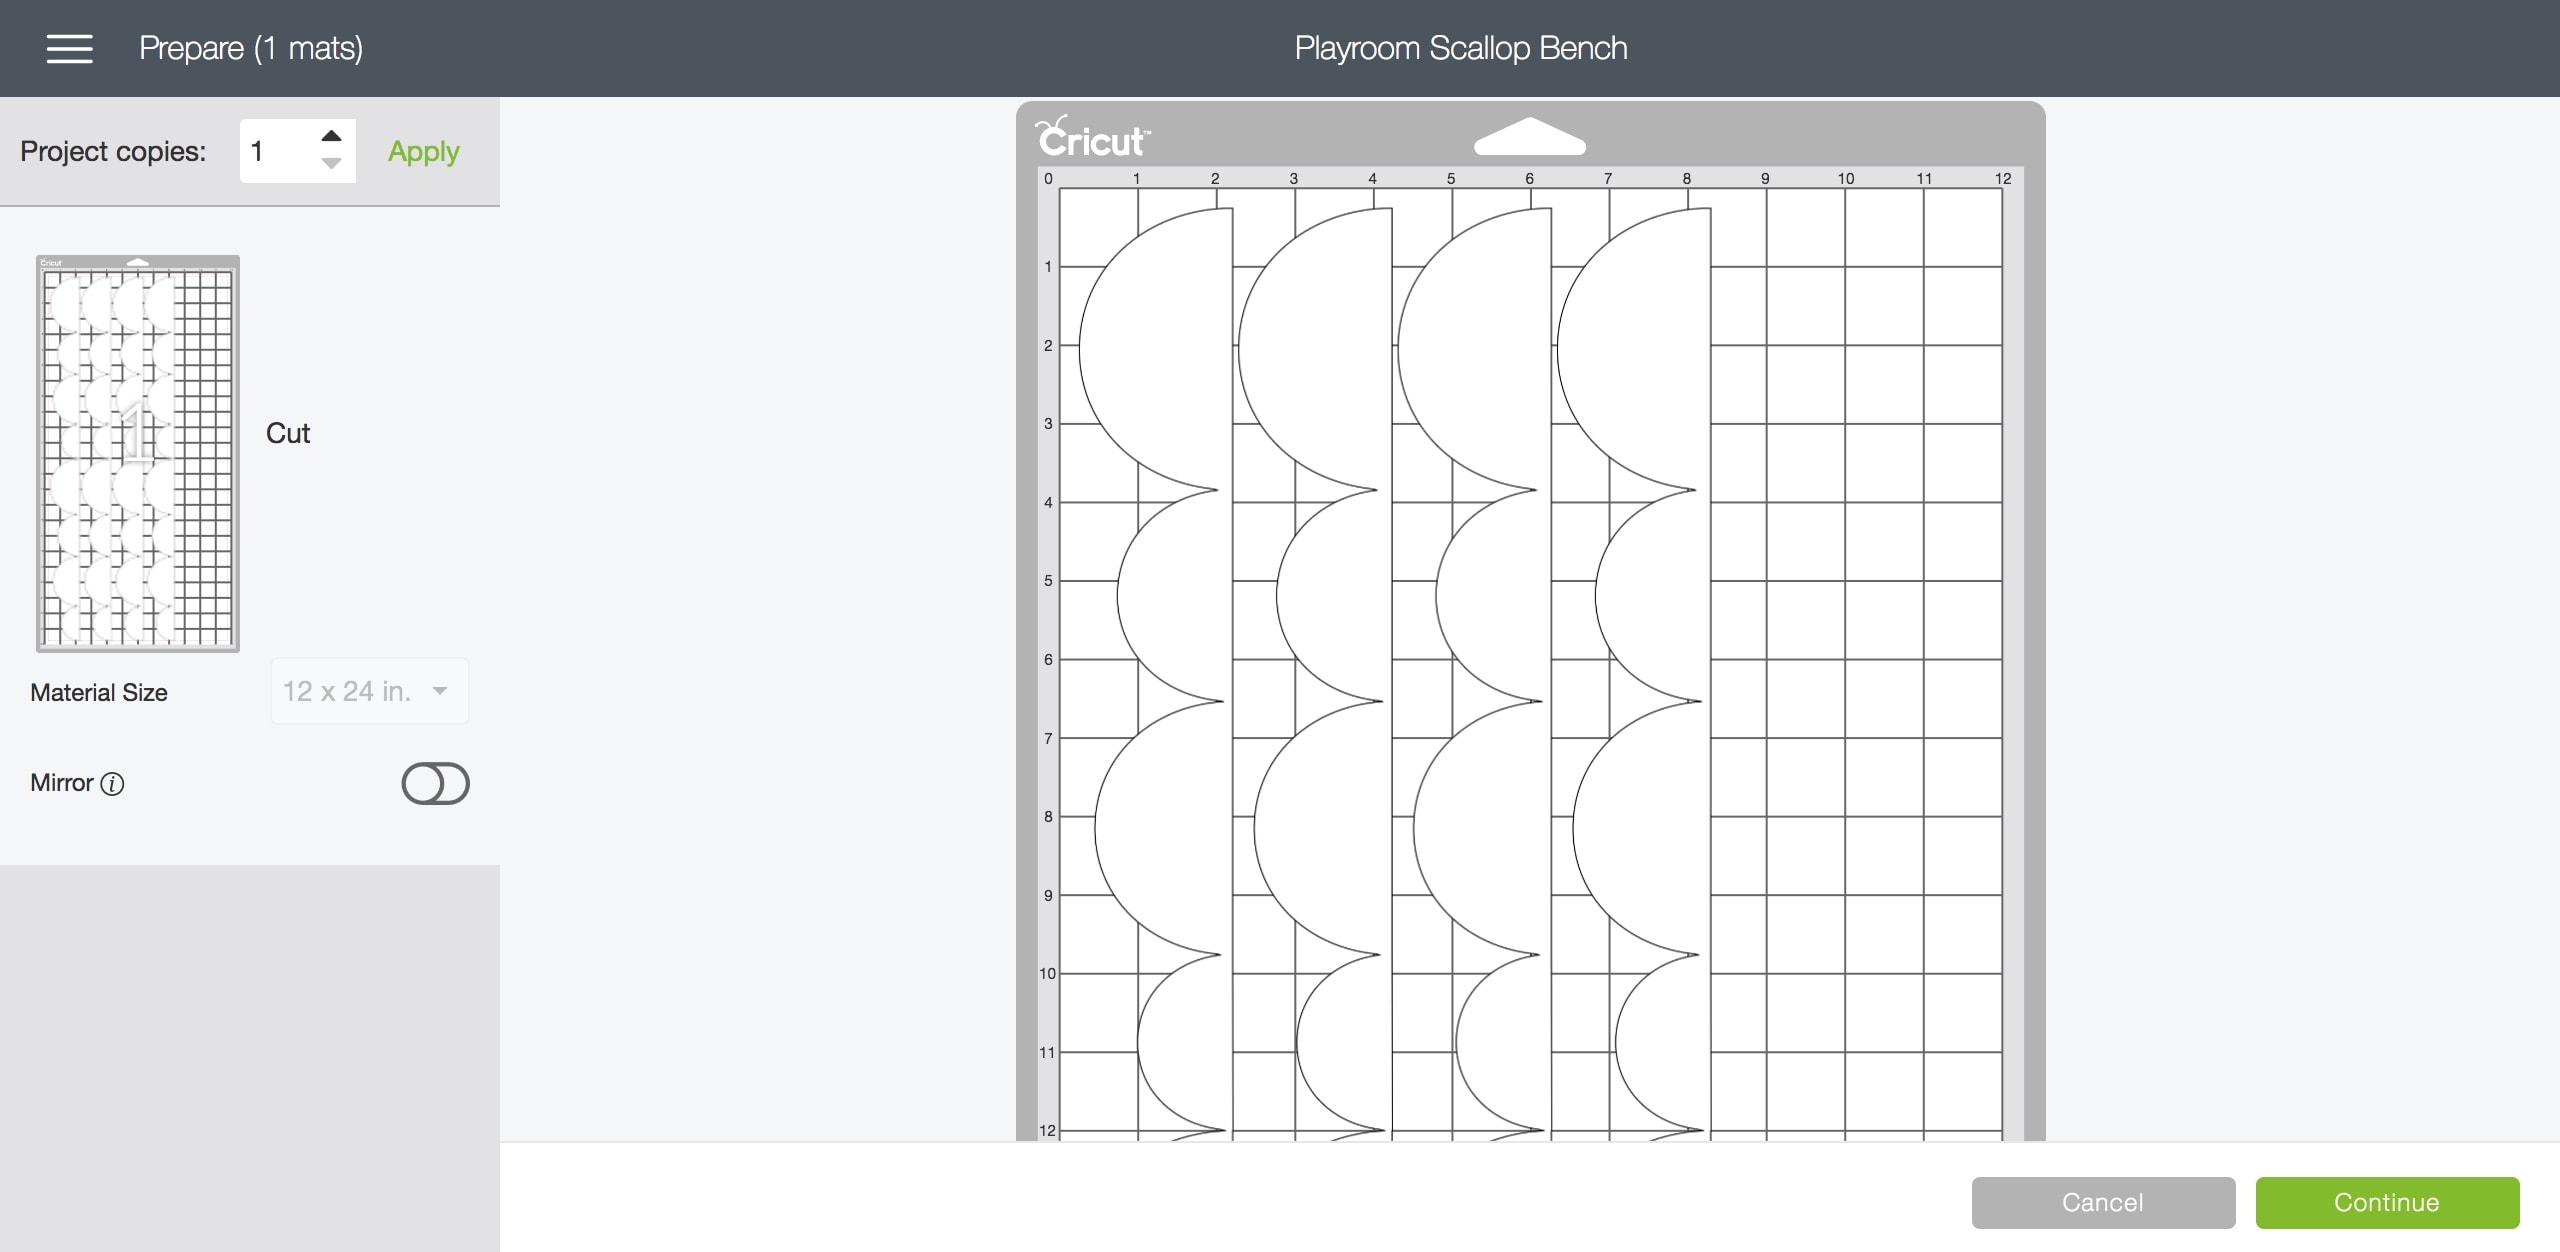
I was able to cover the back of the chair with one mat of the cut scallop pattern. Once the decal was ready to adhere to my table I lined it up and stuck it onto the chair. I then used a box cutter to cut the excess vinyl off the edge so that it lined up perfectly on the back of the chair. I then added one more row to the back and the table was finished! I love the black and white combo and LOVE how the table turned out! It’s a perfect little table for my girls to create some art!

Join me tomorrow because myself and The Creative Circle ladies are sharing how they used their Finish Max Sprayers for a special project. The Creative Circle and HomeRight will be giving away a Large Spray Shelter and a Finish Max Sprayer!!

We look forward to linking up with you tomorrow and sharing all of our projects! I hope you have an amazing Wednesday!


Nicely done Ruthie. The play area looks great!
Thanks Donna! The girls love it!