
 My husband works for a home builder and about once a year they sell things from their model homes. Their employees get to bid on the items in a silent auction. I was super excited to go as my husband has only been with the company for a year, so it was our first time. We came home with a beautiful console table and a tan chair…and we got them both for $75 total! What a steal!
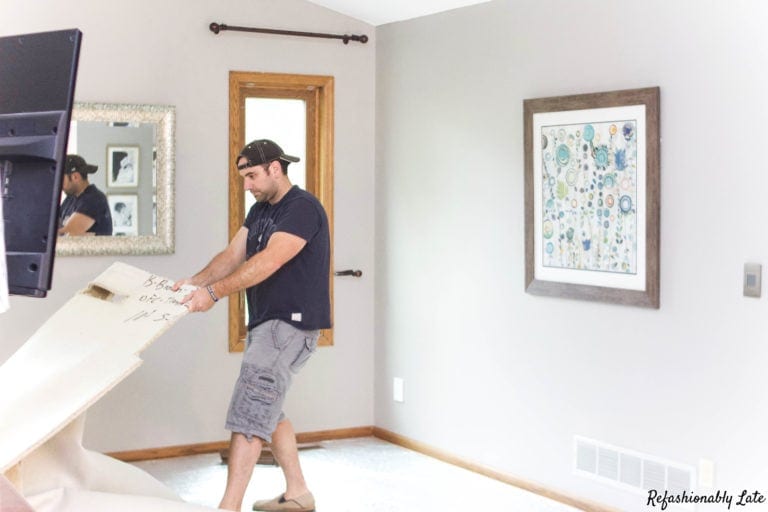
We decided to move our entertainment center down to the basement and use this for our TV in the living room. I wanted to hide the mess of cords by adding some decoration to the bottom of the console table. While thinking about this I really needed to consider little hands grabbing at it and pulling it apart! 🙂
I was shopping at Home Goods one day every day and came across this really adorable basket. I loved how it was painted at the bottom in silver! I was so excited to bring it home and try it under my table.

Unfortunately it didn’t fit so I headed back to Home Goods to return it and find a smaller basket. I don’t know how but I found two baskets on sale and I didn’t see anything wrong with them. I knew this was meant to be so I snatched them up. I bought the previous basket for $24.99 and these baskets were $7 and $8. I also wanted a cute mirrored tray for my bathroom to put my face products on and I found one for $10! So I totally scored all three of these items for the price of the first basket!

I decided that it didn’t look that hard to create the original basket so I decided to do my own painted basket project! I got to work and spray painted the smaller basket. It as very simple to do and didn’t take much time at all! First I taped around the basket where I wanted the paint to end. I also put a trash bag over top of the basket so that it wouldn’t get any paint anywhere else on it.

After that I went down into my basement to prime it. It’s a little too cold here in Minnesota to be painting out in the garage so I spray paint items inside a large box in my laundry room/storage area. I let it dry for about an hour and then I put on the first coat of silver. I already had a can of silver spray paint from painting hardware on my front door so I decided to use that.

I applied a second coat of silver and I also applied a coat of Polyurethane Spray paint. This may be my new favorite thing because I don’t love painting with Polyurethane. I picked up a can of this at JoAnn Fabrics.
I was so excited for it to dry to see the end result. I was a little nervous that the line wouldn’t be straight enough because the basket is “bumpy.” I took the tape off after a couple hours of drying time and I loved how it turned out! It’s such a simple and fun update to the basket. It really adds character to my space!


So question….if you could buy a basket that was already spray painted or you could get a basket for 1/3 of the price and spray paint it yourself, what would you do? Seems like a no brainer to me but I do love this kind of thing! 🙂 Now I’m trying to decide if I want to do something with the square basket or not? What do you think?


Love this idea! I have so many baskets at home that I don’t know what to do with. I would’ve never thought of giving them a makeover. Adding to my project list 🙂
Thanks, Angelica! I love the update it gives a plain basket! Super fun and really adds to your space! Please share with me your results!
What a great idea to do it yourself! It’s the simple things, right? I’m glad you posted it because I have just the perfect basket that I’ve been wanting to spruce up.
theruthlesscrafter.com
I love it! Thanks, Elizabeth! Please share after you spruce it up!
Thanks, Ashley!