
Make your own DIY personalized clipboard for your favorite teacher or educator. A great gift for any holiday or just because.
Welcome to Refashionably Late. If you are new here, please join 23,954 subscribers and followers for weekly DIY projects & ideas! I’d love to get to know you and answer any questions you may have. You can also follow along on Pinterest, Instagram, & Facebook.
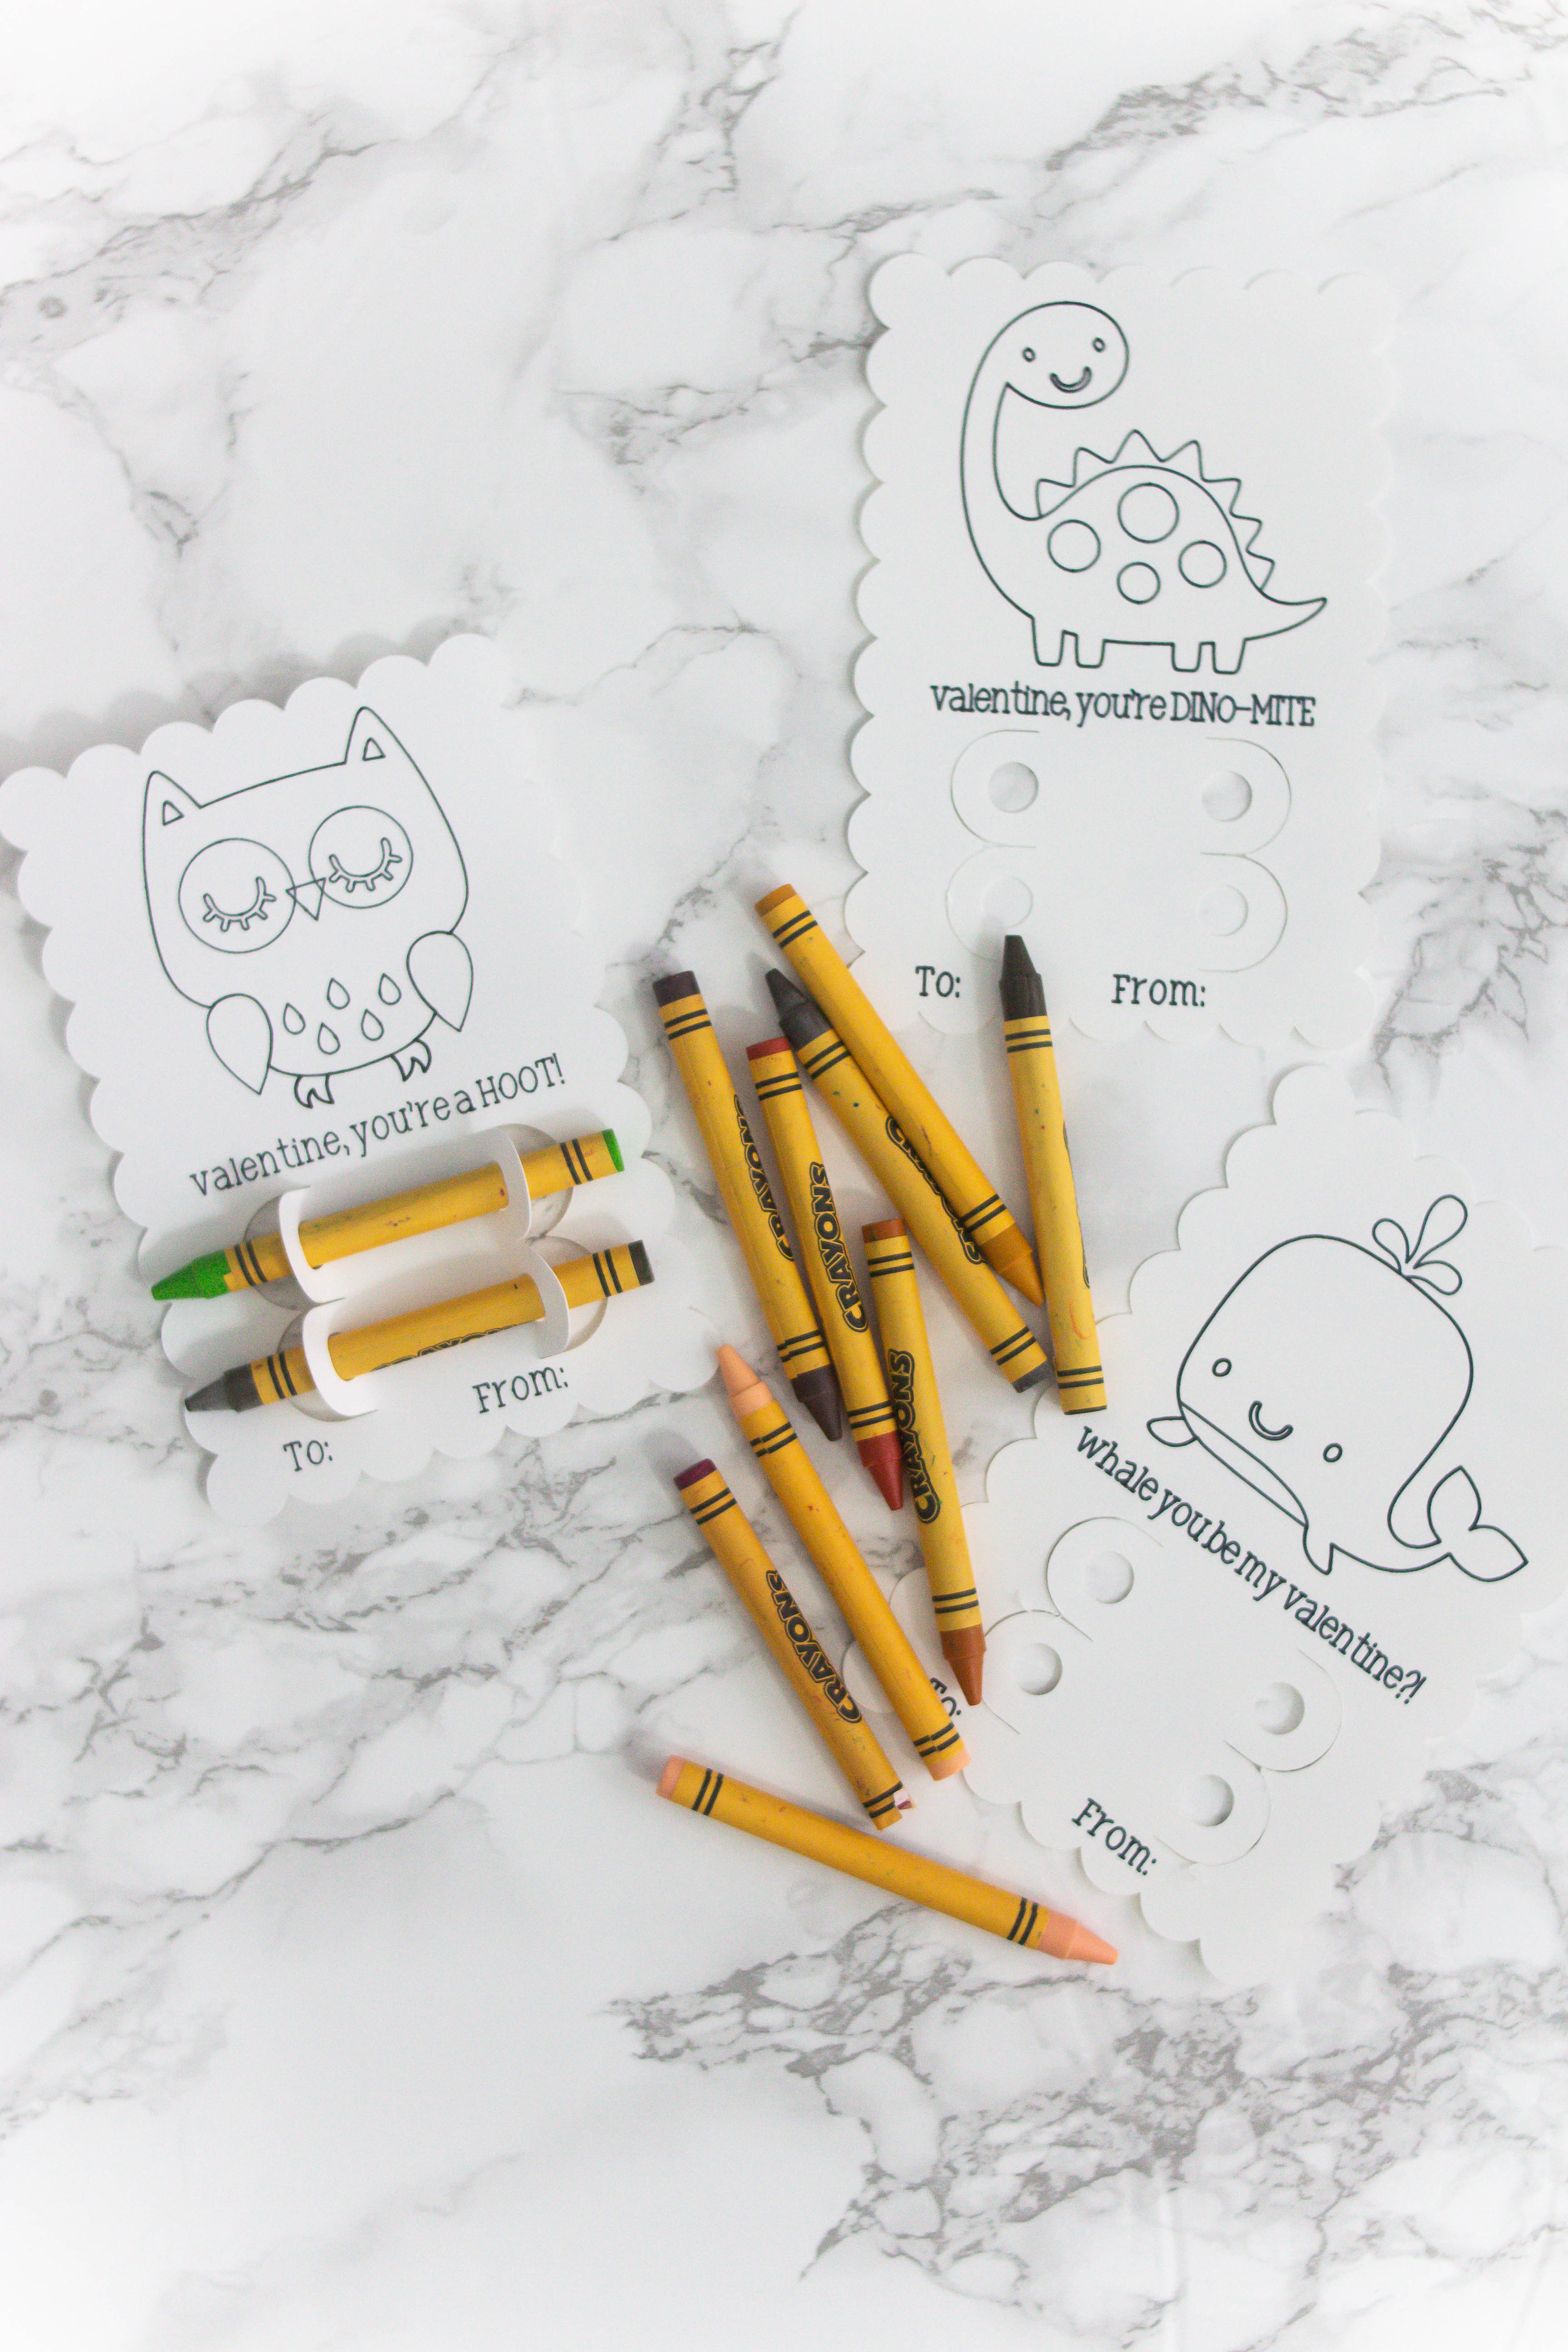
DIY No Candy Valentines
My daughter started Kindergarten this year so it’s her first year making Valentine’s for her classmates. She is so excited to give Valentine’s to her friends from school. We are making the Valentine Coloring Card from Cricut Design Space.
Lucy’s Kindergarten teacher is really wonderful. Lucy had a hard time with the adjustment to Kindergarten and her teacher really helped ease her worries.
I wanted to make a small and affordable present for her teacher. I also wanted it to be something that could be used in her classroom.
DIY Personalized Clipboard
My Cricut Maker is my second love, behind my husband and kids. Ha! A personalized gift is always a fun thing to make for gifts.
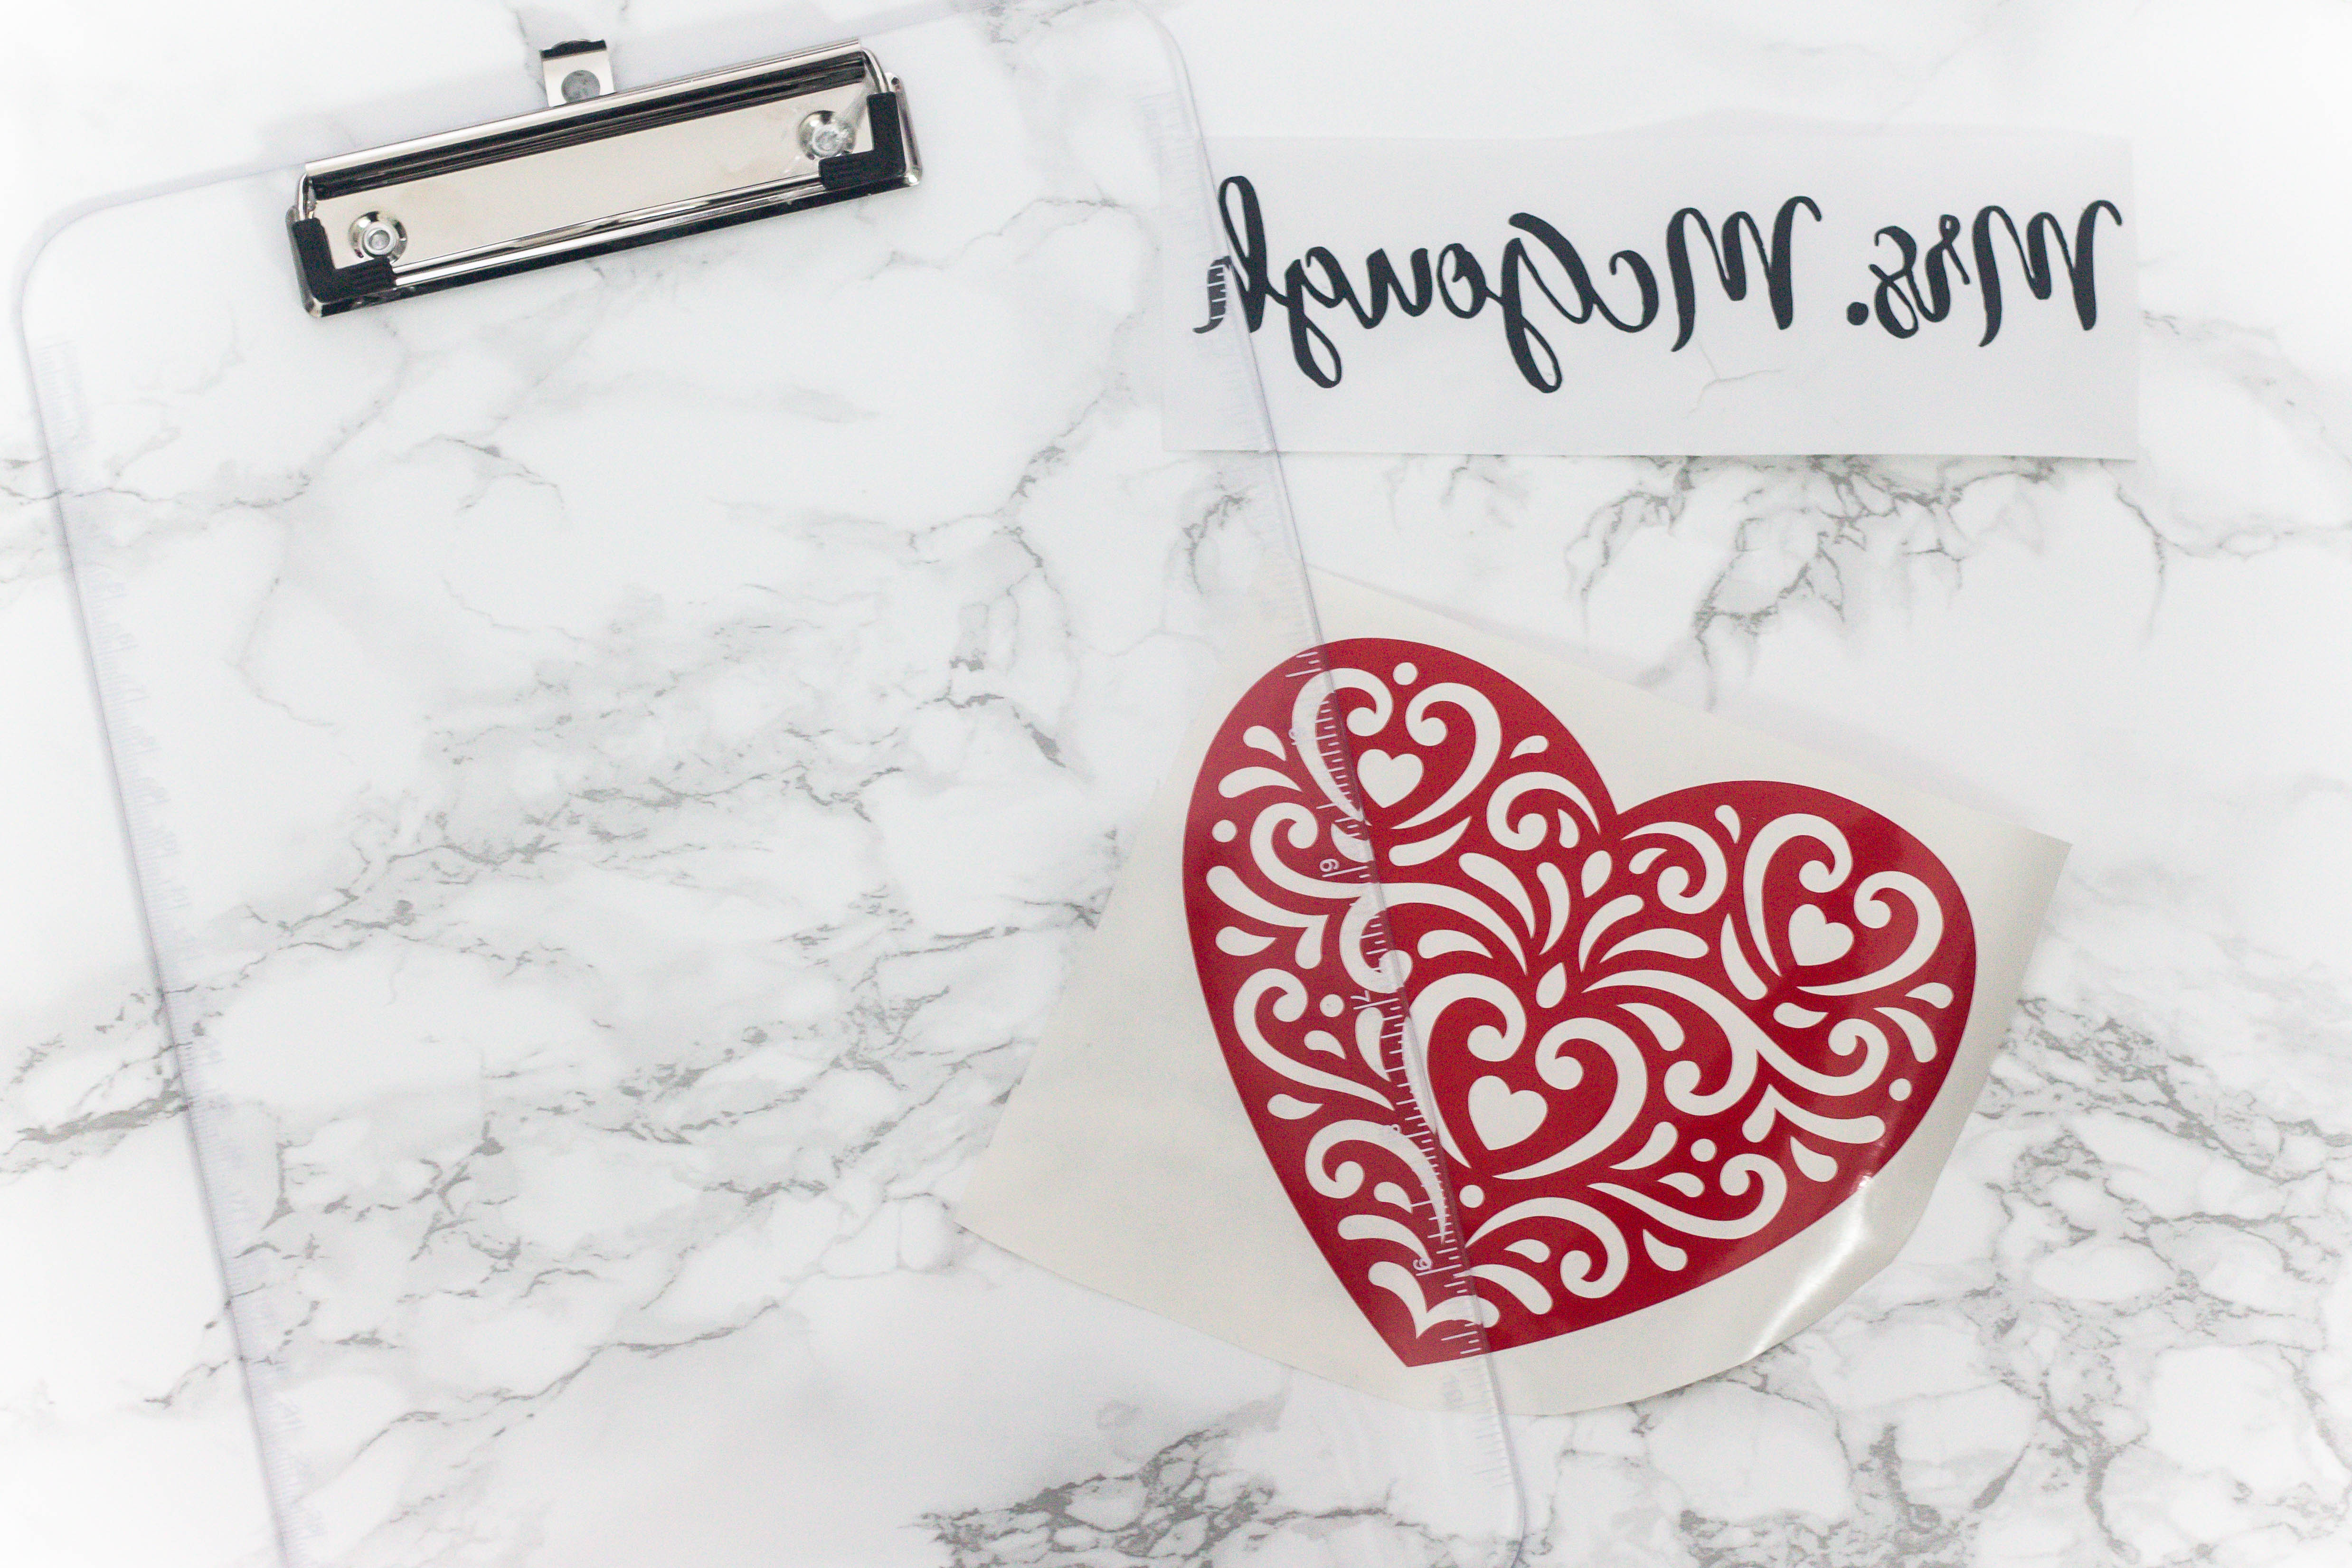
I found a Transparent Clipboard on Amazon that I could use. The vinyl decal was going to be applied to the back so that is why I went with a clear clipboard. This allows there to be no bumps when writing on the clipboard.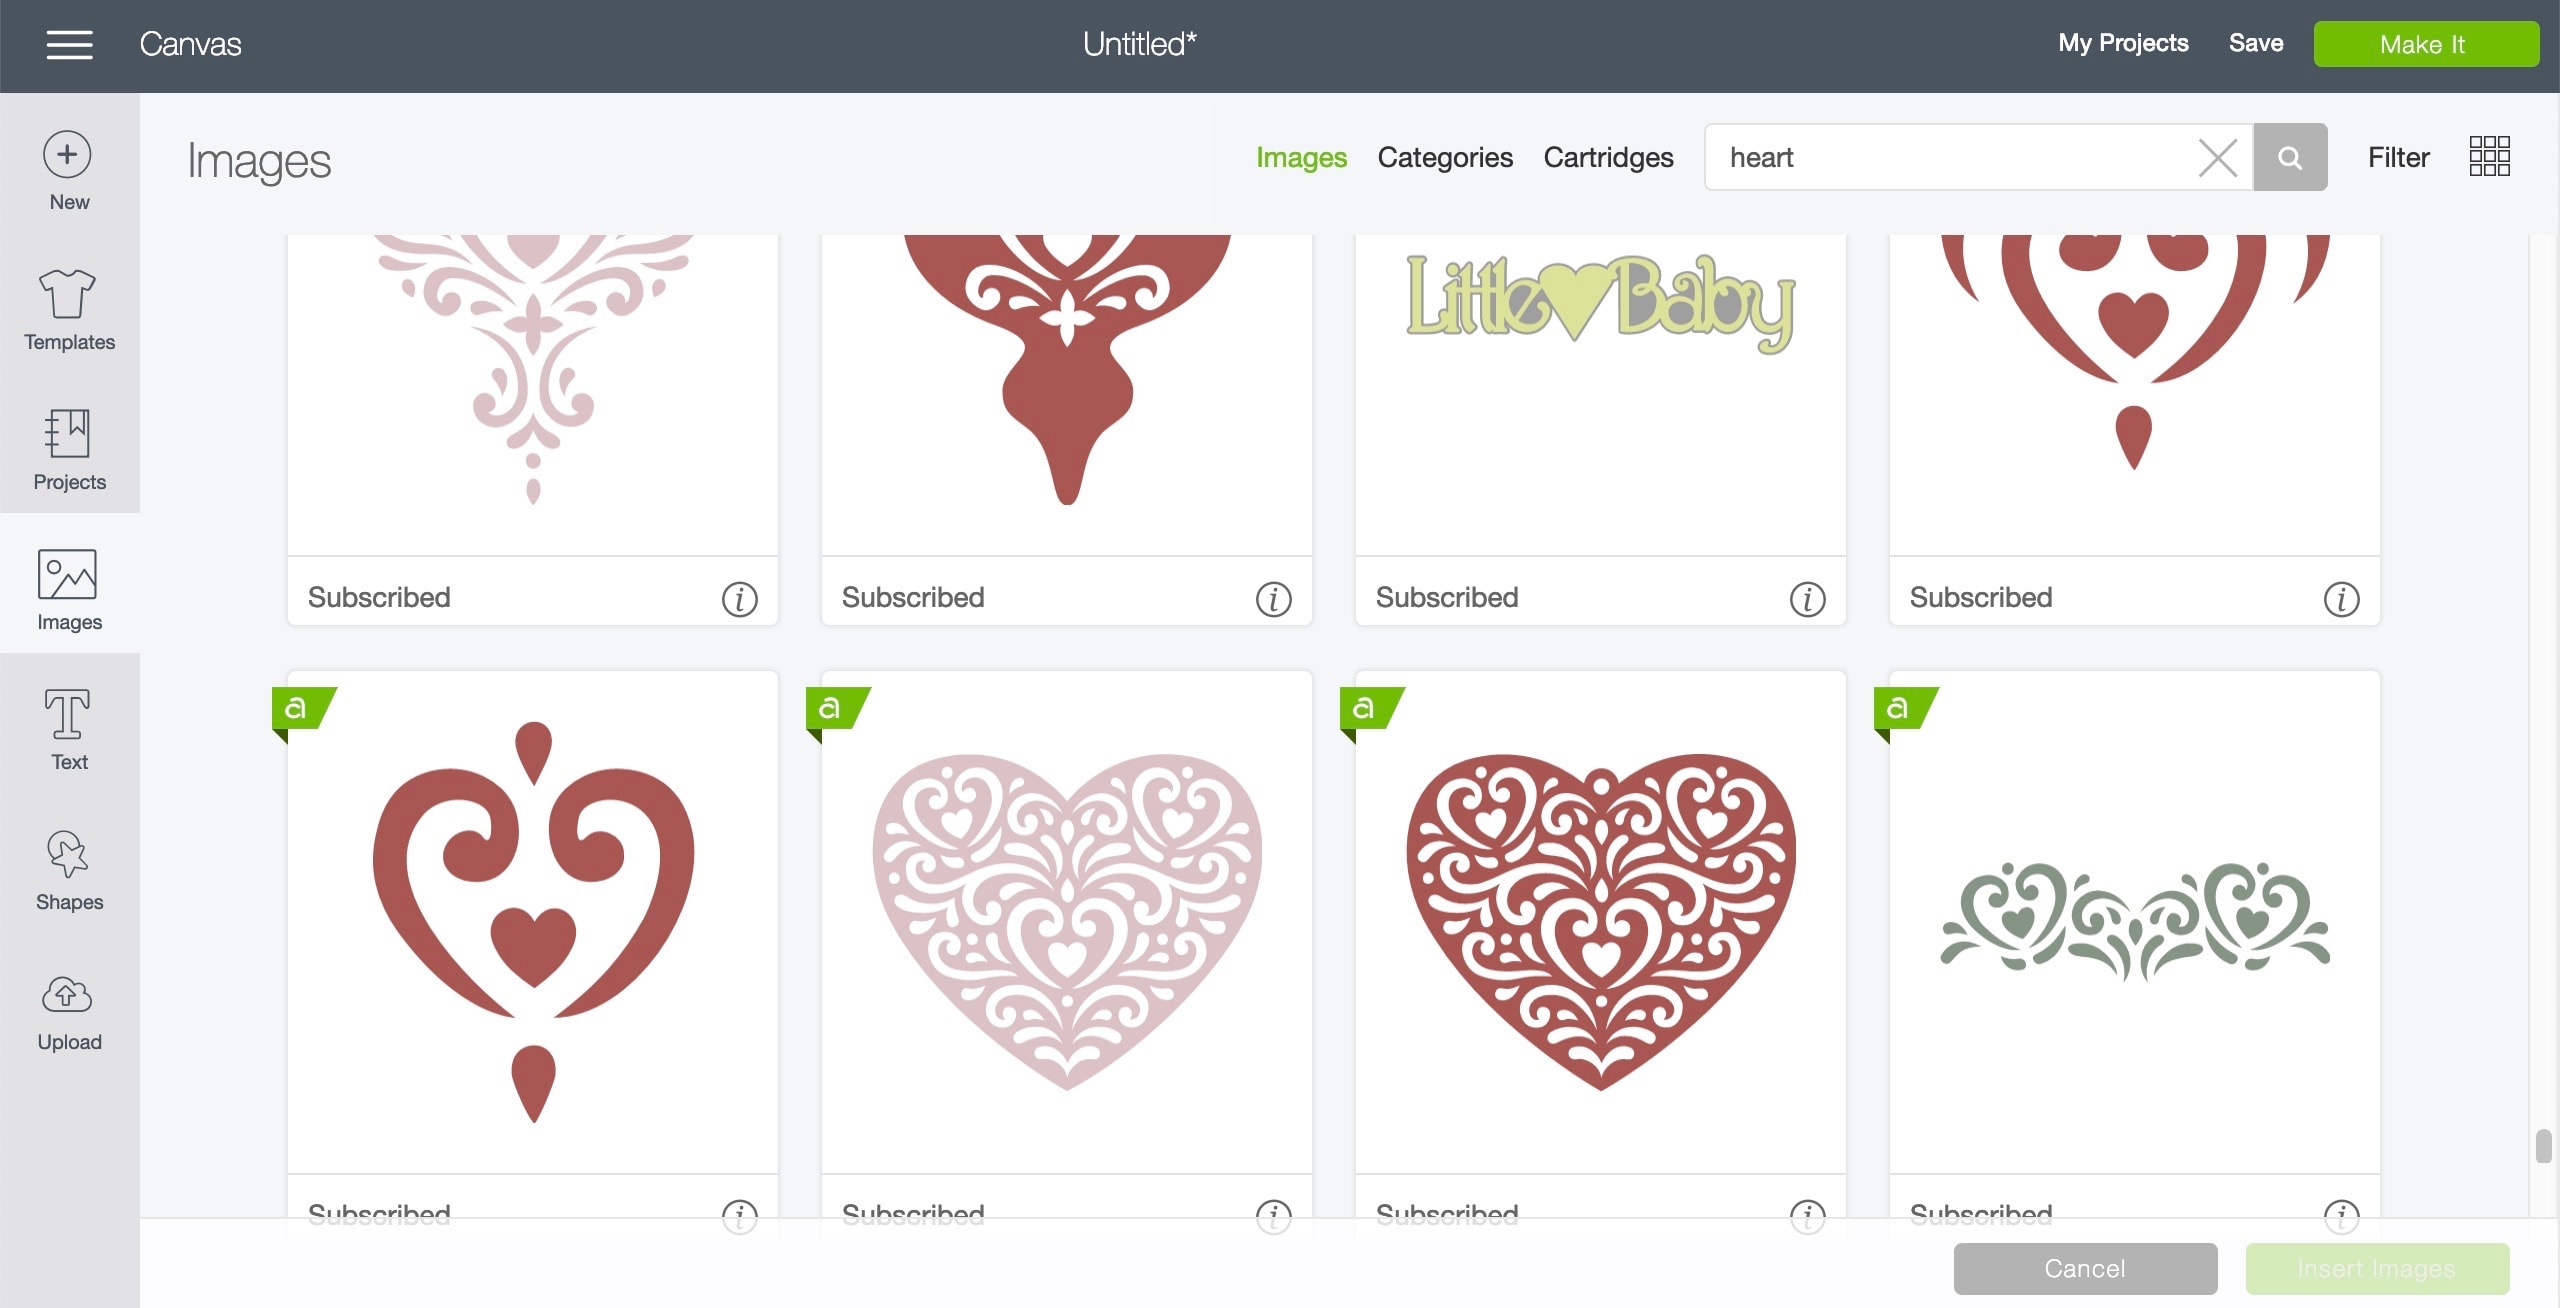
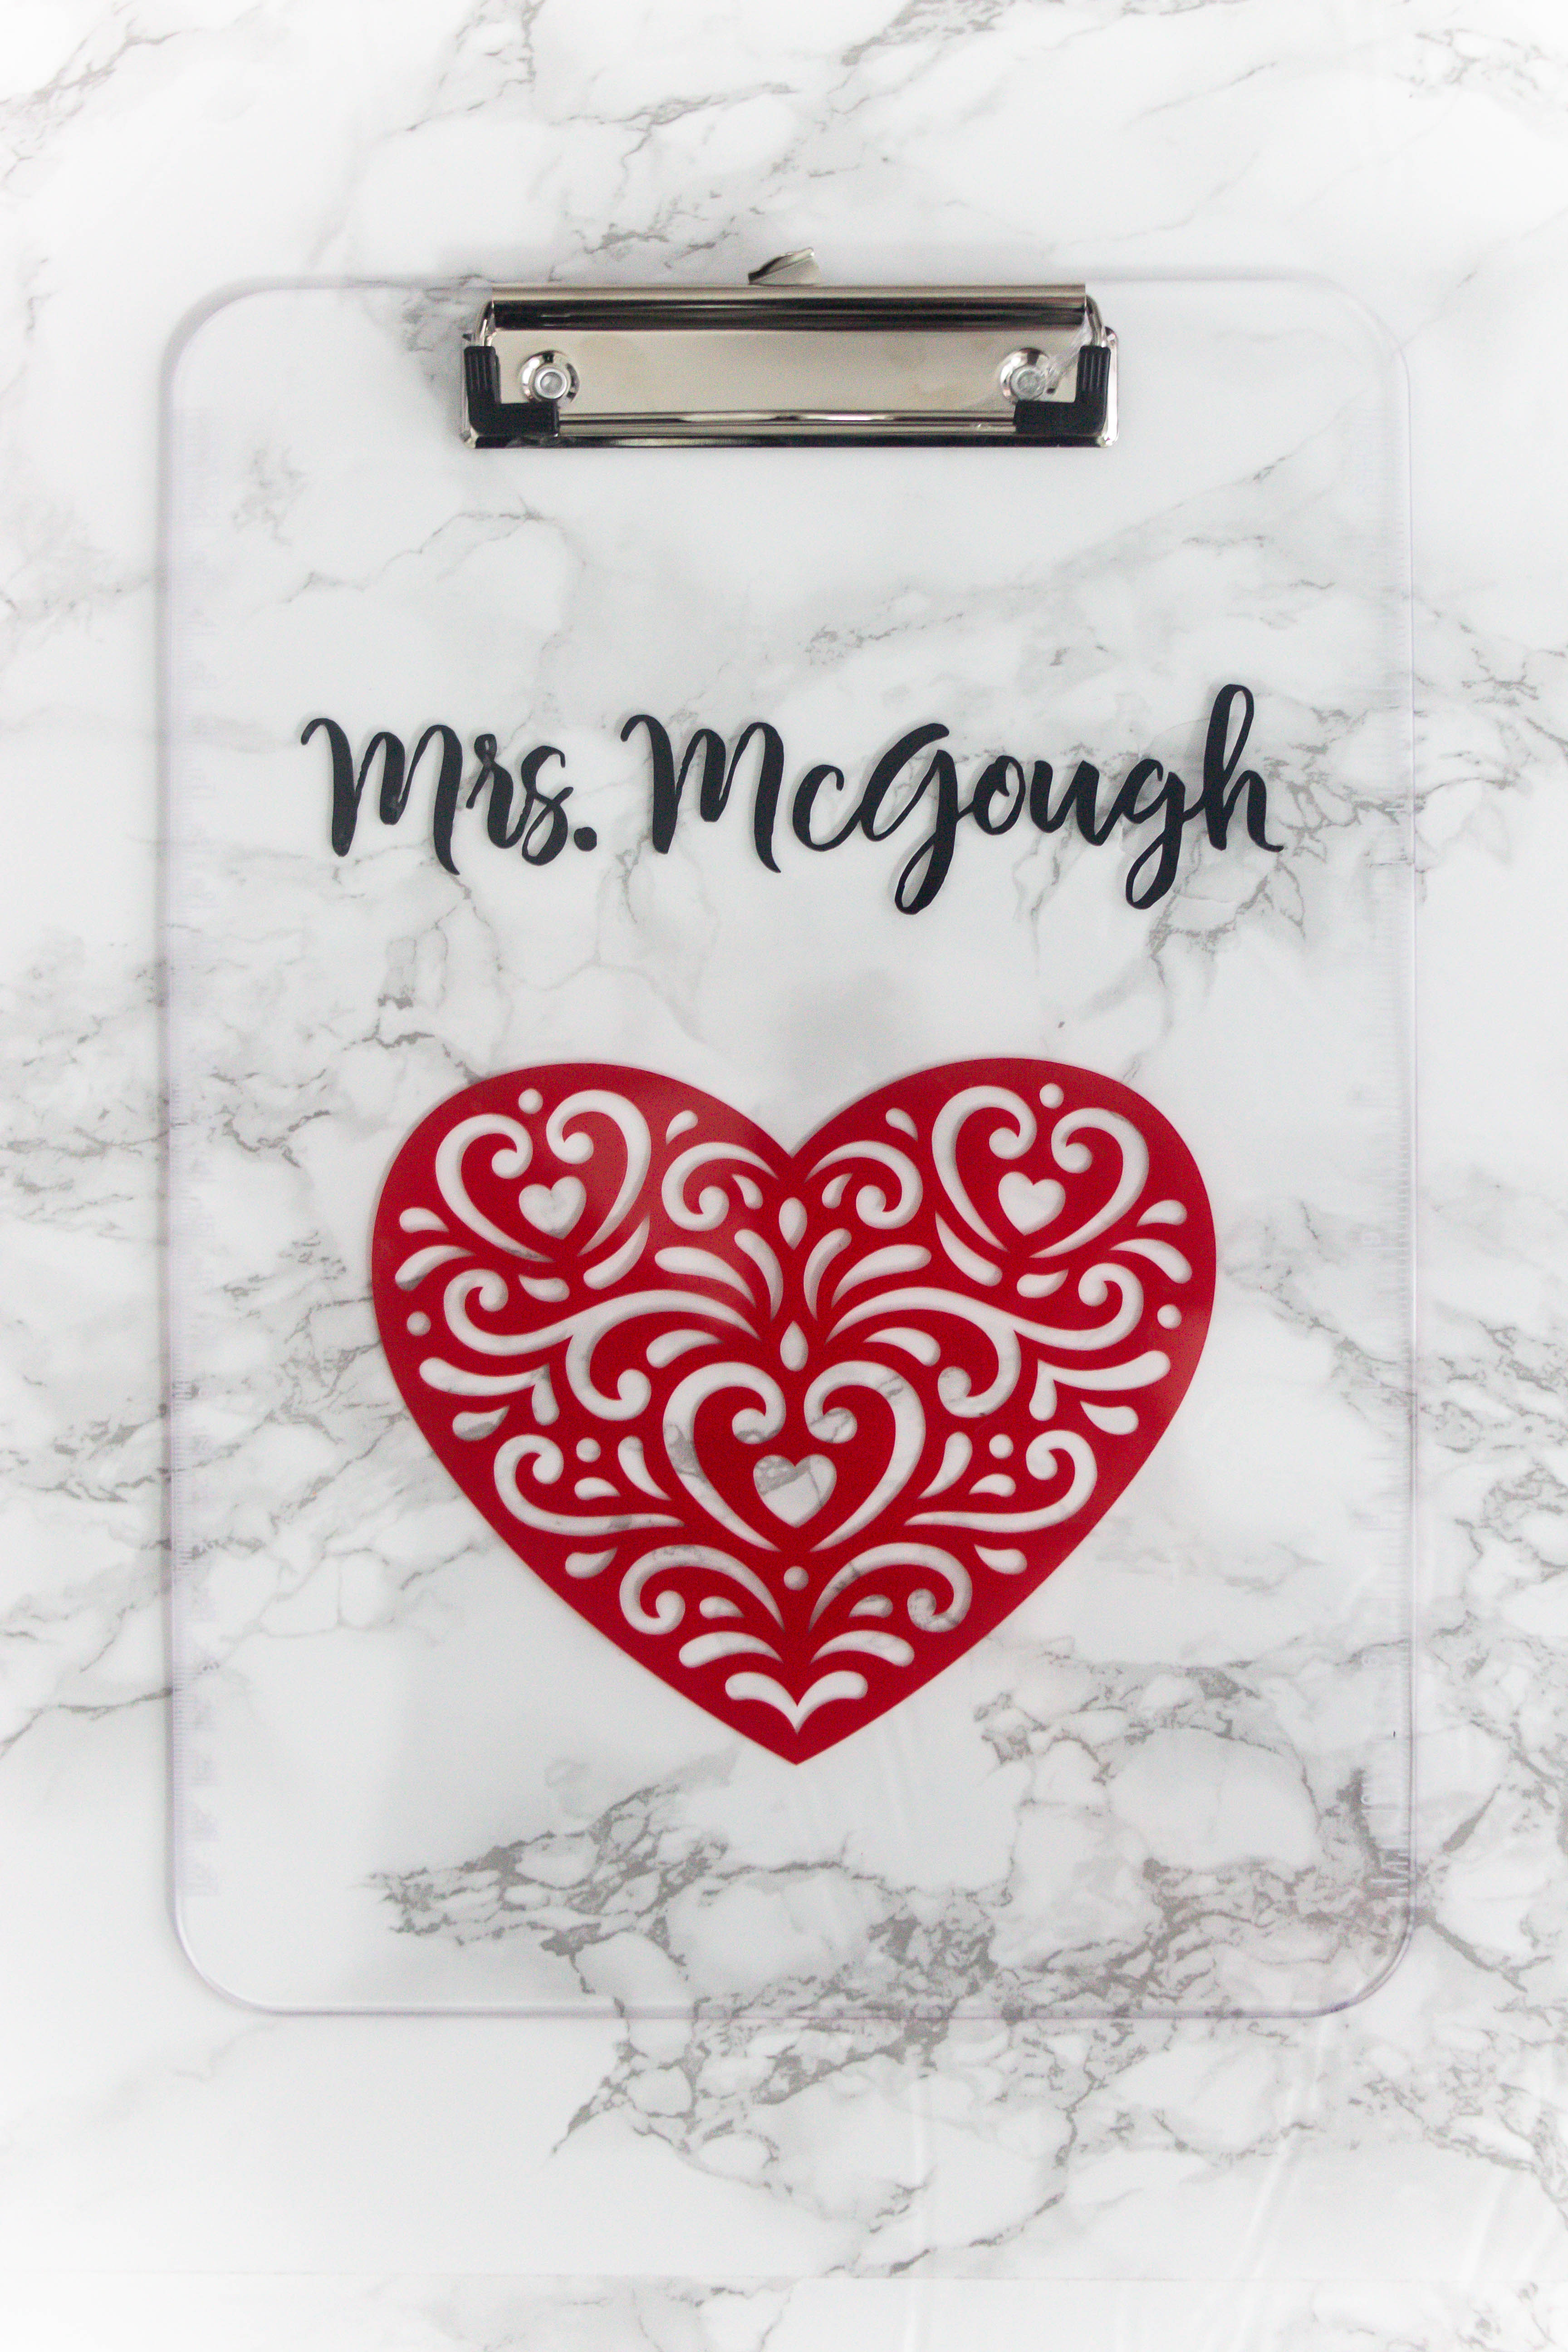
First, I found a heart image that I liked on Cricut Design Space. I loved the intricate design of the light pink heart.
I inserted that into my Design Space. If you click on the templates button you can find a clipboard to use as a reference guide.
Personalizing
Next, I wrote out her name and chose a font. You always want to weld your words when using Design Space. If you don’t weld the word then it won’t cut out as one piece. (If it’s written in a cursive font.)
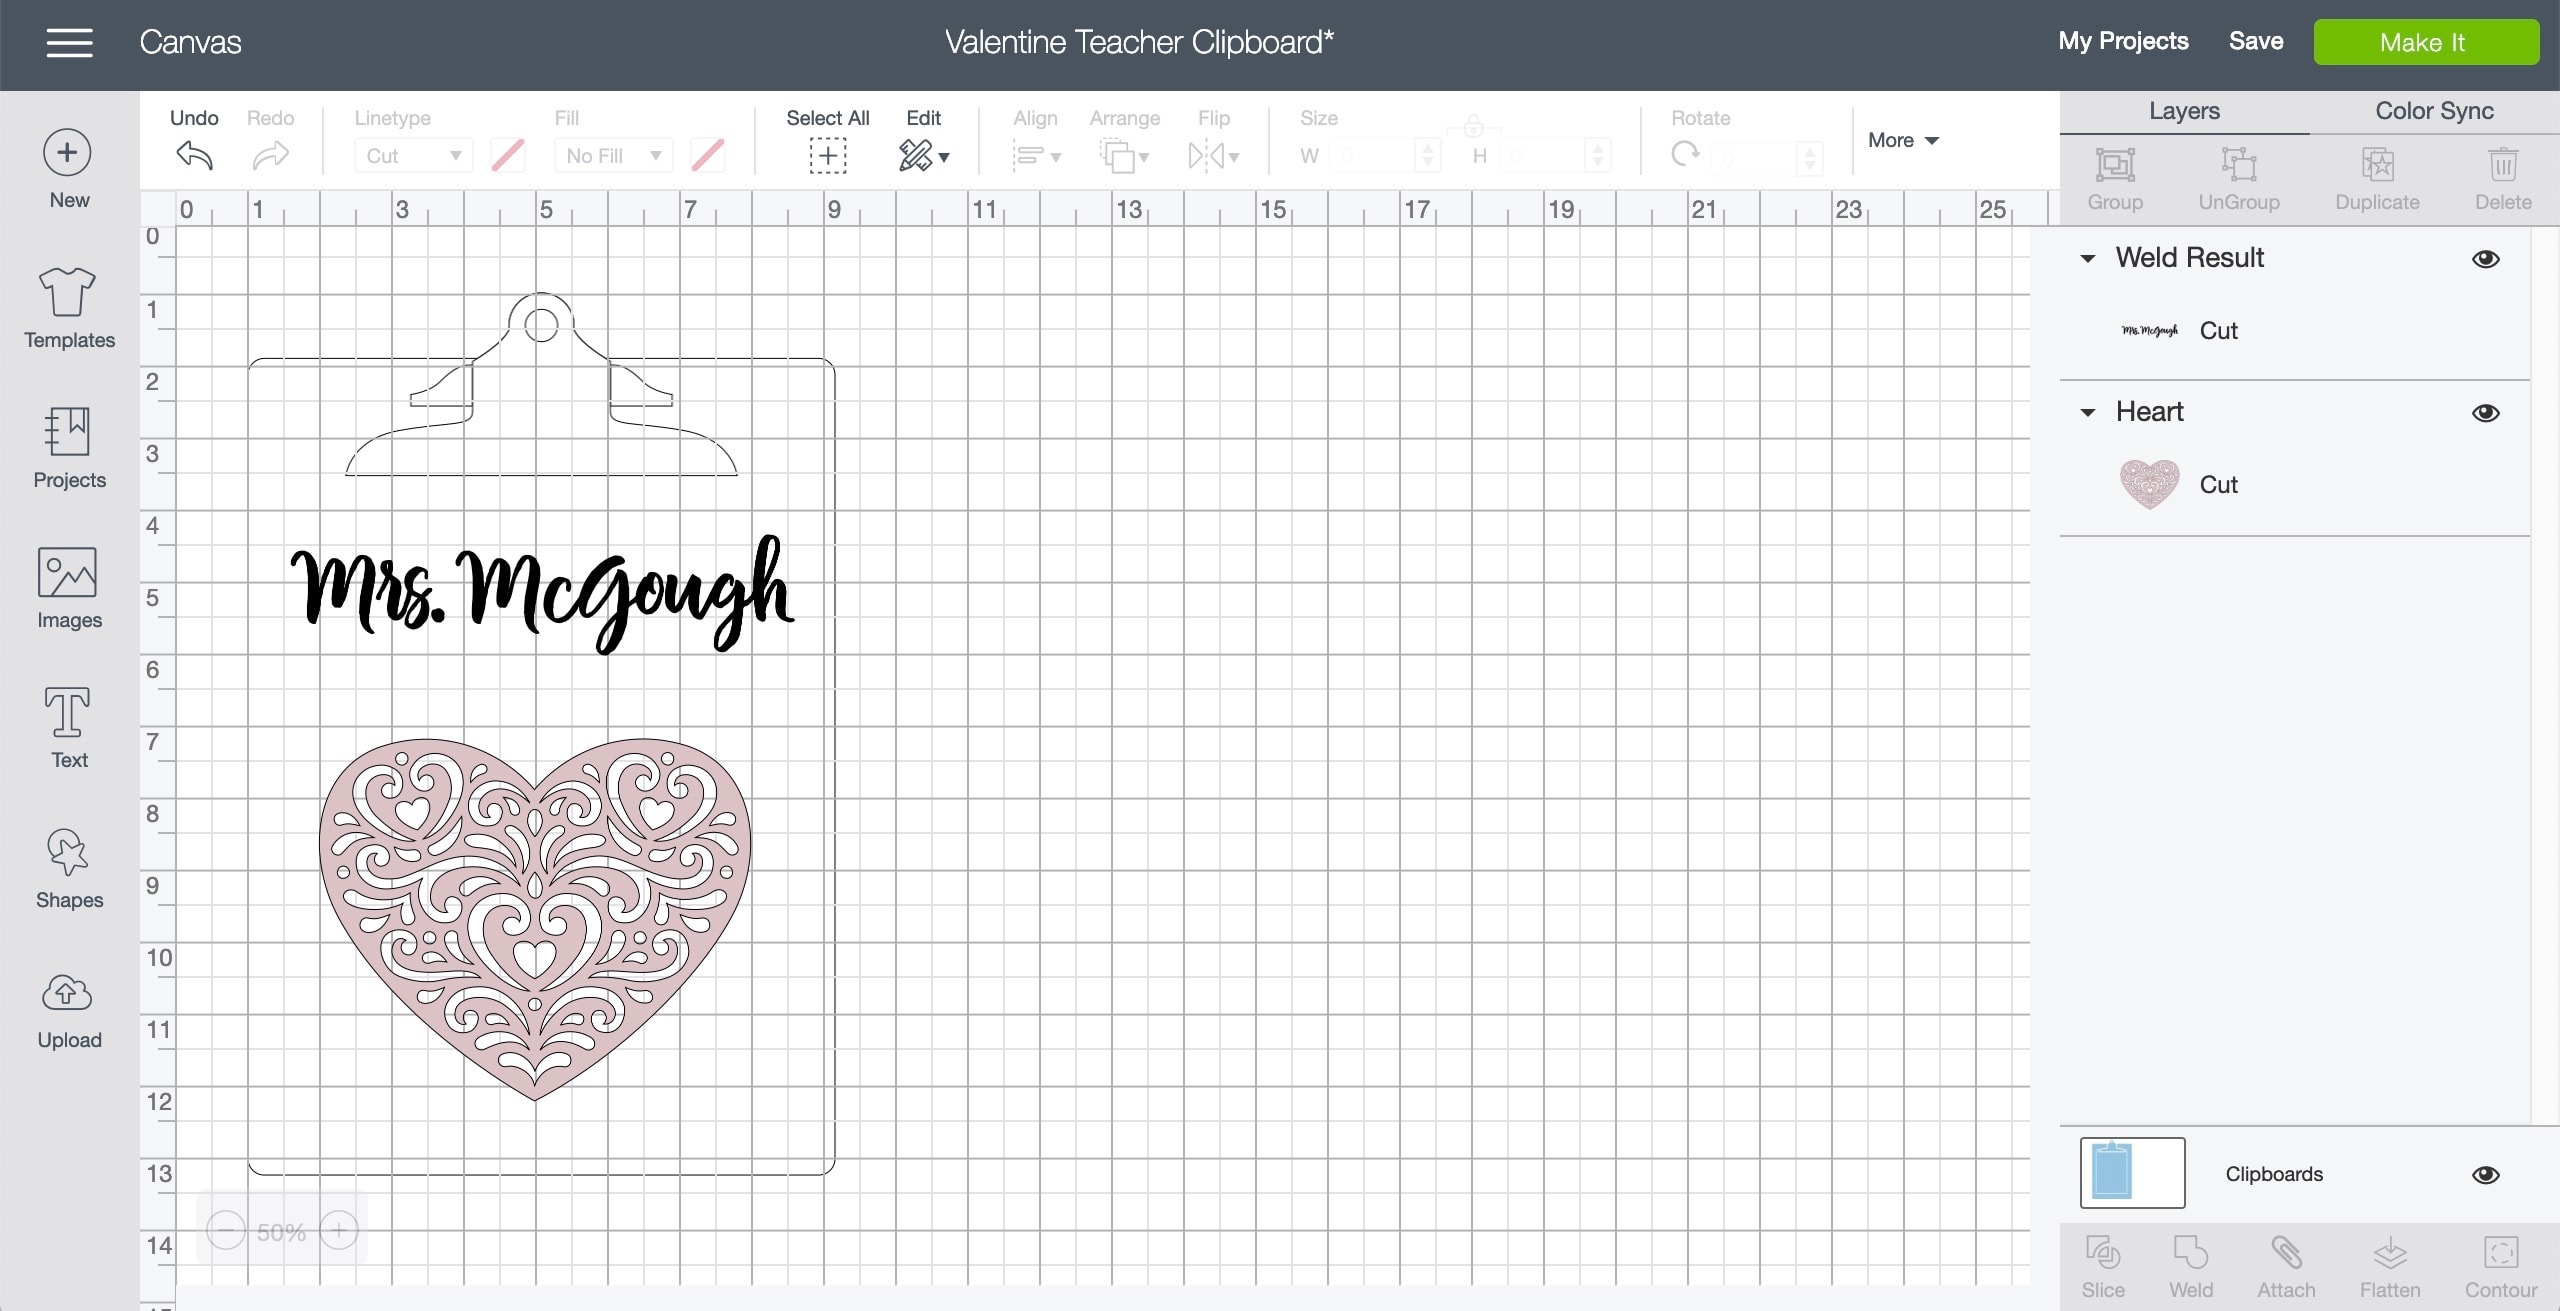
Once you have the heart and name sized to your liking it’s ready to cut out. Make sure to check the exact size of the clipboard you purchased. The clipboard template is only a reference and may not be the same size.
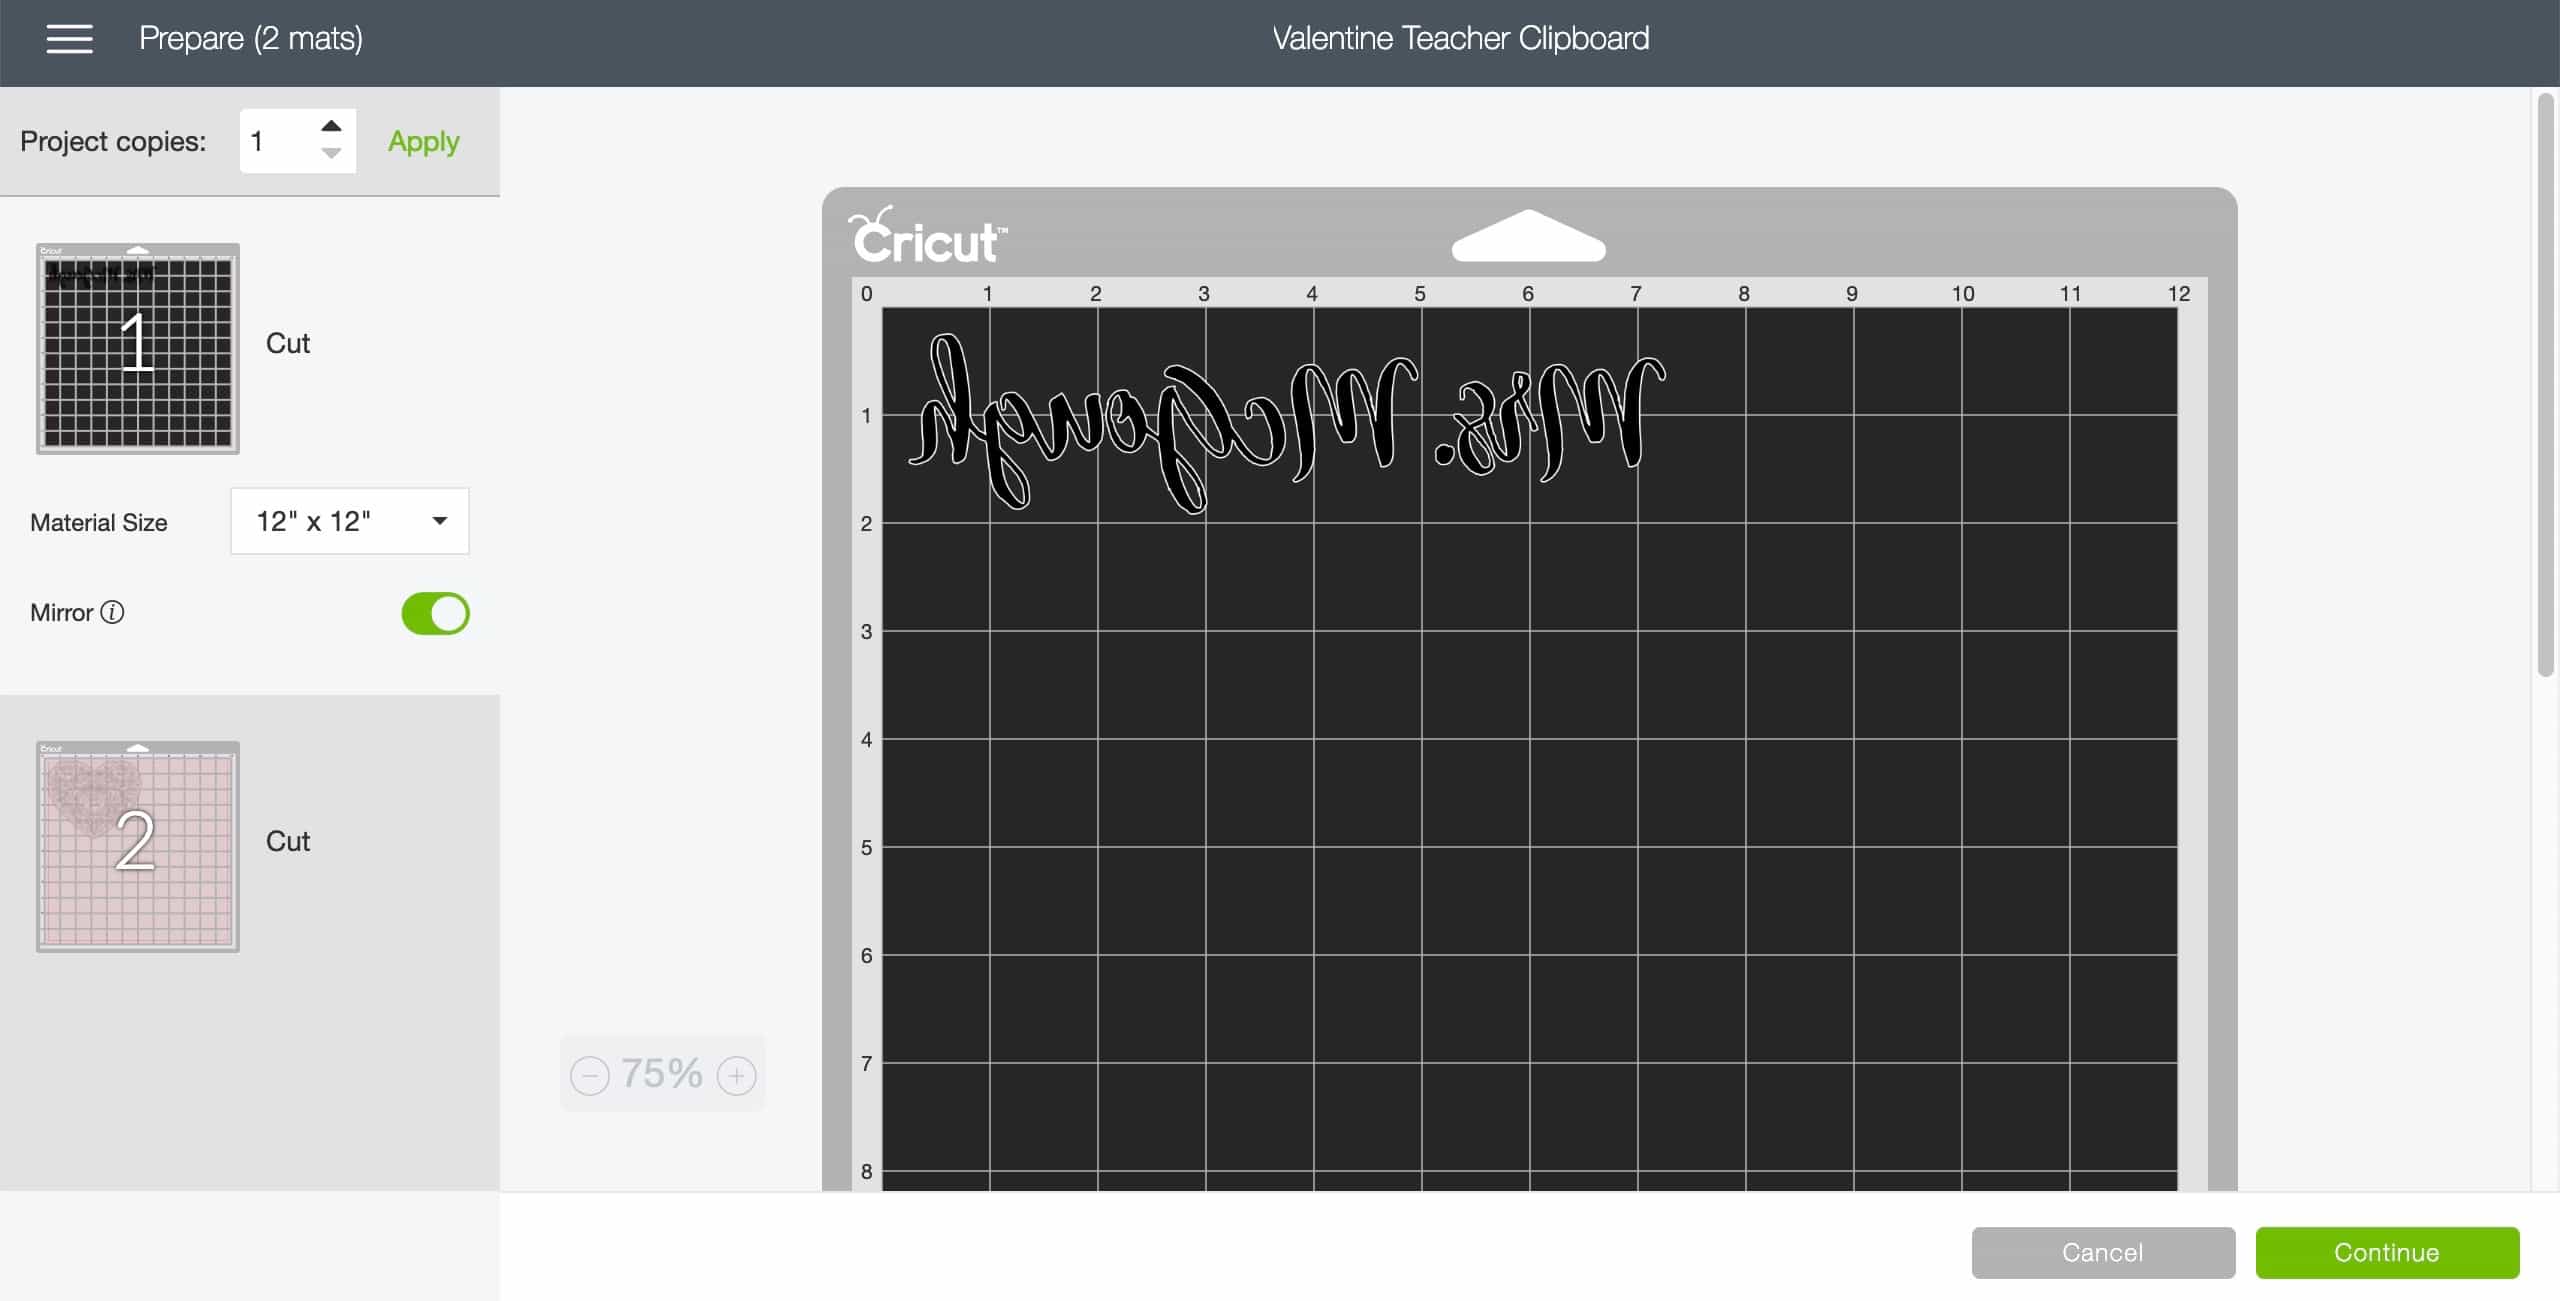
For the images to appear correctly on the clipboard you need to push the mirror image button. People use the mirrored button when creating t-shirts or other iron-on projects.
Since you don’t want any bumps on the top of the clipboard, we will be placing it on the back. Hence, the reason it needs to be mirrored.
Center your script and image on the center of the back of your clipboard. You will then use the Cricut Scraper to help the vinyl to adhere properly to your clipboard. Peel off the Transfer Tape and your image should be set in place!
Click here for more Valentine’s Day Projects &

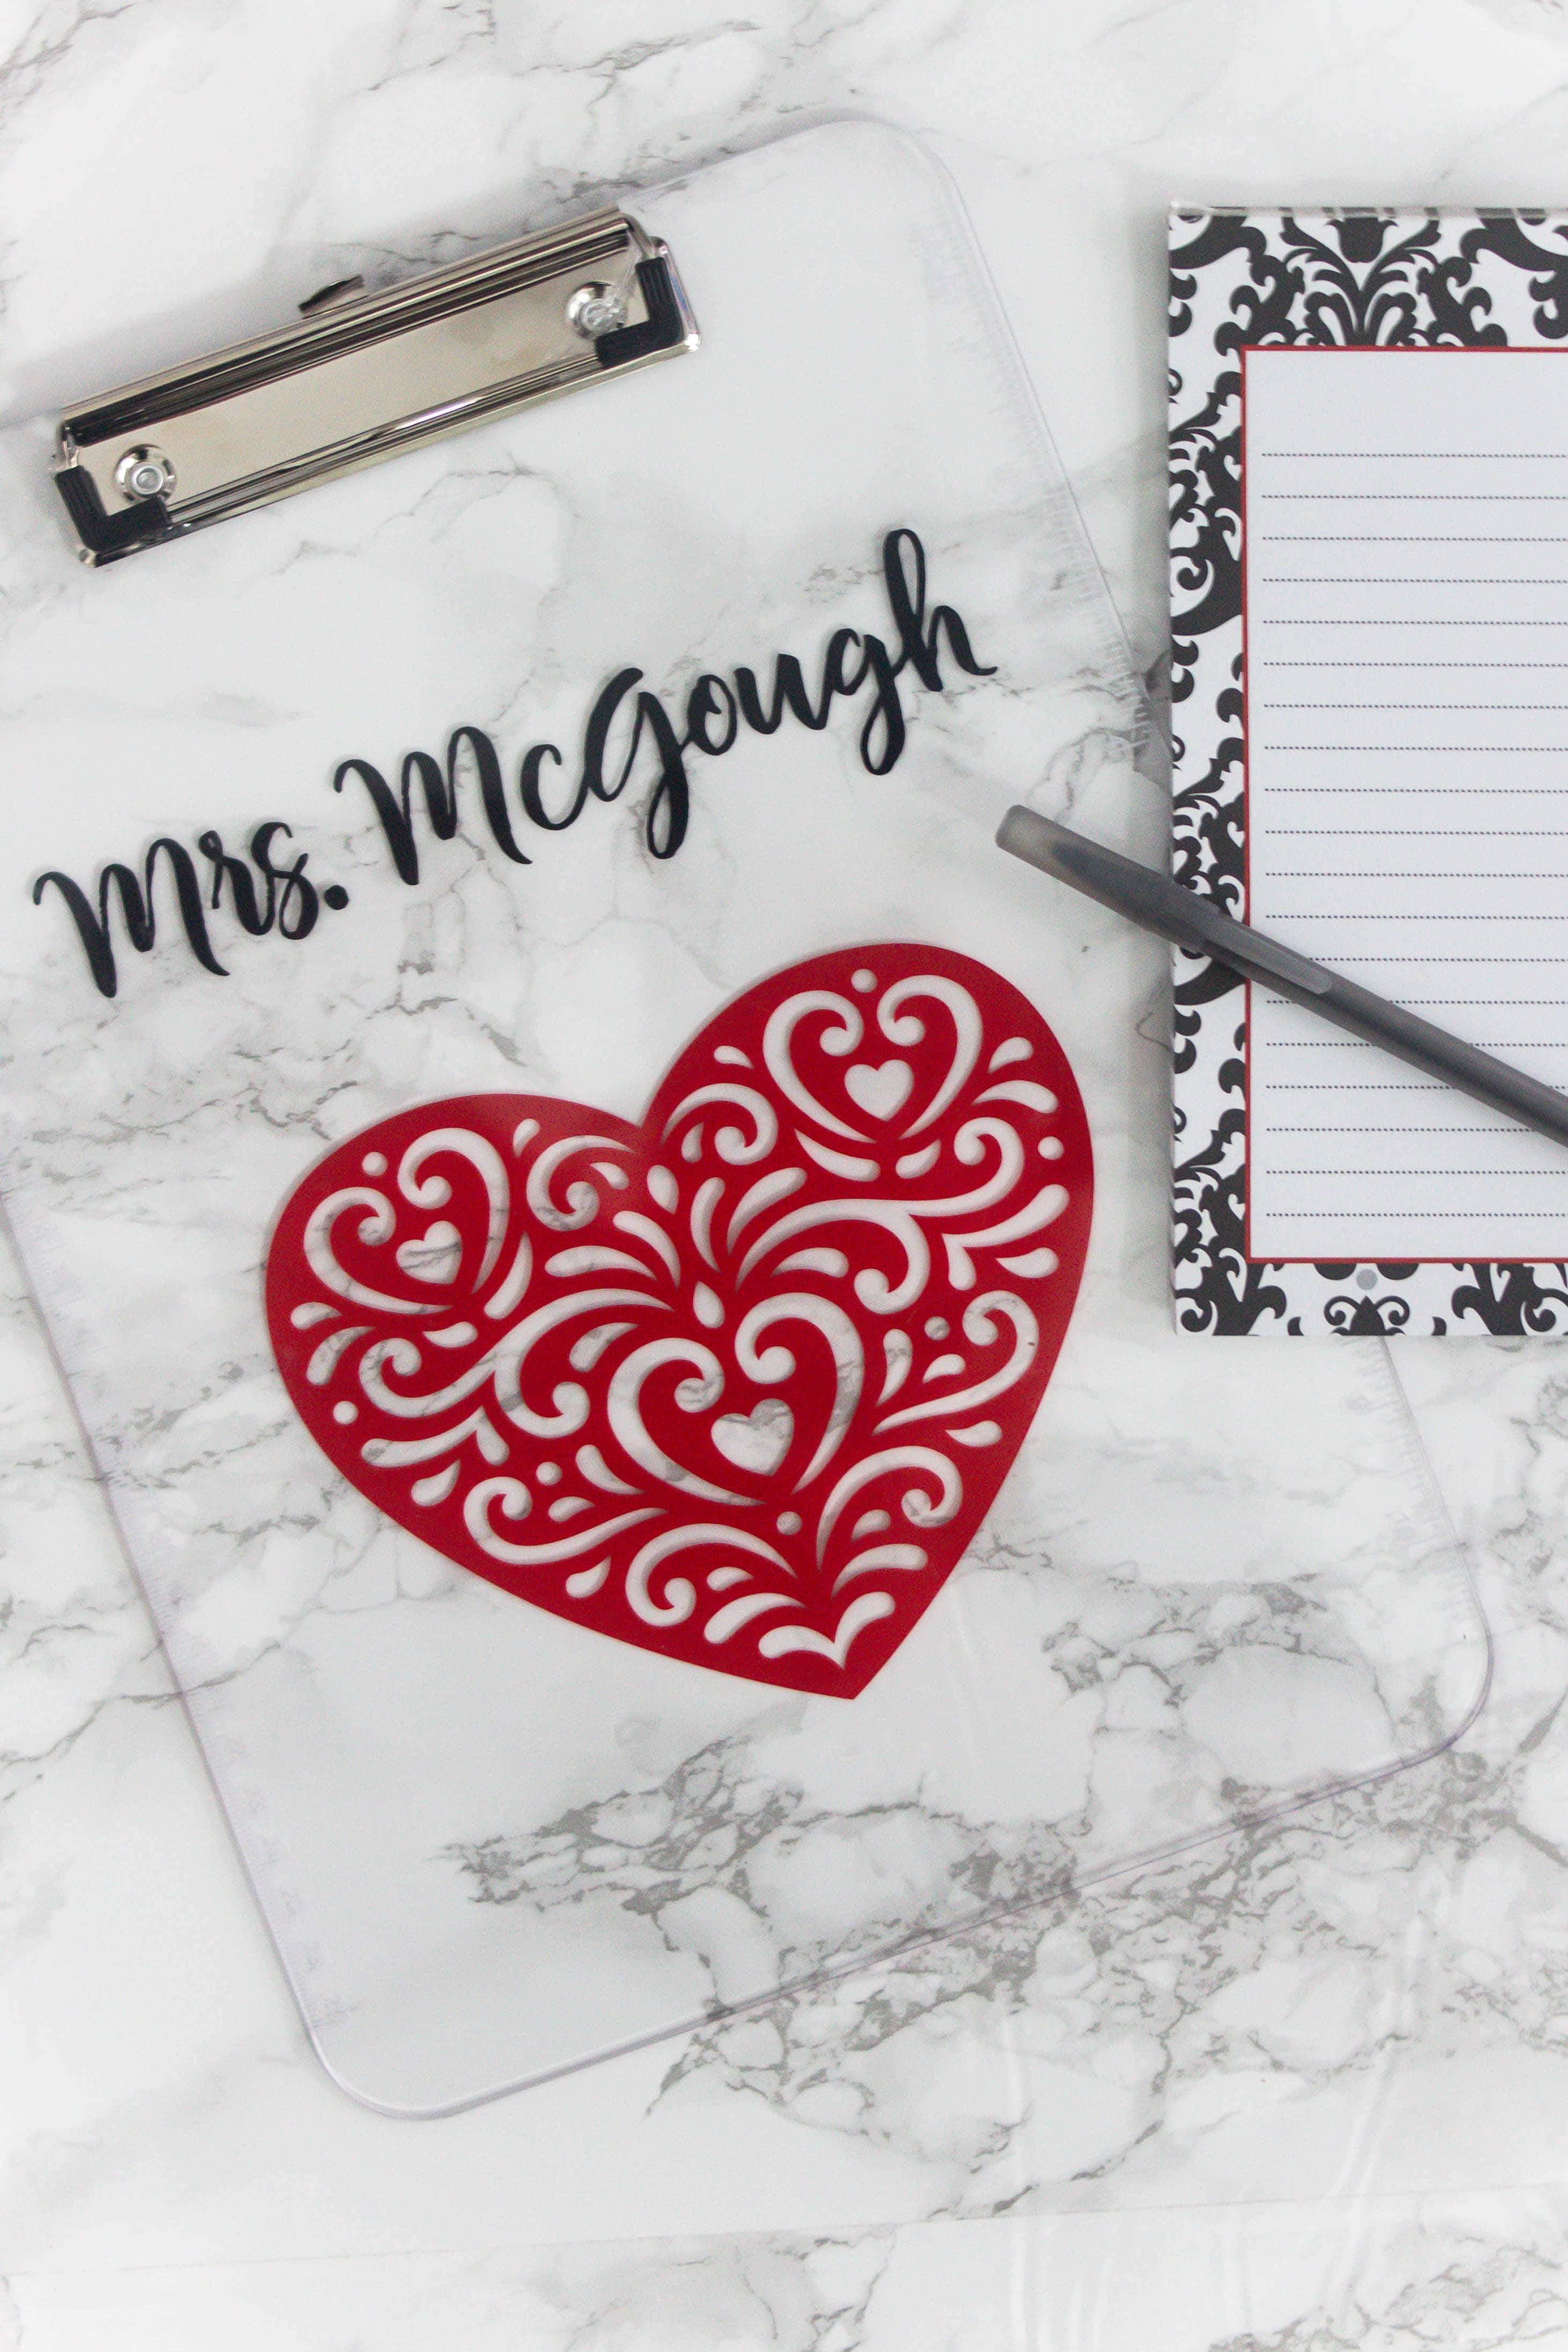
It’s a quick and easy project that you can make for your child’s teacher. Lucy is so excited to give this to her teacher next week at their Valentine’s Day party. Happy Monday and early Valentine’s Day!

Many outgoing links on Refashionably Late are affiliate links. I may earn a small commission to fund my Diet Mountain Dew drinking habit if you use these links to make a purchase. You will not be charged extra, and you’ll keep me supplied in caffeine. It’s a win for everyone, really. I only link to products I have tried and love! See my full disclosure here.


