

Can you believe it’s almost the end of February and we are heading into month 3 of 2018? I feel like time is flying by lately! With it being near the end of the month it’s time for the monthly Create with Cricut! Last month’s material was felt and I made some adorable felt headbands for my girls. This month’s material was cereal boxes. I love seeing what everyone comes up with using that month’s material!
I decided to make a sturdy banner for St. Patrick’s Day! I have some really fun paper I wanted to use but it just wasn’t strong enough to withhold children and storage. I thought the cereal boxes would be a great backing to the banner. It’s so solid now and I’m not worried one bit about it breaking or bending in storage!
Cutting Cereal Boxes with a Cricut
I started out by finding a shamrock in the images on Design Space. I made it bigger so that it was the size I was looking for. I started by cutting out the cereal boxes first. I put the shiny side up as I had read that it cut better that way.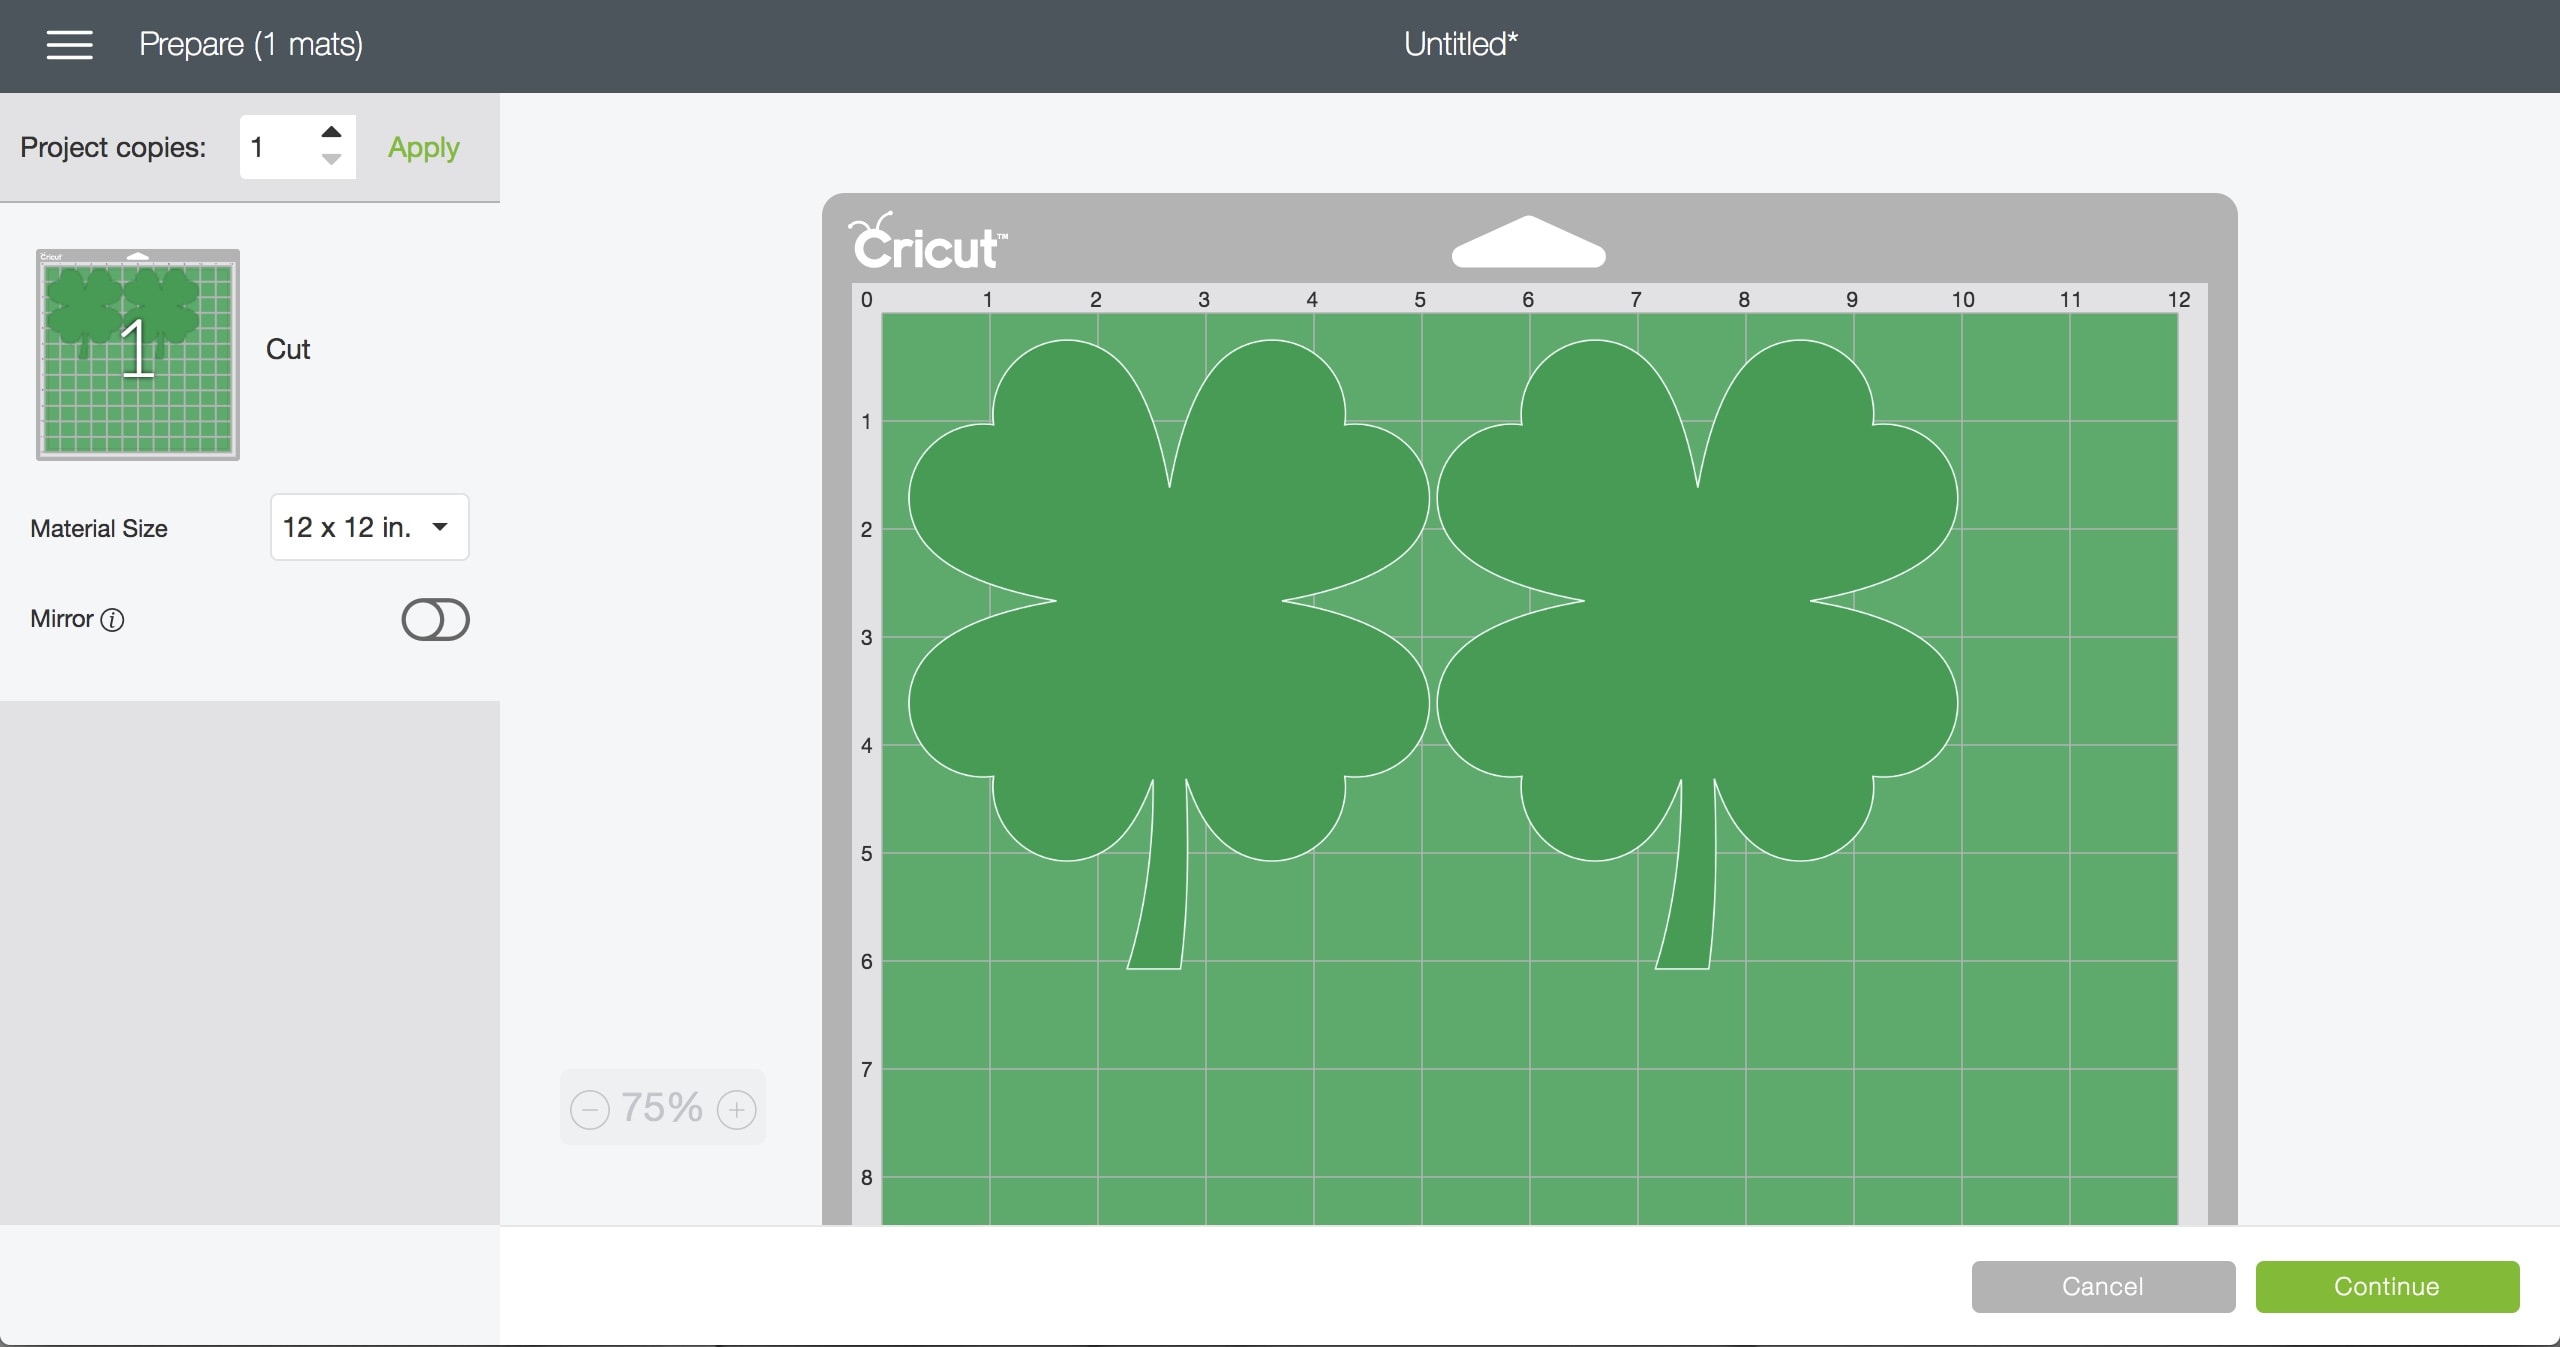

I cut 6 different shamrocks out of 3 cereal box flats. I put the dial on custom settings and chose flat cardboard in the settings. I also did replace the blade with the deep cut blade to cut the cardboard. I was amazed at how well it cut and found a new love for cereal boxes. I’m totally going to use these all the time for projects now!
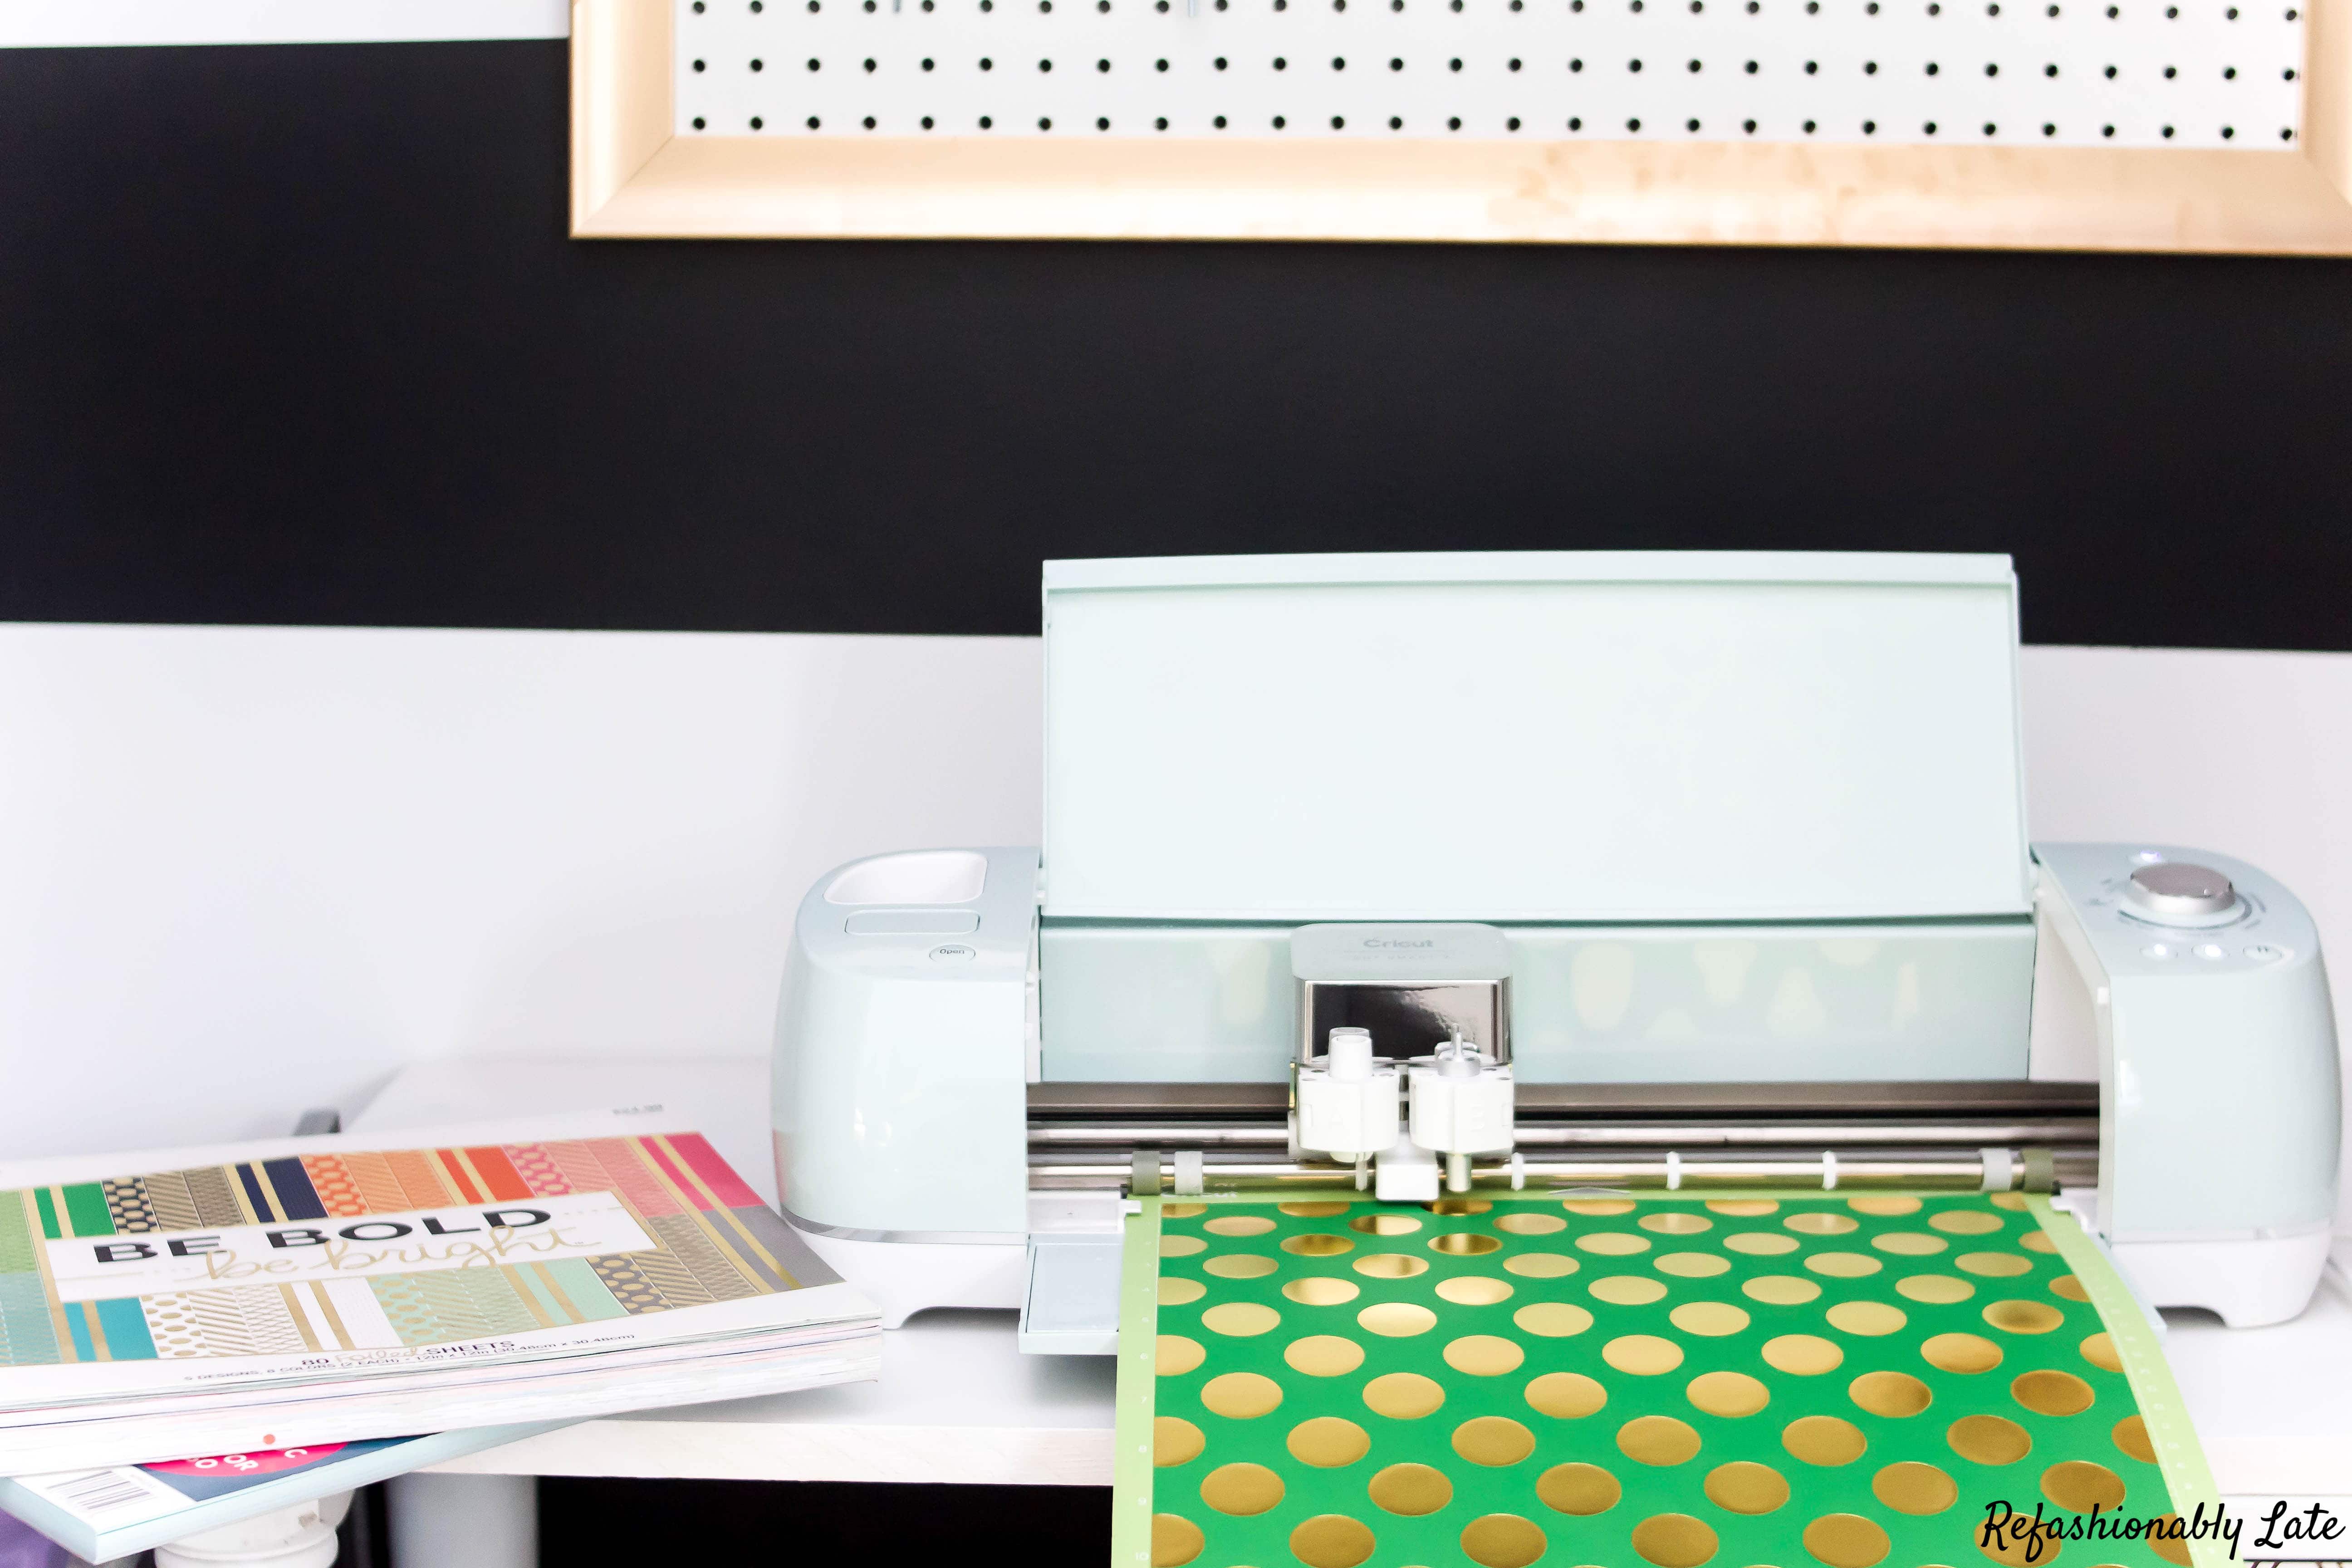
I then changed the settings on my Cricut and put in some fun foil embossed paper I bought on sale at Michaels. Right when I got my Cricut, Michaels was having a sale for half off of scrapbook paper! I ended up getting about 5 booklets for about $30! A total steal!
I took my last side of one of my cereal boxes and cut out a larger version of the shamrock. I found this fun Kiss Me I’m Lucky svg on Etsy that I wanted to use as the center of my banner. I purchased it and uploaded it to my Design Space. It comes with the letters white and on a separate cut. I enlarged the image and then just did cut 2 as it was only the shamrock. I cut the shamrock out with the cereal box and then once again with a plain piece of green cardstock.
After the two shamrocks were cut I went back to the image and highlighted all the lettering. I then clicked on the attach button and it made it all one color/cut. Doing it this way I could cut out the lettering and use the shamrock piece for my banner.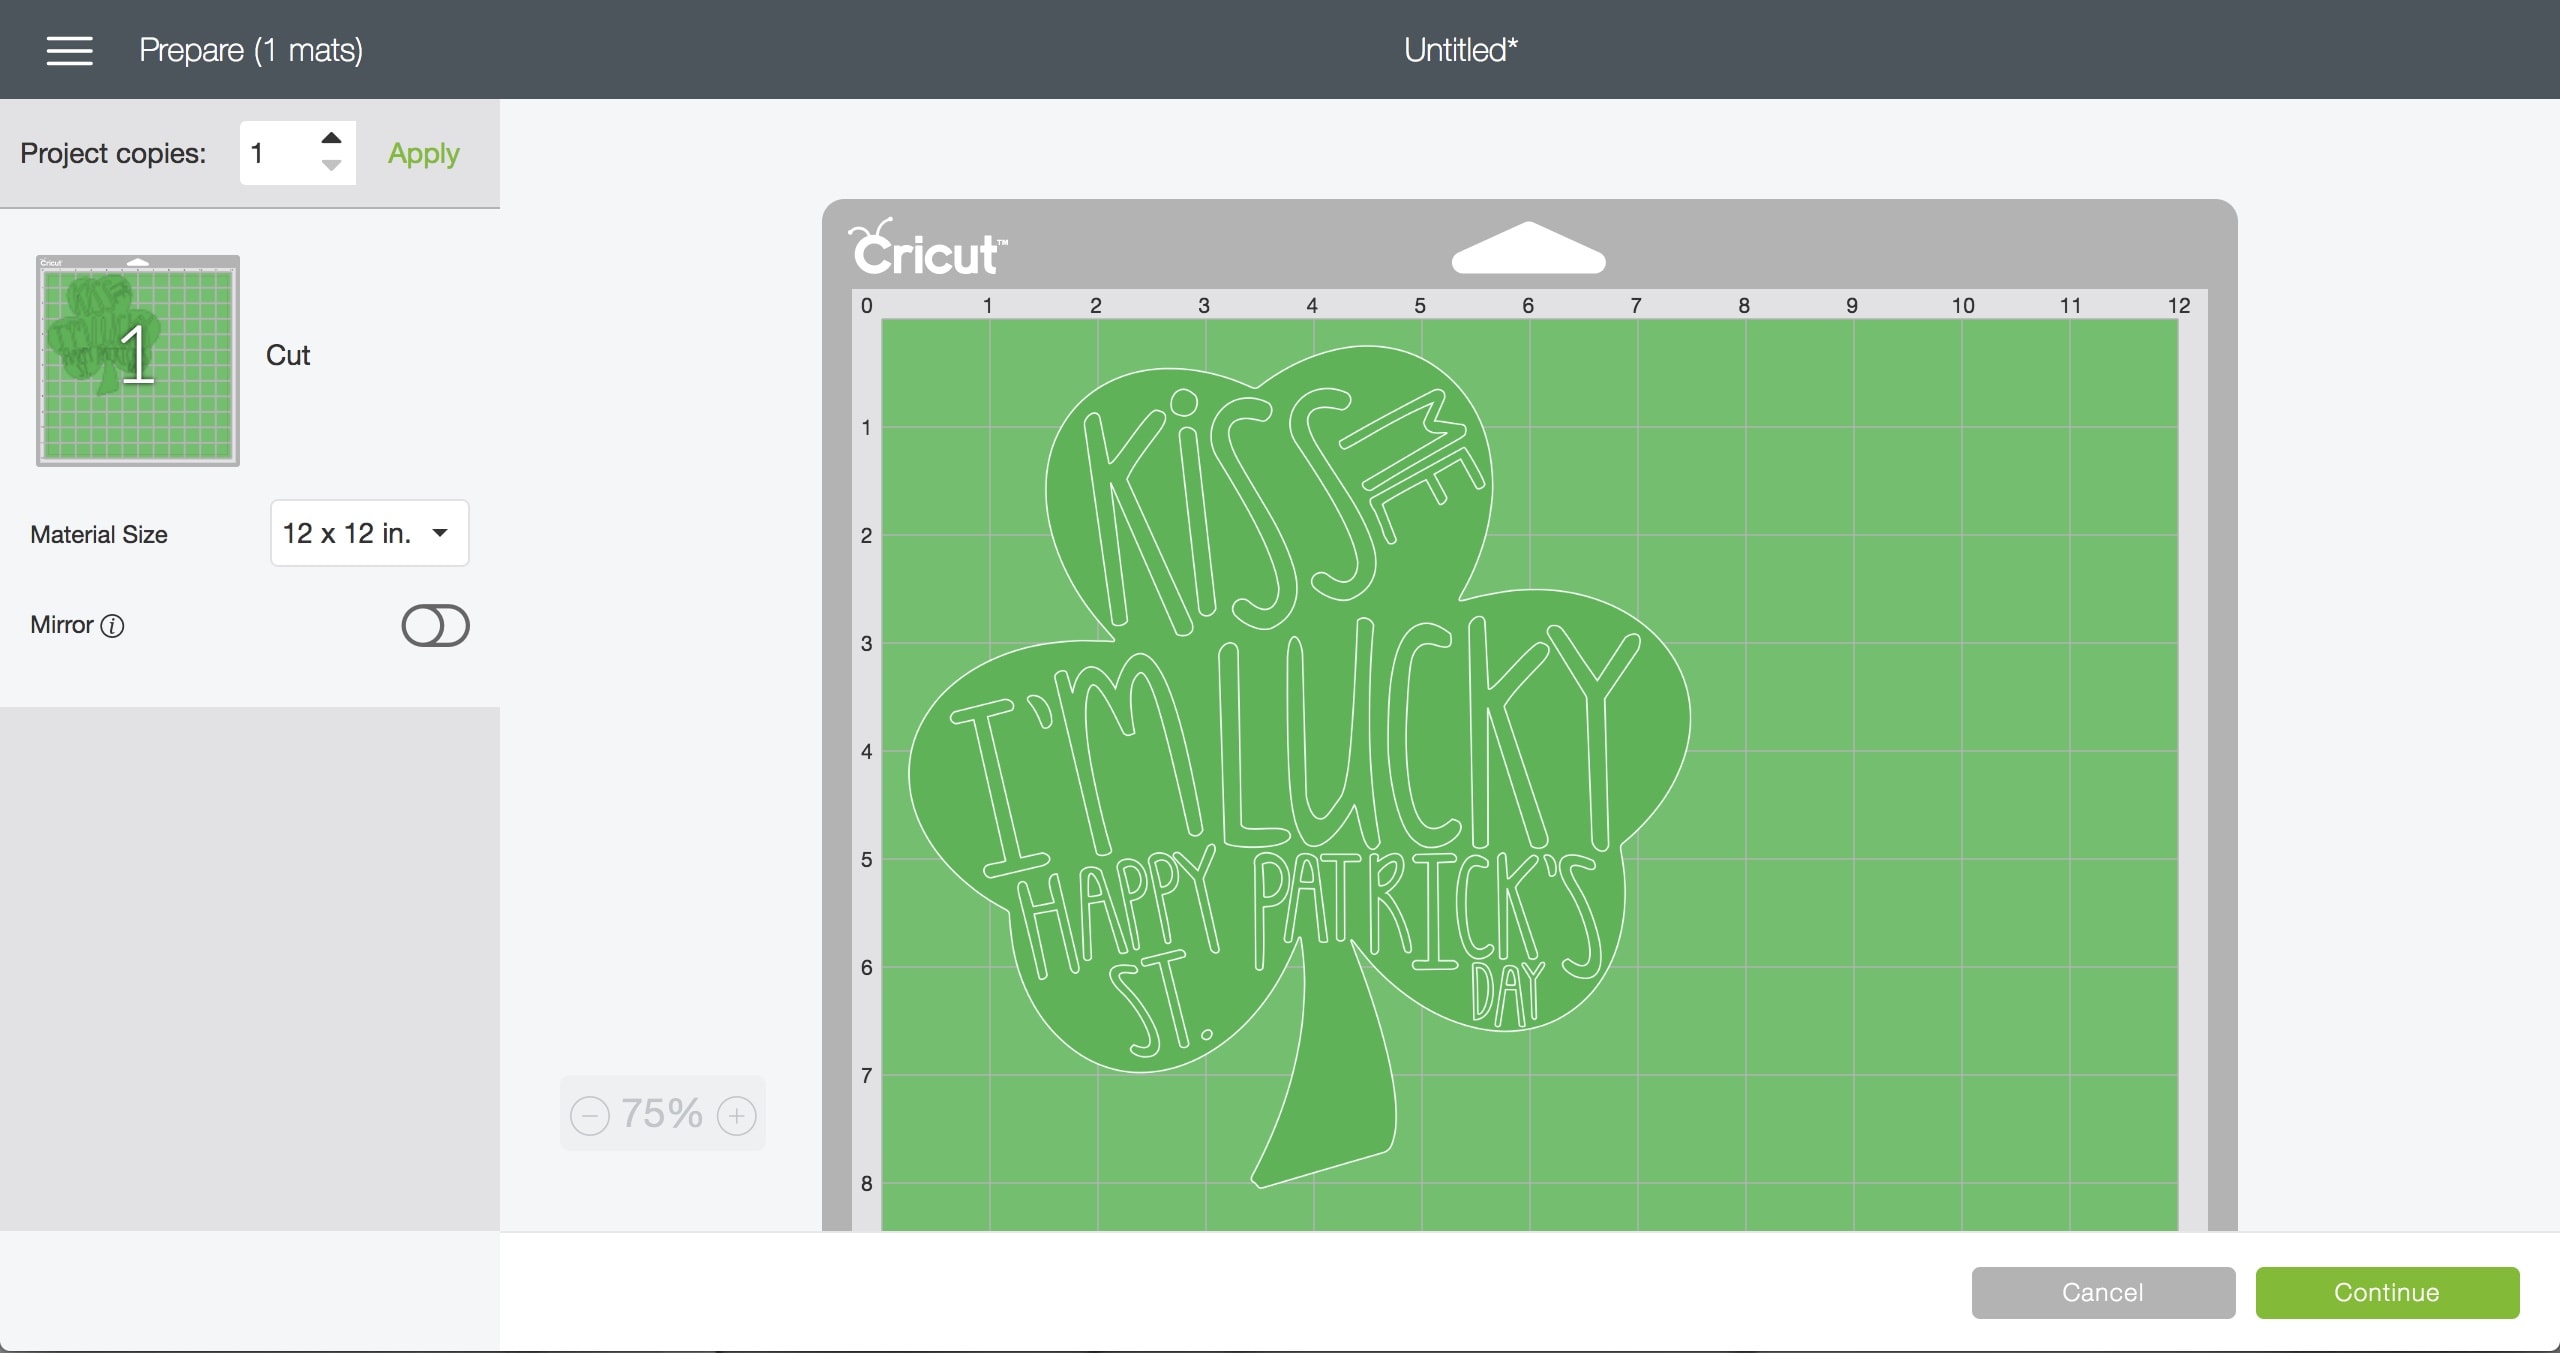

Assembling the Banner
After everything was cut out I then used a spray adhesive to place the paper on top of the cereal box. 
After everything was dry I turned them over and put a strip of hot glue on each and attached twine. It was now finished and ready to be hung for decoration!


I hope everyone has a wonderful St. Patrick’s Day and don’t forget to check out all of the other amazing projects below! So much creativity in this group!


This is so cute!!
Thank you so much!
You should make one like this for Chris – Happy 40th Birthday!
I’ll add some beer on it! 🙂