How to use the draw tool in Cricut Design Space. A detailed tutorial on creating beautiful homemade projects with your Cricut.
Hey everyone! I hope everyone has had a great summer so far! It really flew by so quickly! Recently we’ve had a big change in our weather and it’s really starting to cool off around here! I absolutely love summer but I do love when it cools off a bit!
Cricut Maker & Cricut Explore Air 2
My oldest daughter starts First Grade tomorrow and last week we went to her Open House to meet her new teacher. I love to help out in the classroom and let her know that I was available to help in any way possible. Especially with crafty things using my Cricut Maker.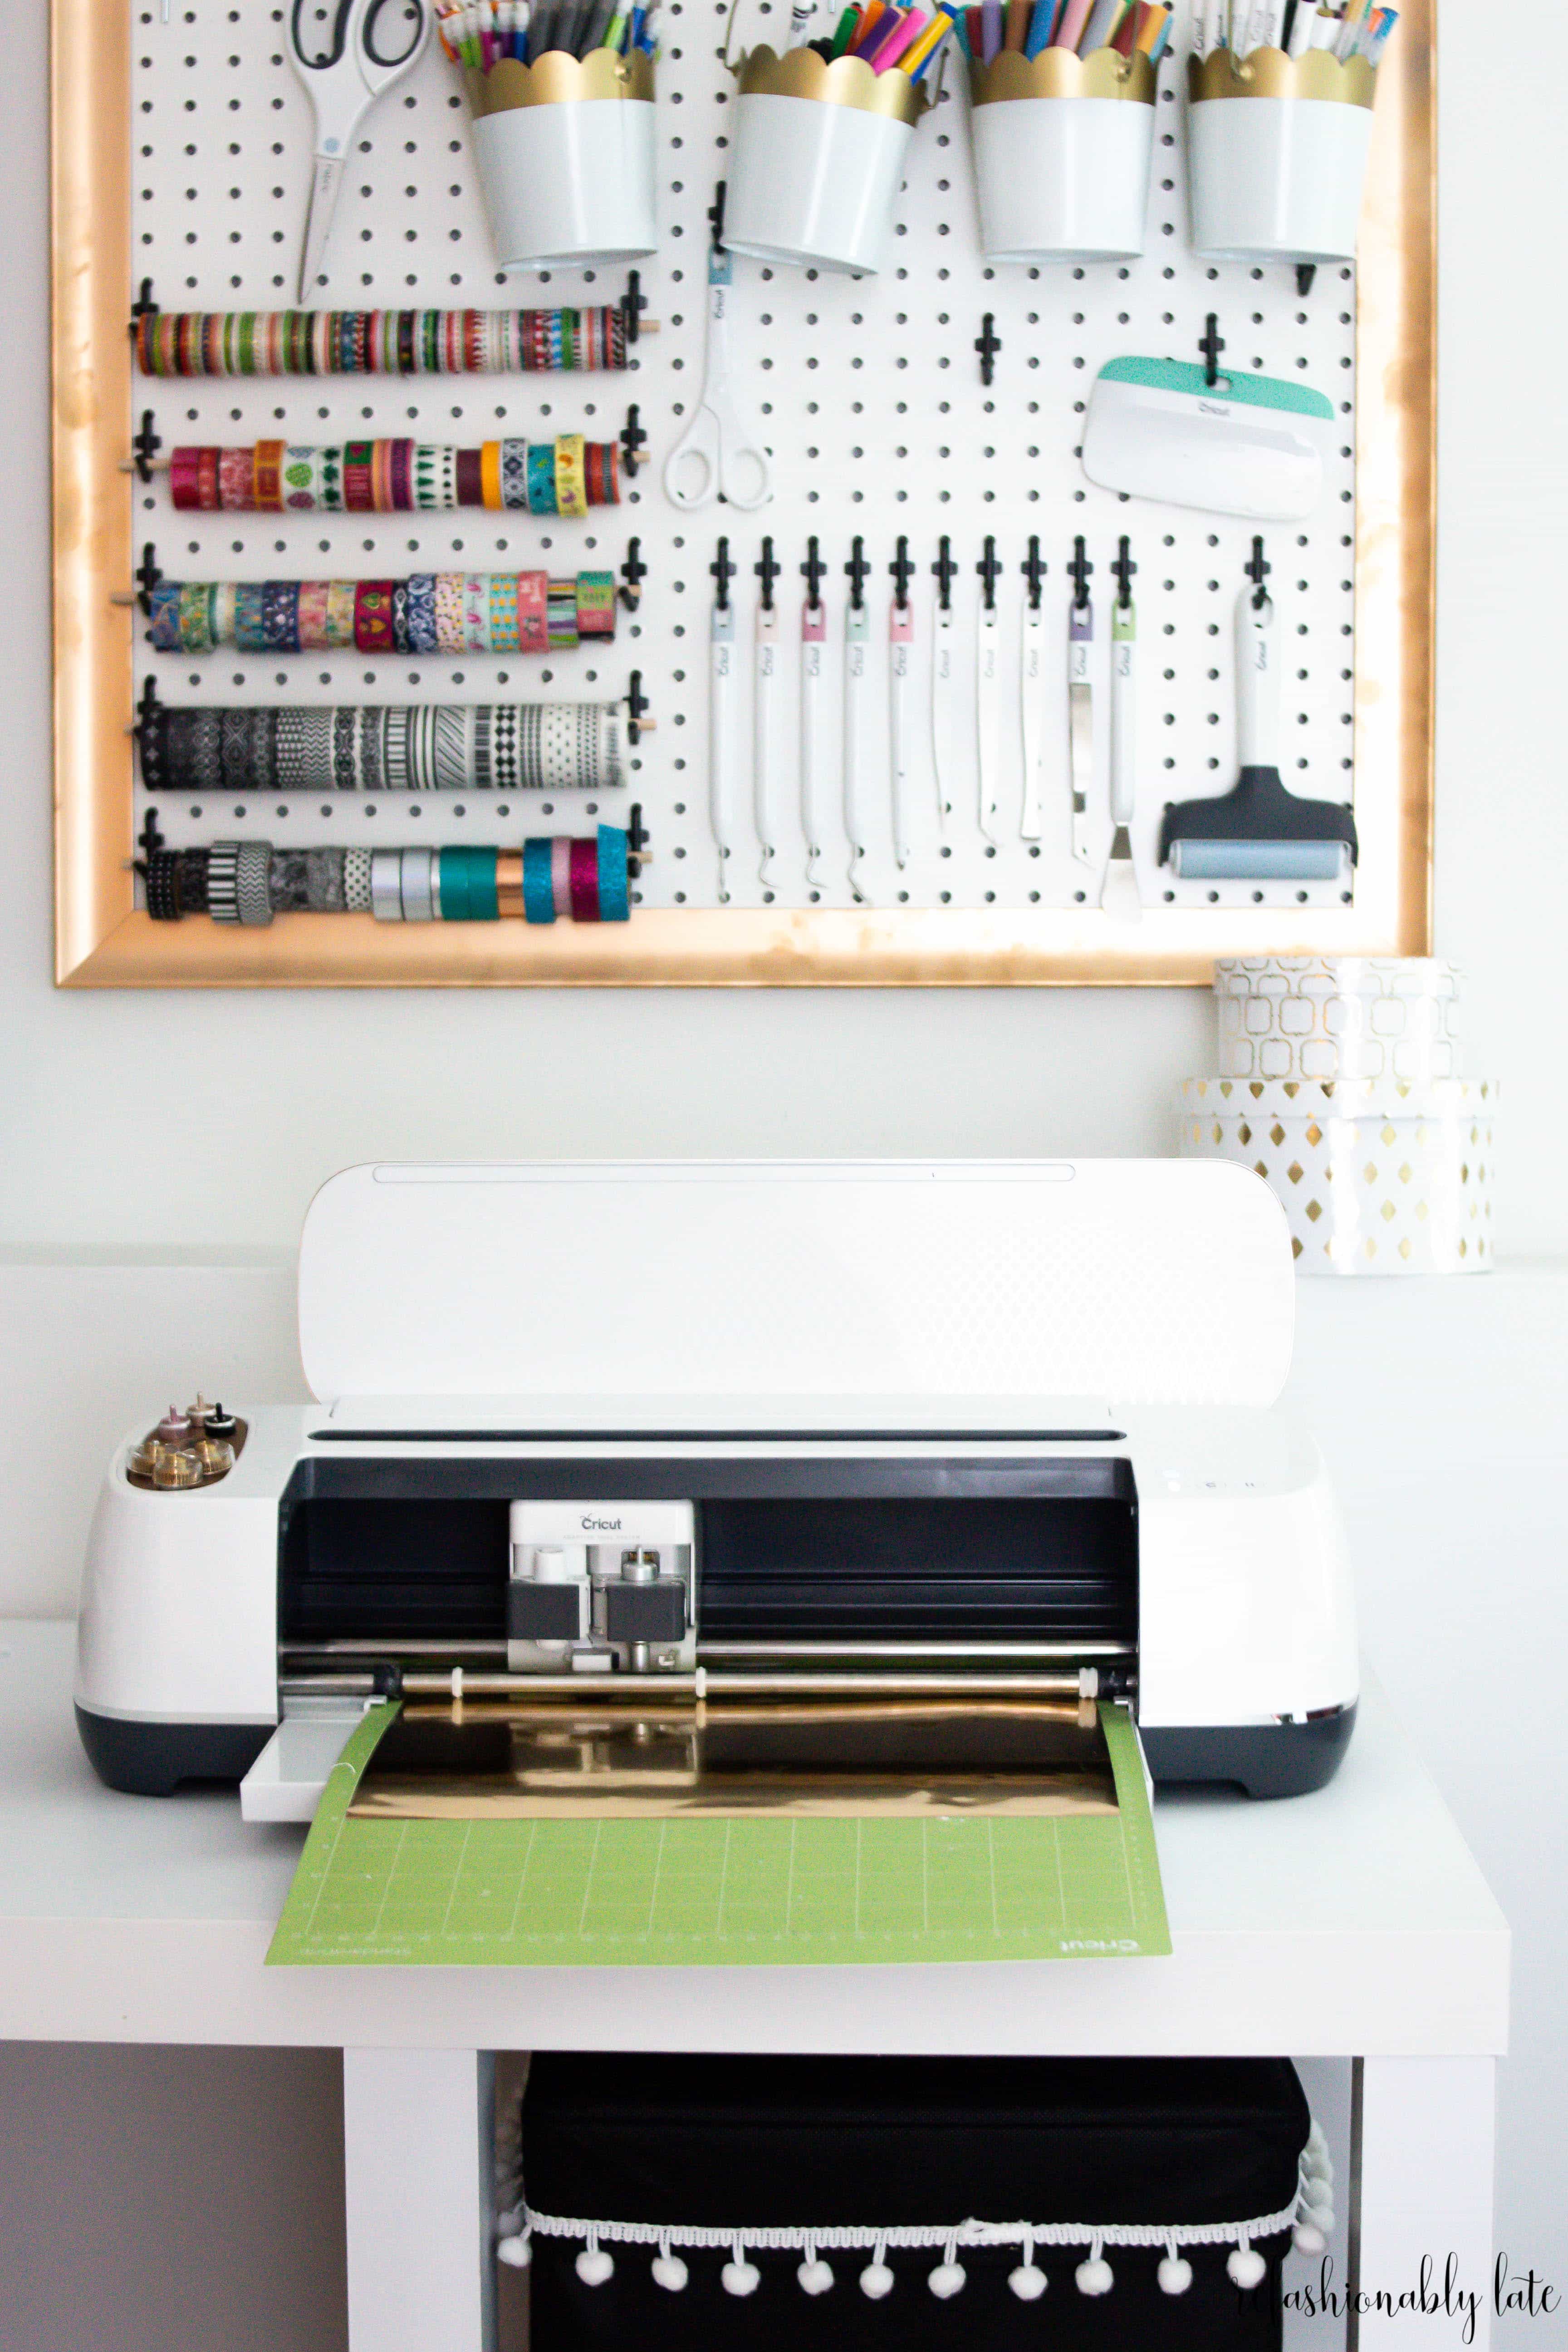
I wanted to share with you today how to use the draw tool in Cricut Design Space. Along with a fun new embossing technique I happen to give a try!
What is Embossing?
Embossing is creating a raised pattern on various types of surfaces. In this case, I am using card stock. Lots of people make greeting cards, signs, among many other things. I wanted to try to make some bookmarks for Lucy and her teacher.
I haven’t done a ton of embossing before so I was experimenting with various ways that you can do it. You can take a stamp and put some embossing ink on it and then sprinkle embossing powder on top and heat it up.
You can also use an embossing pen and freehand something and then complete the same process. Unfortunately, I’m not very artistic when it comes to drawing.
 Thankfully, I decided to try to see if the Emboss It Pen fit in my Cricut Maker….and it did!! I was so excited! I knew I could create some amazing things with the embossing pen and my Cricut.
How to Use the Draw Tool in Cricut Design Space
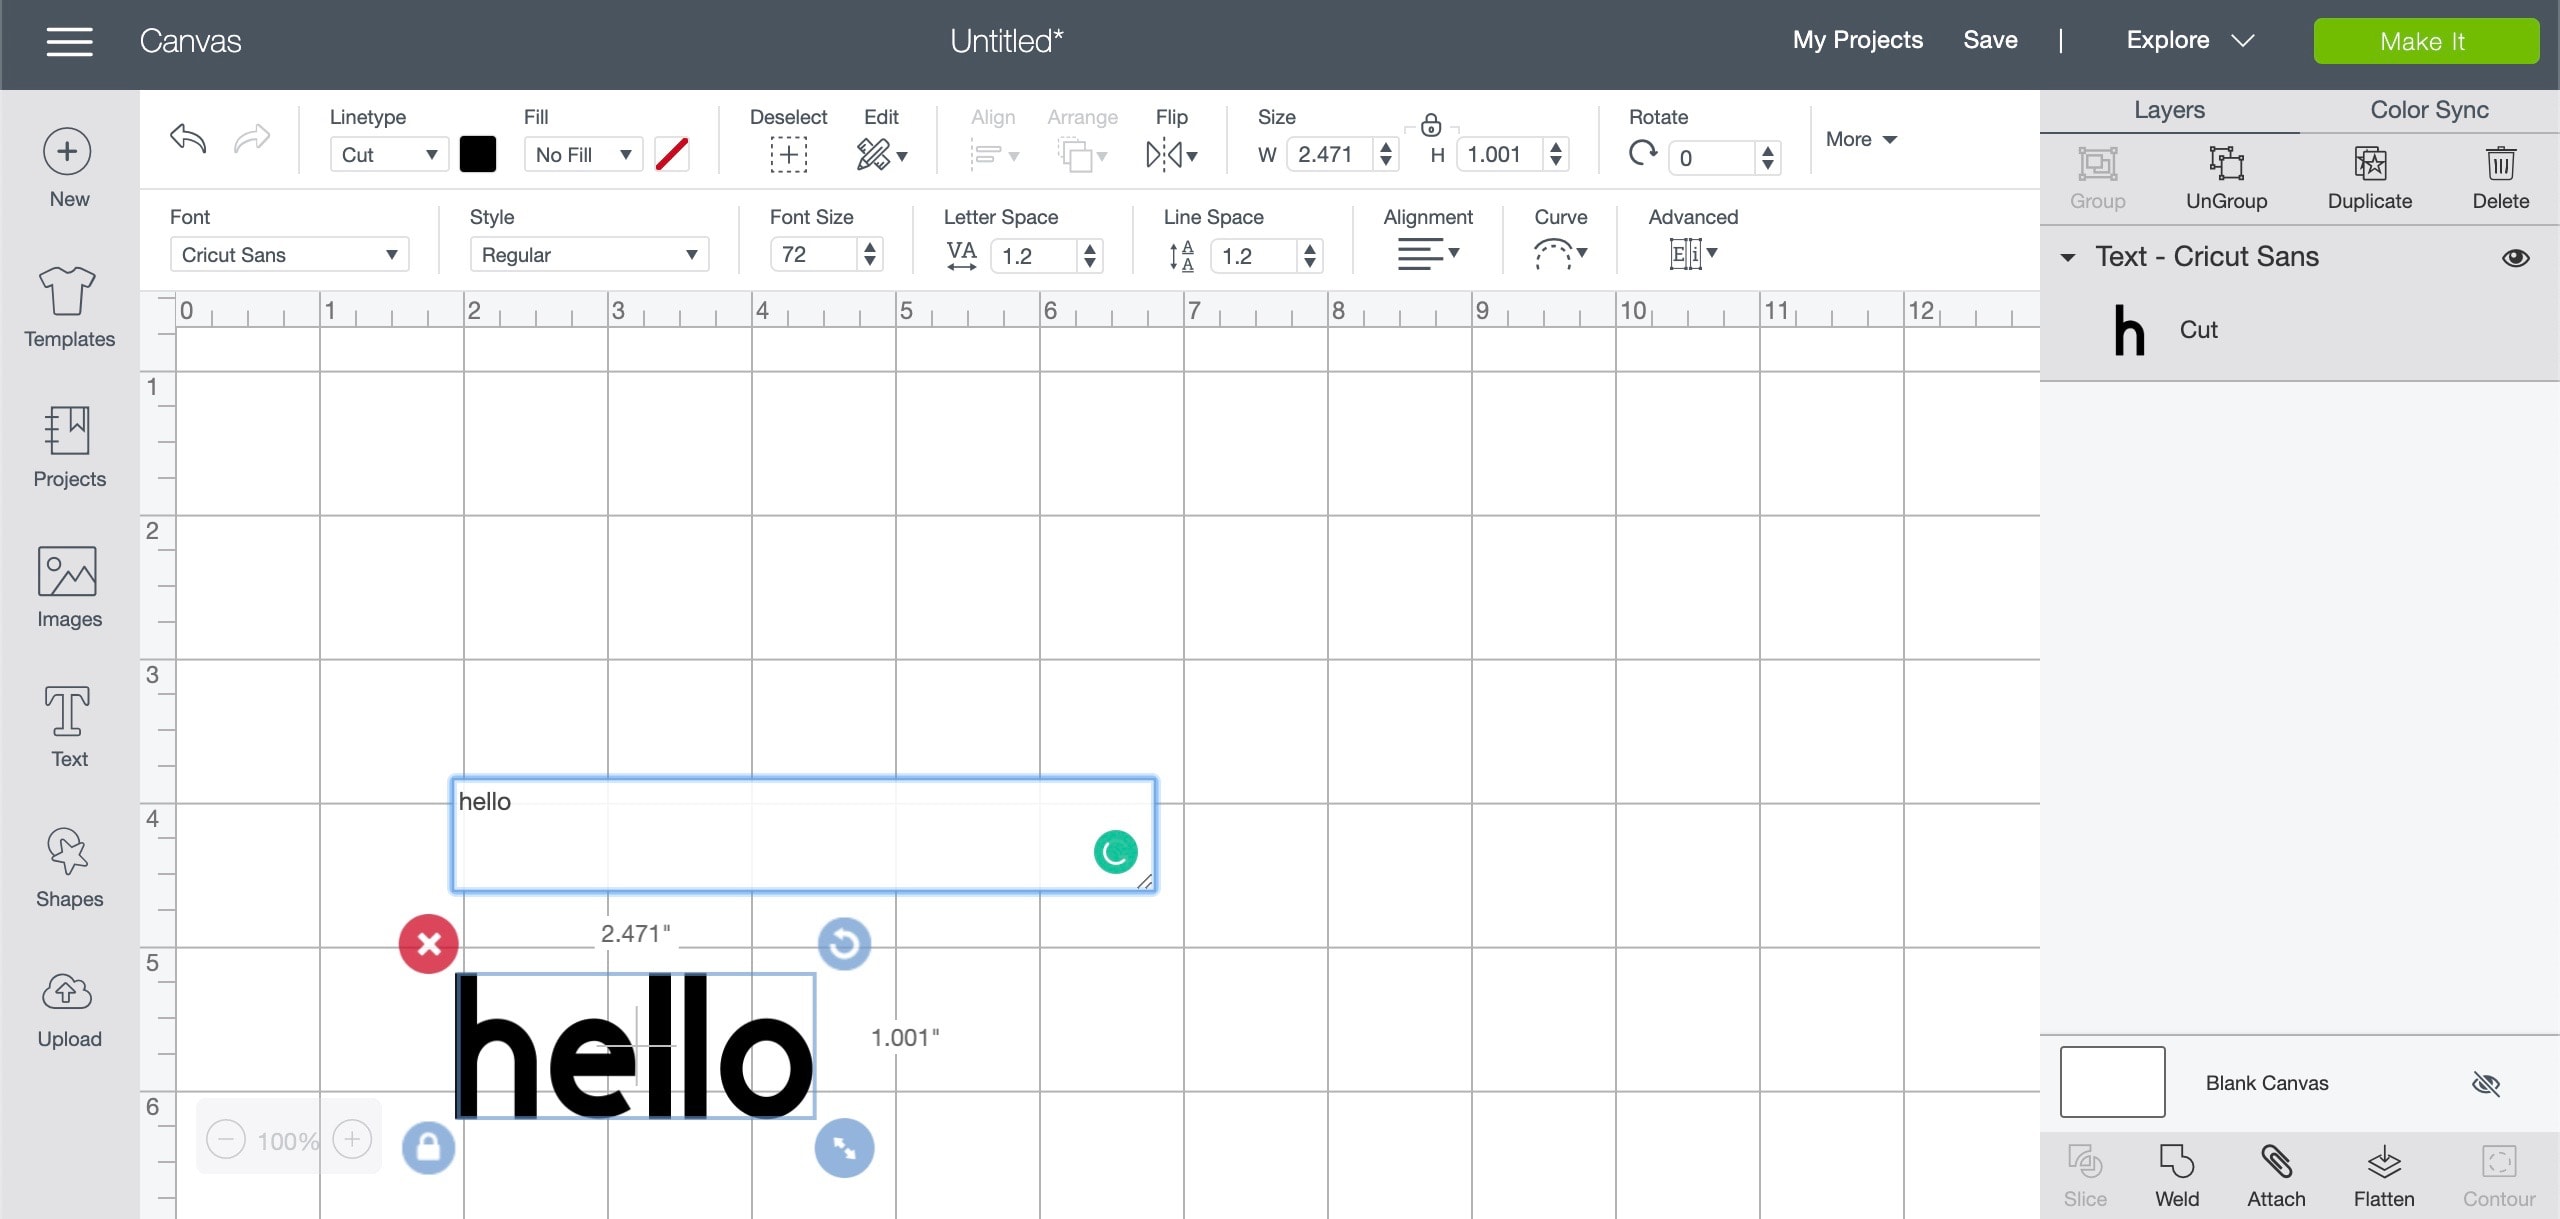
Step 1: Click Text Button
Once you click the text button it will automatically start using the standard text, Cricut Sans. You can then click on the linetype drop down and change to draw.
Step 2: Choosing Font

Step 3: Filter Fonts
To filter out the type of fonts click on the filter button to the right of search fonts. From there you can choose between my fonts, multi-layer, single-layer, and writing. If you want more of a handwritten look then choose the writing filter.
Since I was creating small bookmarks I wanted to go with a text that didn’t outline the lettering. Sometimes it’s a bit of trial and error when it comes to using the writing tool. It also depends on which pen you are using. A fine point pen will show more detail than a calligraphy pen will.
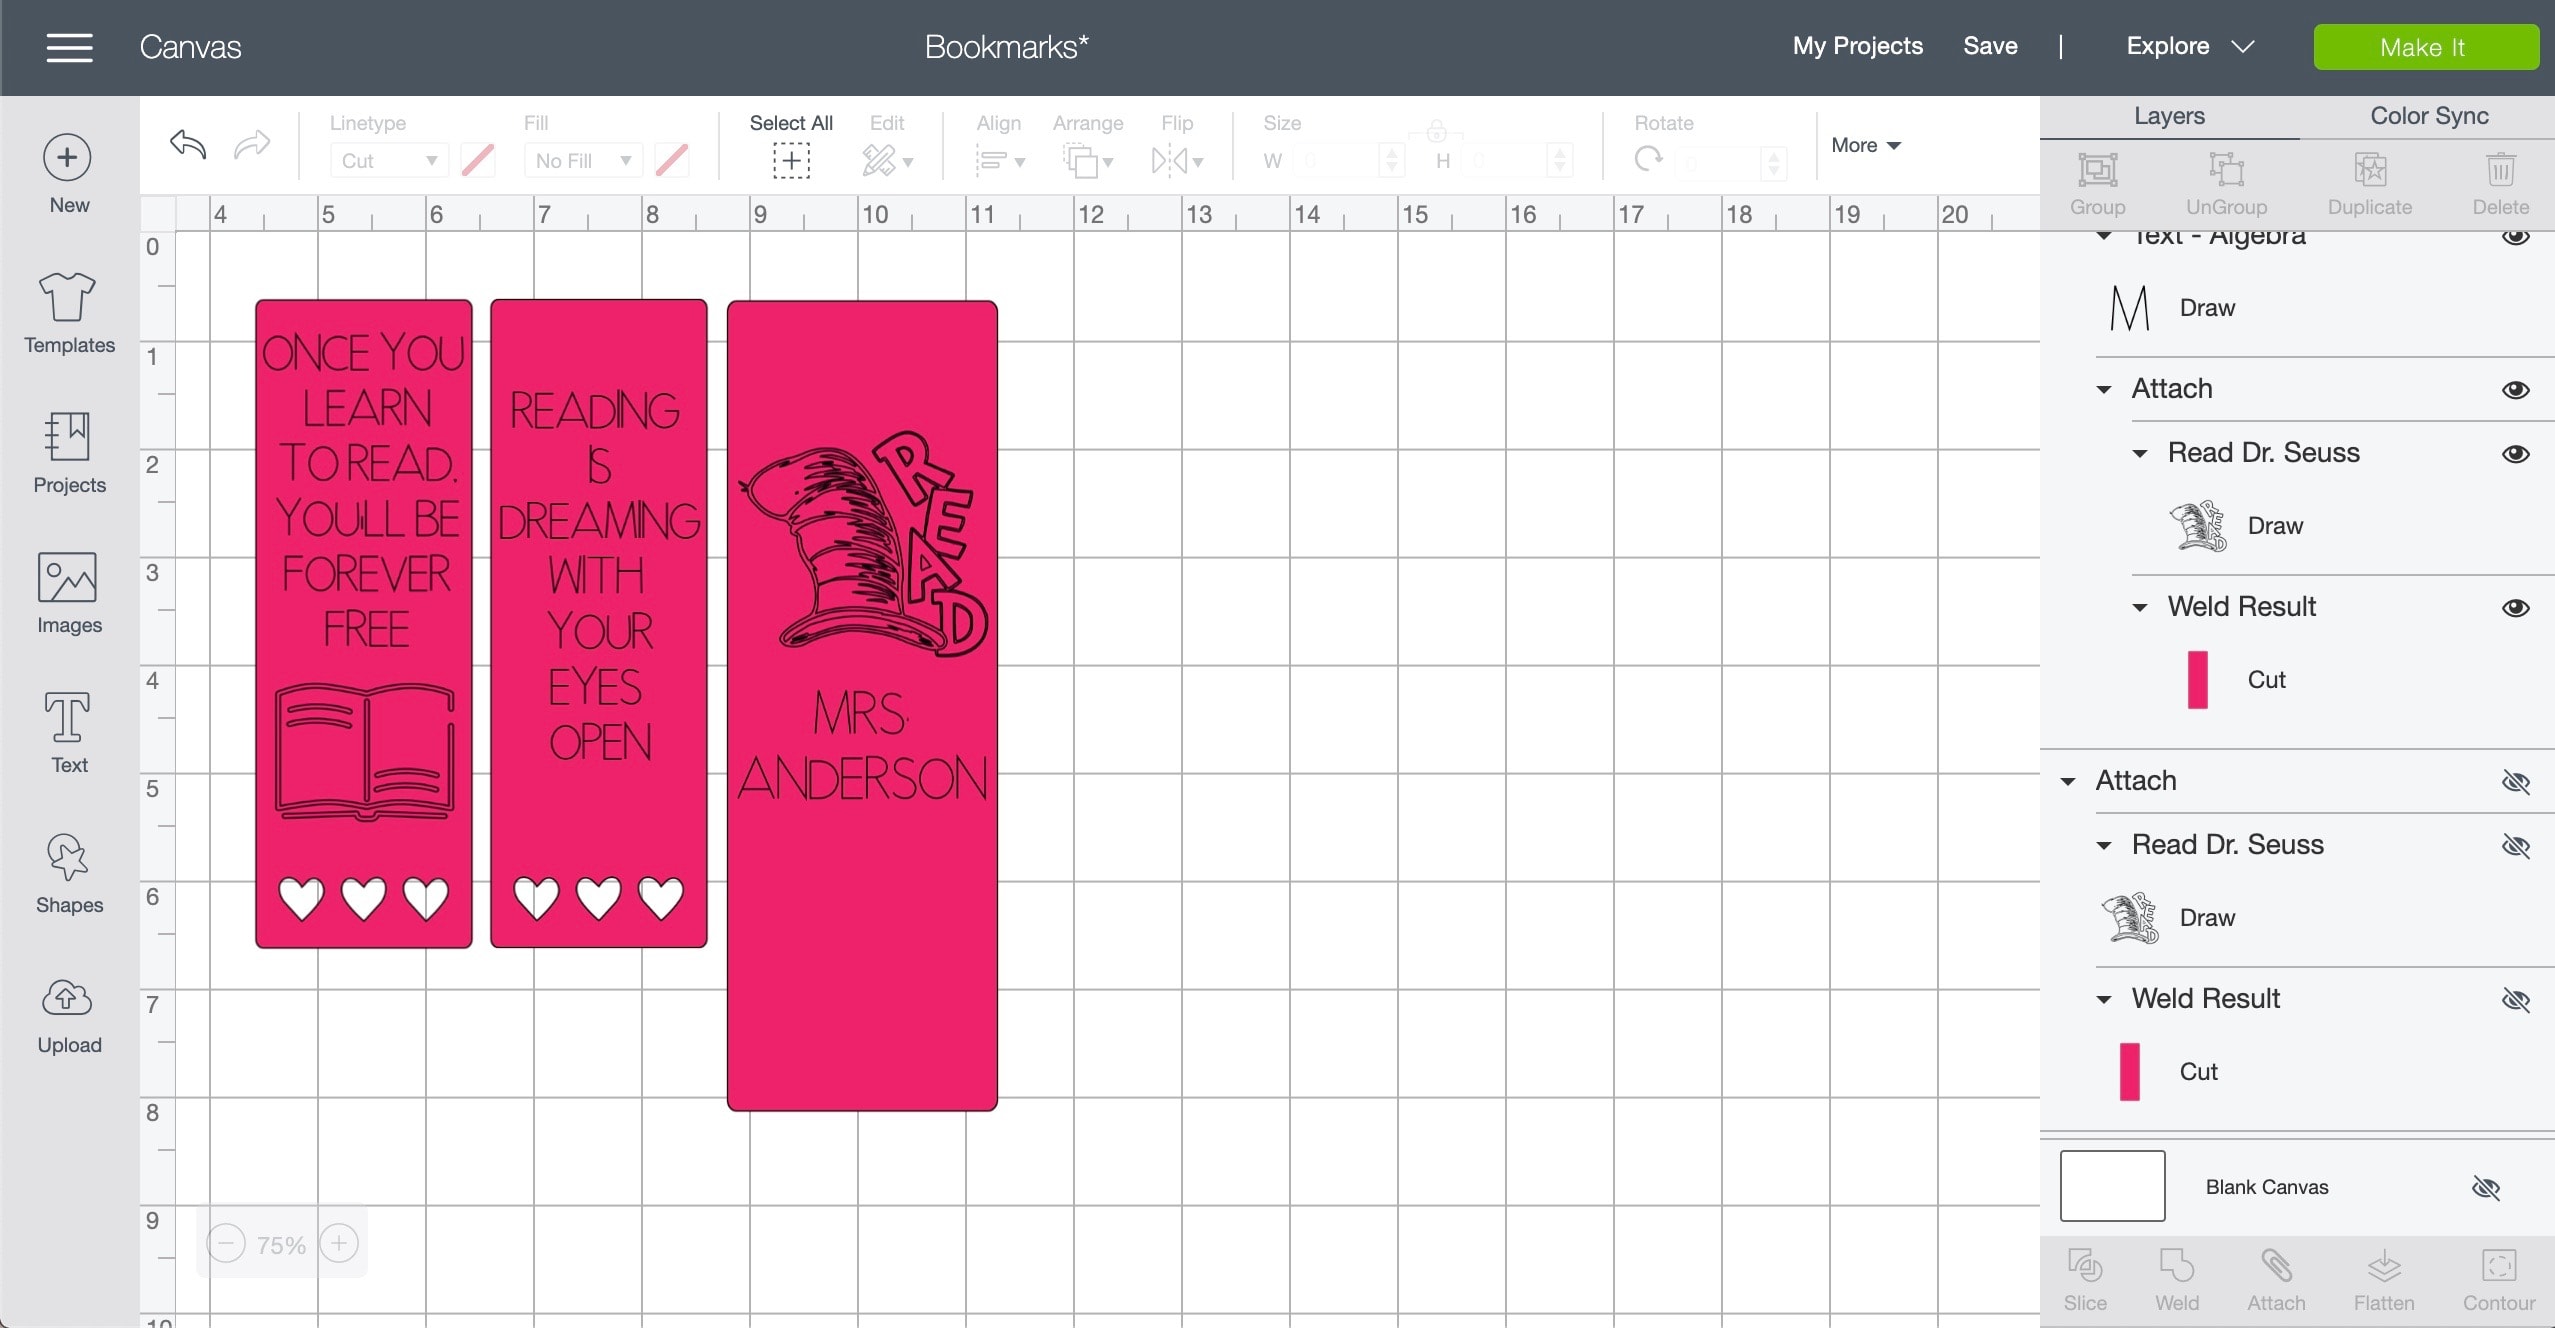 Step 4: Attach Text to Project
Simply highlight the text and cut project and press the attach button on the bottom right of your screen.
Wagner HT400 Heat Gun
While I was experimenting with embossing I tried out a new crafting tool, the Wagner HT400 Heat Gun. It is a great tool to use when embossing.
There are two settings, Low at 450 degrees and High at 680 degrees. I used the low setting while working on my bookmarks. This way it wouldn’t warp the cardstock.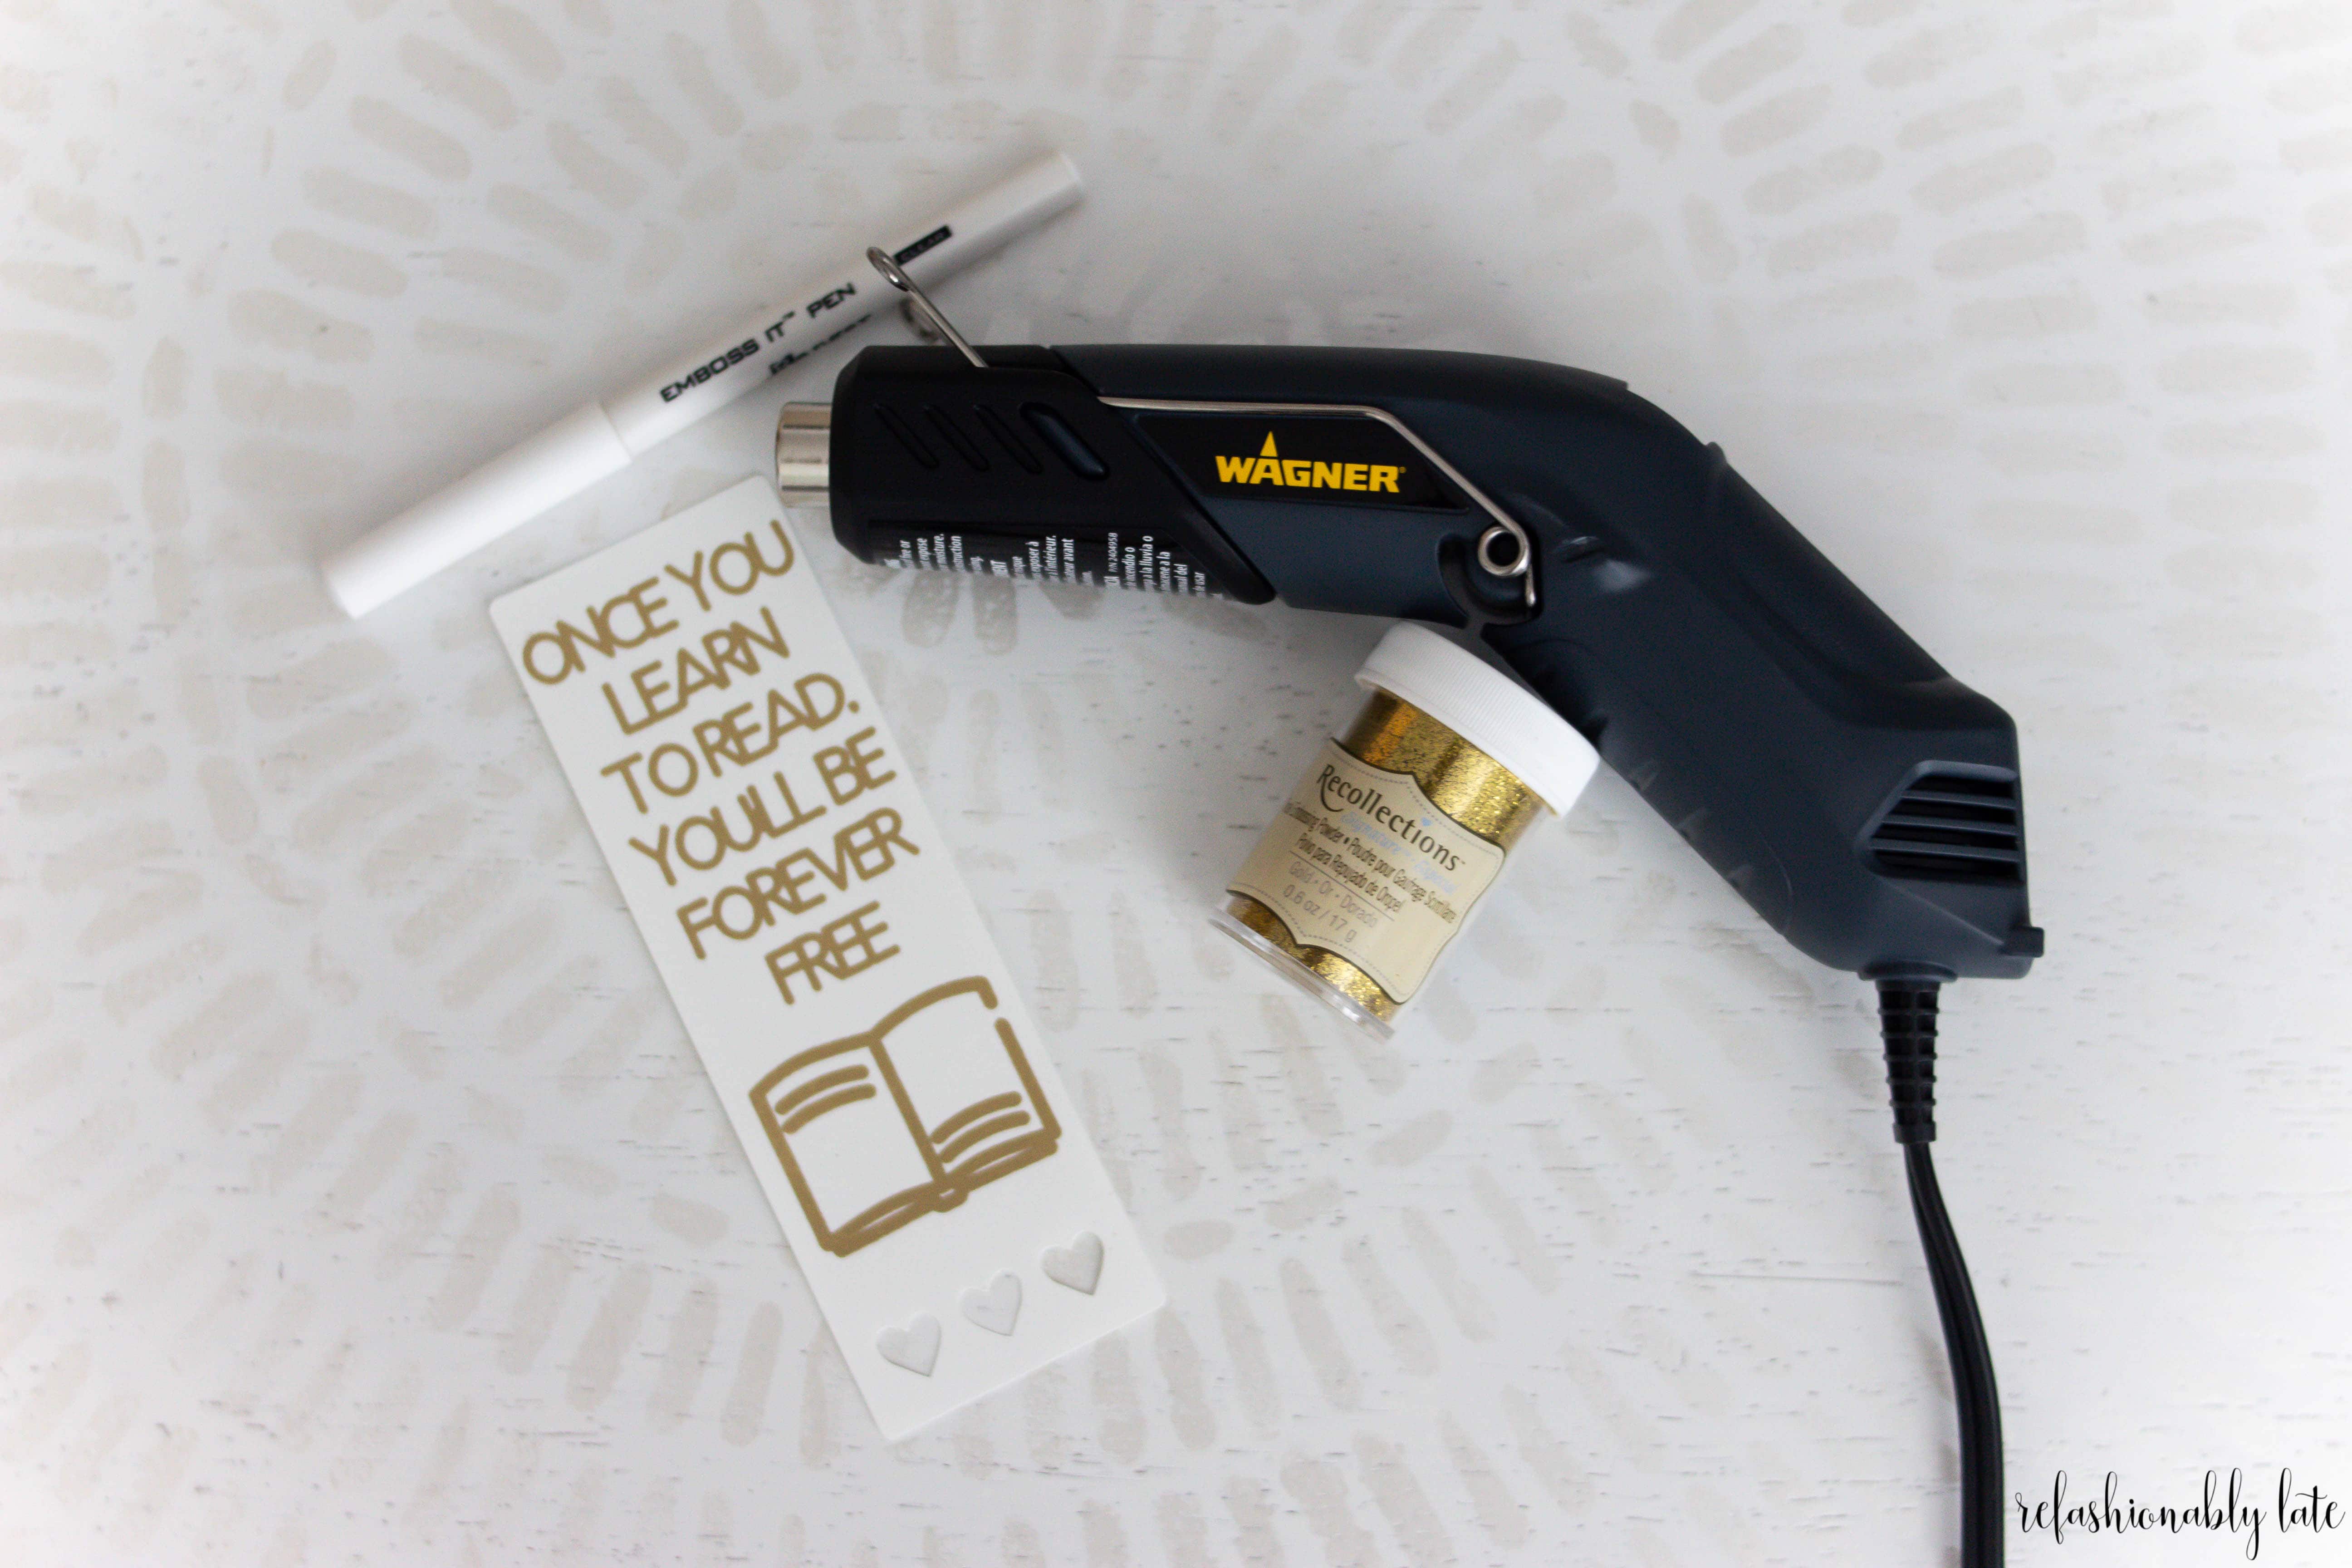
There are quite a few features of the HT400 that I really like. My absolute favorite is the retractable stand which allows you to set it down safely and easily.
The design of the heat gun also gives you various ways you can hold the heat gun in your hands. Pictured below I am using the pencil grip. You can also hold it on the other end with a palm grip and use it hands-free with the stand.
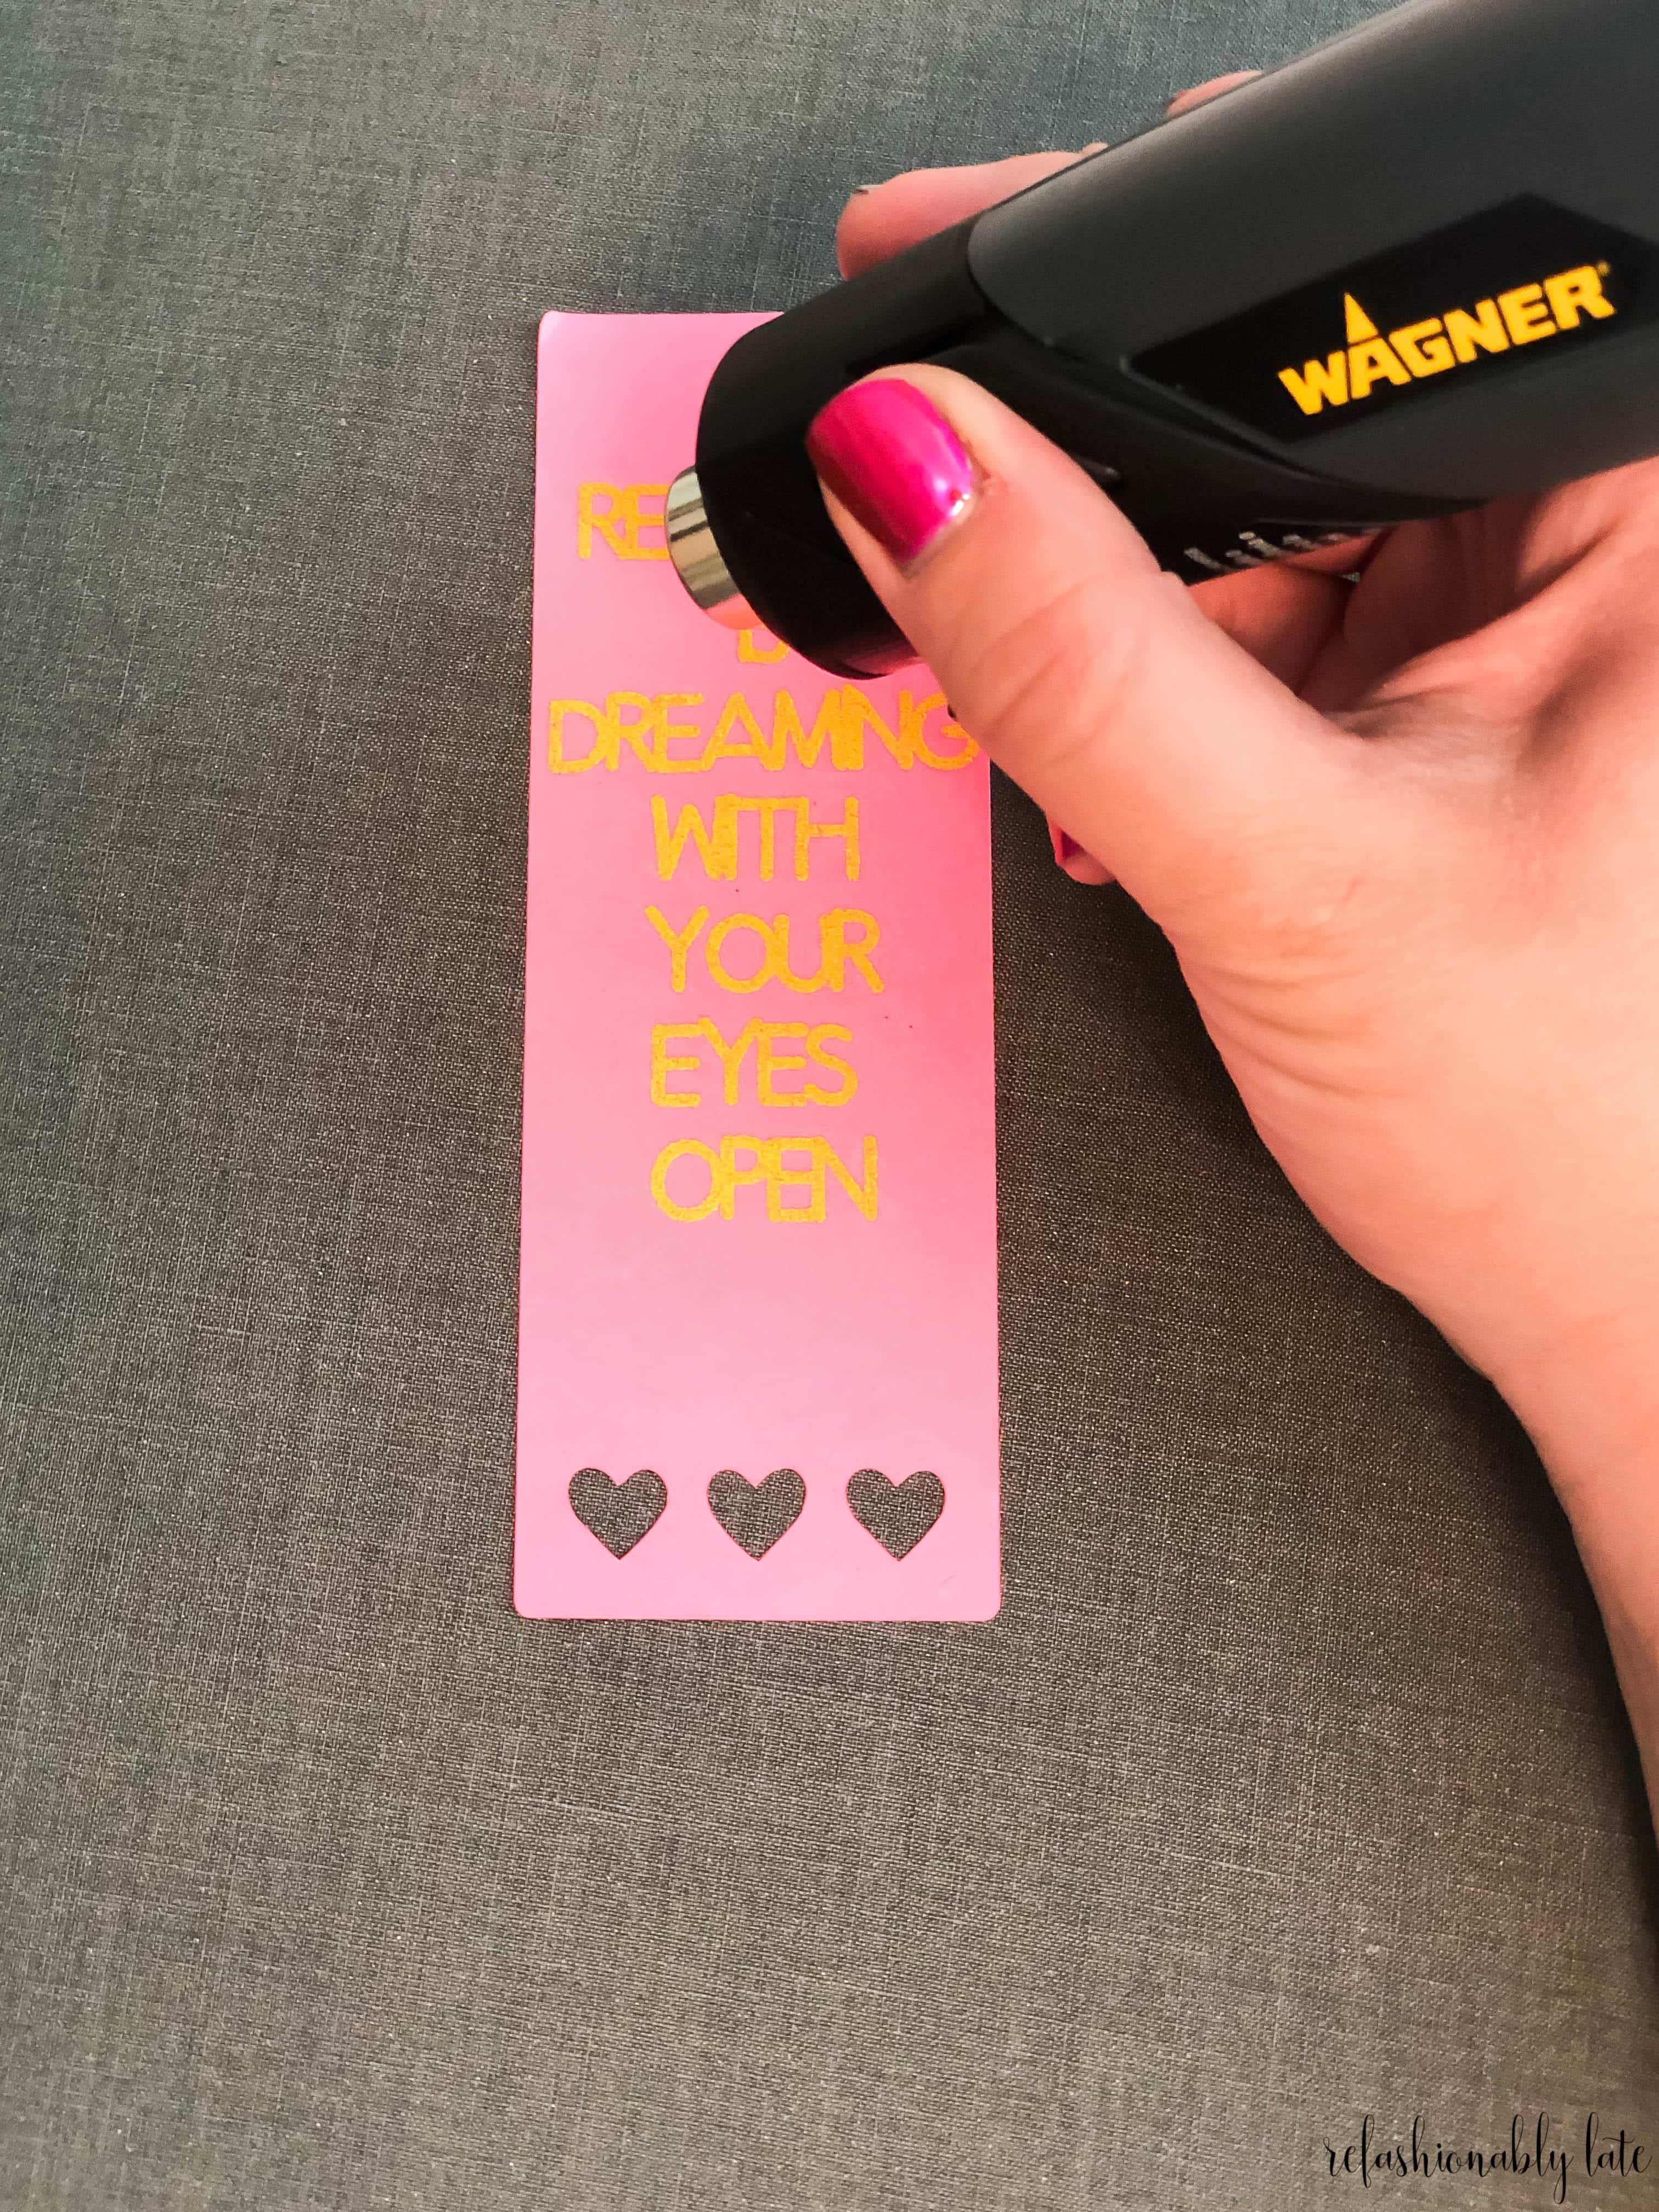
It worked beautifully and I had so much fun creating different templates and using various embossing powders. For the full tutorial on how to make your own Embossed Bookmarks head on over to Wagner’s blog.
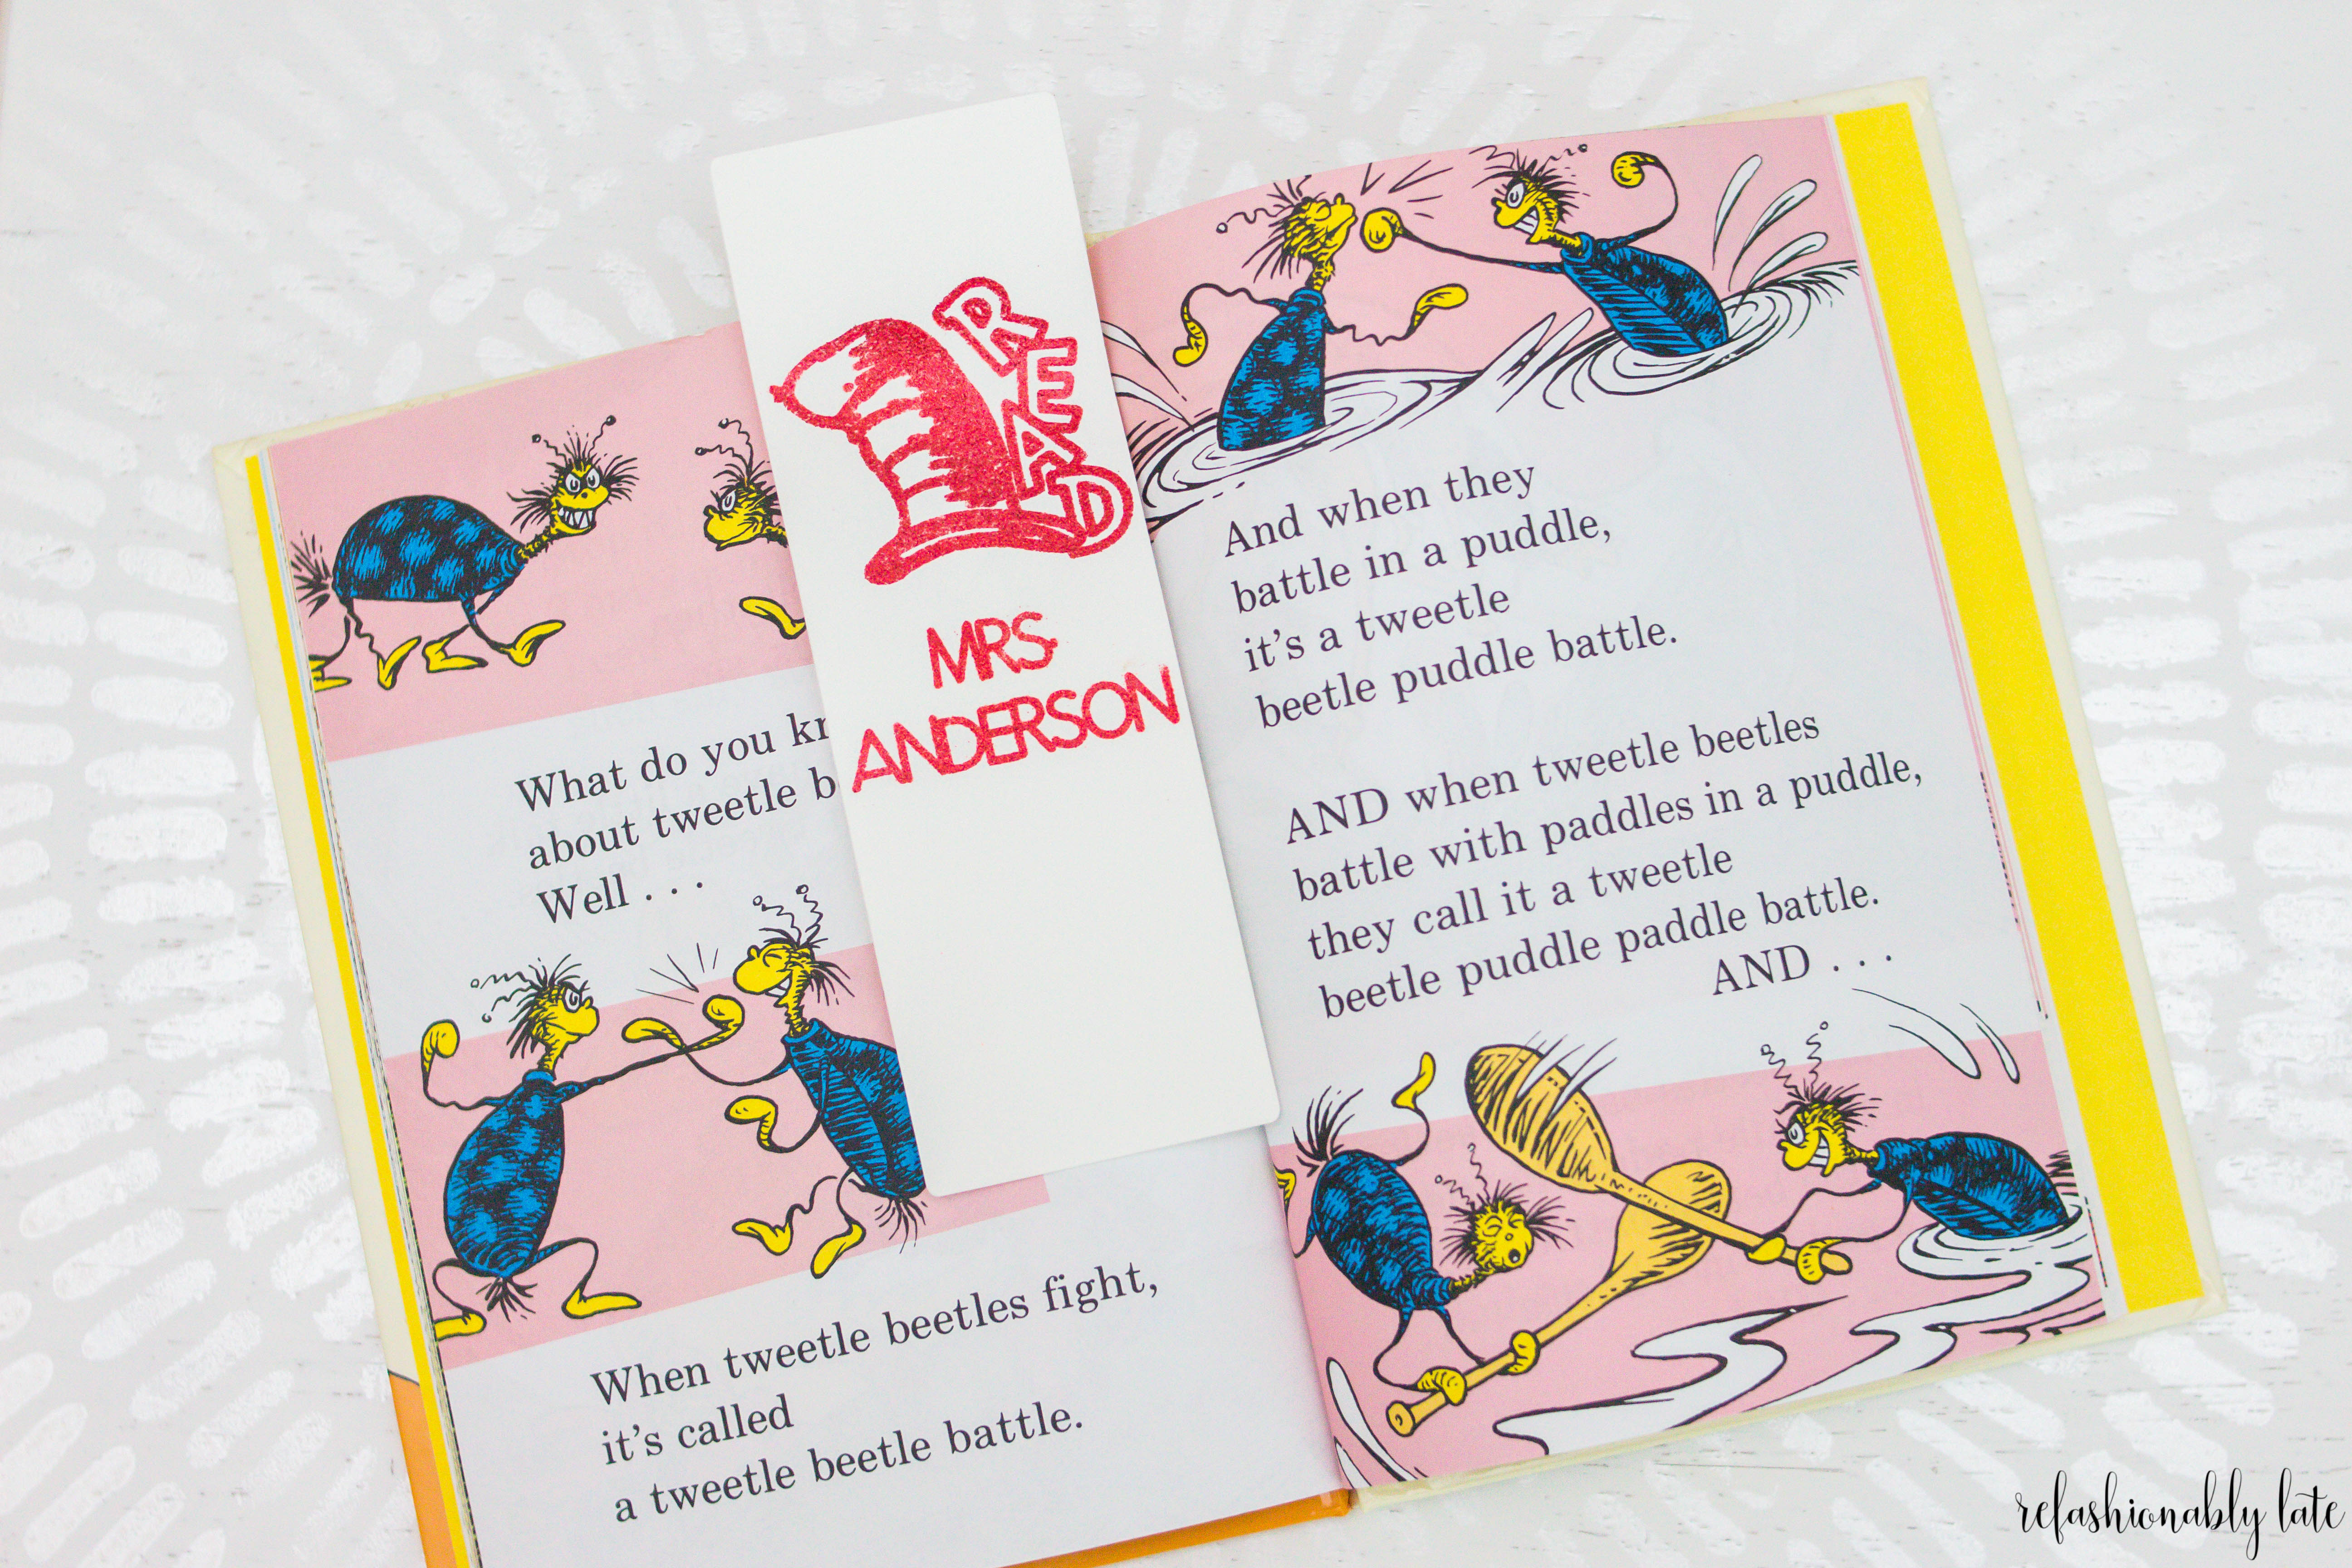
Thank you for stopping by! I hope all of your littles have started off school safely. Crossing my fingers it goes well for us tomorrow.
