
This shop has been compensated by Collective Bias, Inc. and its advertiser. All opinions are mine alone. #BacktoBabyBasics #CollectiveBias

In about a week, give or take a few days, I’m hoping to be sitting in our nursery with a brand new baby in my arms! It has been a long road getting to where we are and I couldn’t be more thankful this year for bringing new life into this world. I can’t wait to bring our daughter home to big sister, Lucy, and my husband. What a blessing the gift of life is! We have a lot to be thankful for this Thanksgiving holiday!
The past 6 weeks I have been participating in the One Room Challenge and I took on the challenge of giving our 3rd bedroom upstairs a makeover. This is the only room in the house we haven’t painted and we weren’t planning to until we got pregnant. We didn’t see the point in painting the walls when we knew we would in the not too distant future.
All of the closets in our home have the ugly hollow bifold doors. I can’t stand the color of the “wood” and they are just an eye sore. I removed the doors below and wanted to give the room a bigger look so I replaced the doors with curtains.

The one problem with removing closet doors and replacing with curtains is you want a beautiful looking closet at all times. We started by removing the warped shelf that went across the length of the closet as well as the rod. They weren’t in great shape and they were brown. We then were able to start with a blank canvas. We painted the walls white to match the room in preparation for a new closet system.
Long story short I was driving down my street a few weeks ago and came across a garage sale so of course I had to stop! 🙂 Right at the end of the driveway they had all of these white book shelve looking pieces separated that had a free sign on it. I was examining it and then someone came up to me and practically begged me to take it and that it was a closet system. I of course said sure! It didn’t hurt to take it and if it didn’t work then we weren’t out any money! Since I lived close they even took it down to my house for me! So after piecing it together and getting it exactly the way we wanted it this is how it turned out!

A few extra special touches I did to make it unique and match the rest of the nursery was by covering the drawers with fabric, adding new pulls and then giving the storage boxes a touch of pink with fabric and paint. I purchased 8 medium sized TJENA Storage Boxes and 2 large sized TJENA Storage Boxes from IKEA. Today I want to share with you how I gave these cute little boxes a makeover.
Here’s what you need:
- Storage Box of Choice
- Fabric
- Fabric Scissors
- Craft Paint
- Foam Brushes
- Hot Glue Gun (if needed)
 First you will start by covering the top of your lid with mod podge. Then lay the fabric on top and smooth out all of the bubbles. (You will want to cut the fabric to size before gluing it on. Make sure to leave room for the sides of the lid and folding it over.) No need to iron the fabric as you can lay it flat and once it dries all the wrinkles won’t be there.

- Next turn the lid upside down and use your fabric scissors and cut each corner at an angle towards the lid edges.

- Then cut a little square out at each edge of the fabric.

- I then covered one side of the lid inside and out with mod podge and then folded that piece over the edge.

- Add mod podge to the next side of the lid inside and out. Next fold the extra side of fabric over so that it’s a straight line and fold it over so it clings to the mod podge. Continue this process for the two remaining sides.

- Let it dry and while it’s drying you can paint the labels that come with the boxes. If your storage boxes don’t have the labels then you can buy some at a store if you want to name each box.


- I let that dry and once the lids were dry I then got out my hot glue gun out and secured a few of the inner edges of the lids. Some of the piled up fabric wasn’t sticking the greatest. The hot glue gun did the trick!
- After the labels were dry I peeled the sticker off the back and placed them on each storage box. I also printed out a paper with multiple size fonts to see which fit these particular labels. In my case Size 30 in Apple Chancery fit perfectly. I typed out each title and placed them inside the labels.

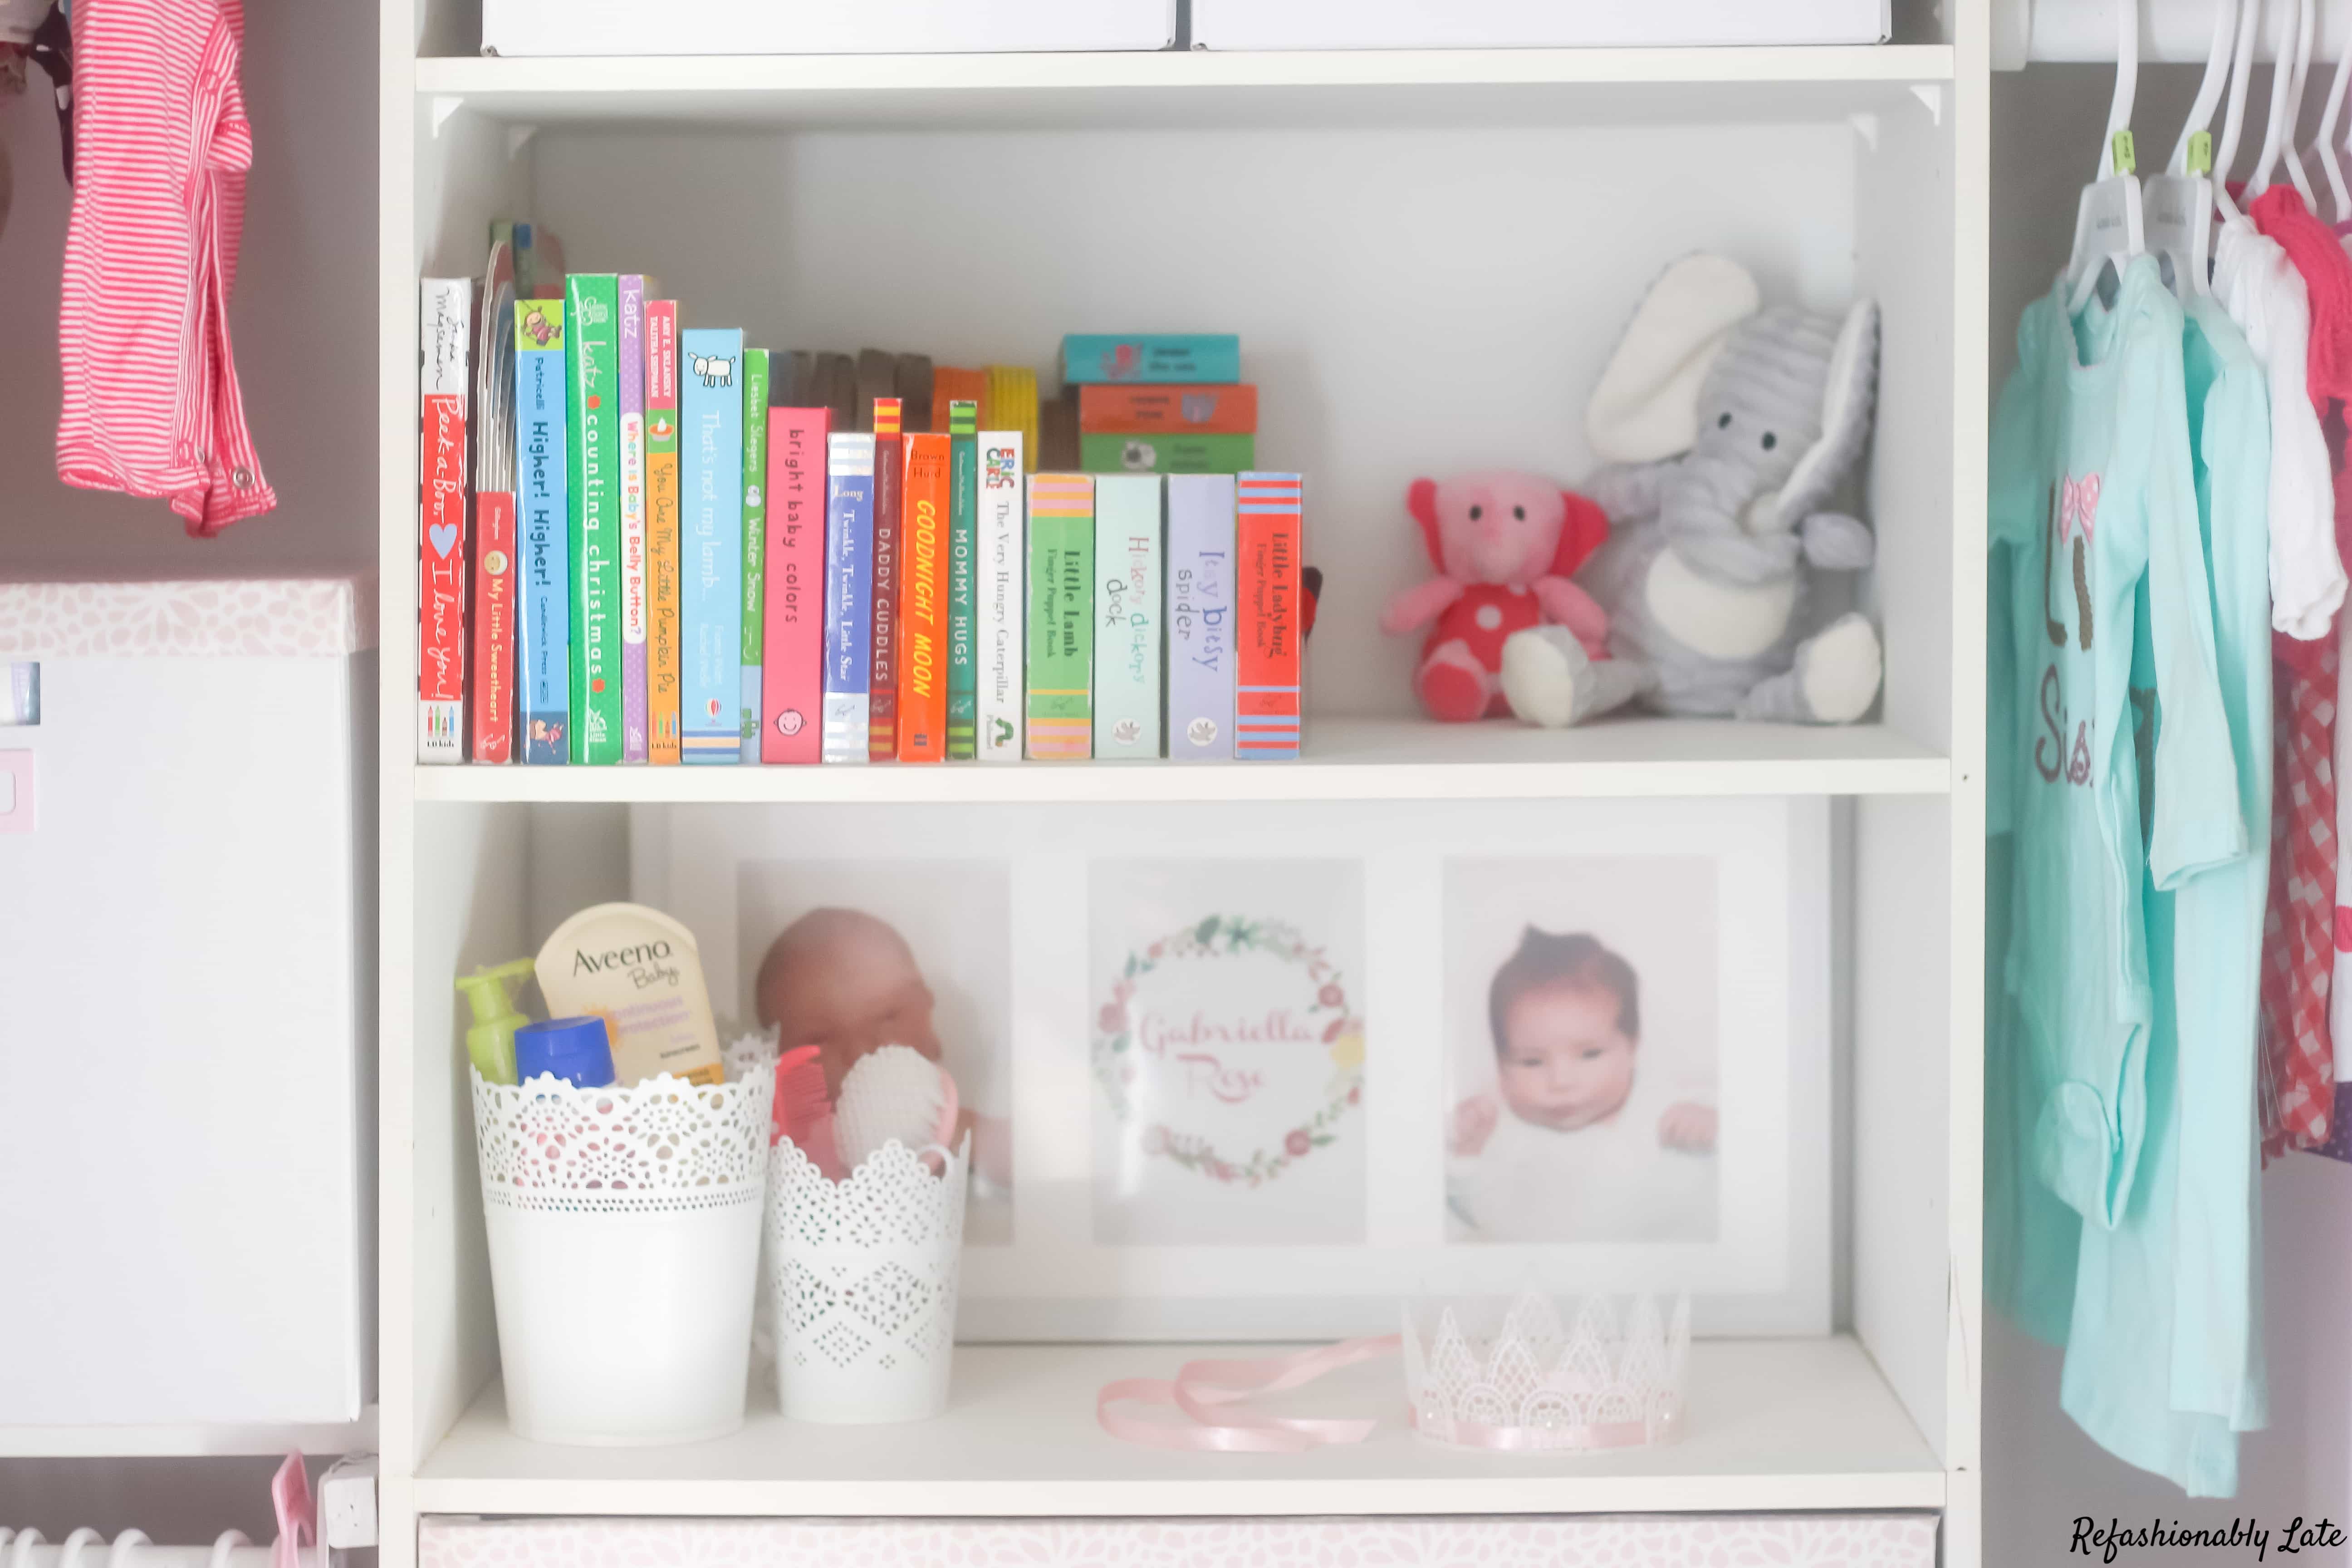
These decorative storage boxes are great to store items in a closet especially if yours is open for everyone to see! I love how it turned out and hopefully with the labels this will help me stay organized. Some items that are great to store are the extra diapers and wipes as you typically stock up before baby arrives.


I headed to our local Babies “R” Us to pick up some extra diapers and wipes for our new little one on the way! I went with Huggies Natural Care wipes and Huggies Little Snugglers in Newborn Size. They are available at stores nationwide. Babies “R” Us is a great because it’s more than just a retailer destination. Not only can you shop for baby necessities but you can also decorate your nursery. They have such beautiful furniture and they have it all set up like little rooms. They also have Baby’s Basics Classes in store where with the help of a professional, new and expectant parents can learn how to care for a baby during the first 6 months of infancy, from bathing to diaper changing and beyond! They are hosted by a local community medical partner so check your local store for class availability and times.


Besides diapers and wipes I’ve created storage for first aid, shoes, bibs, hats, toys, nursing items etc. I love knowing where everything is and it helps me feel more calm before baby girl makes her arrival. What would you store in your boxes? Would you use fabric or maybe try out a wrapping paper or scrap book paper to individualize your bins? I’ll leave you here with a couple more photos of the closet finished and if you’d like to see the entire room transformed you can see the whole process from when I participated in the One Room Challenge the past 6 weeks. 


Happy Friday friends!


I definitely like the look without the bifold doors!So pretty! #client