
 I’m not in love with my kitchen cabinets but I am living with it for a while and not painting them white because I know how large of a task it is. Plus once you paint them it’s really hard to go back to the original wood. With that being said I have wanted to make a lot of minor changes in my kitchen to update it. Something small that I did and has made a huge difference is changing out the knobs on all the cabinets and drawers.
Before:


After: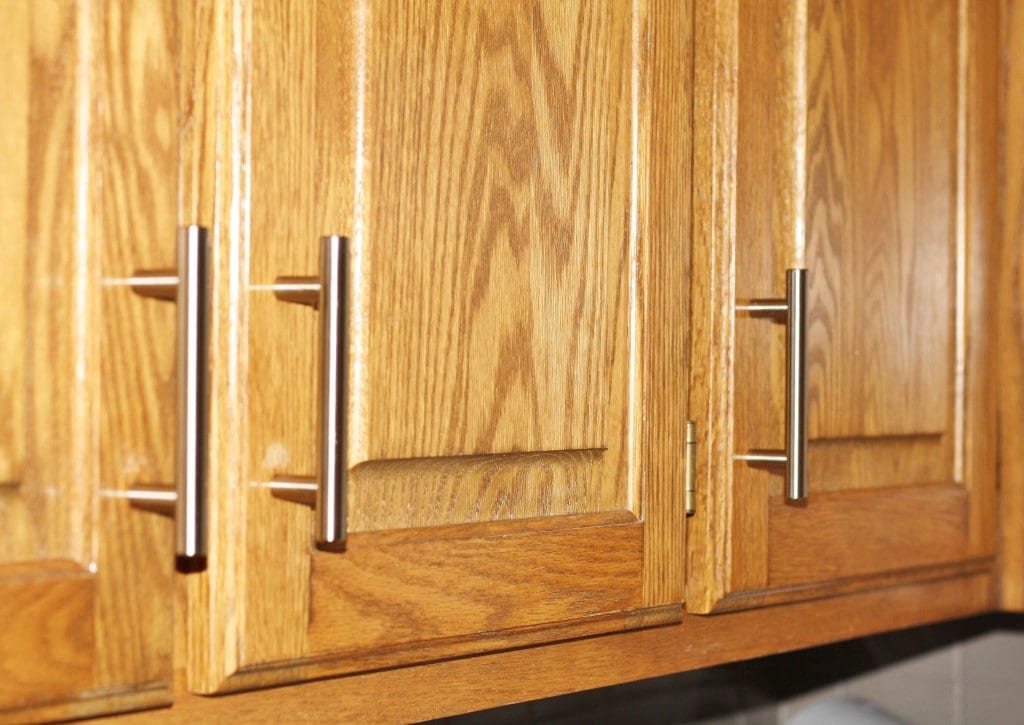


I love how much it makes our kitchen more contemporary and all it took was a screwdriver and some patience! 🙂
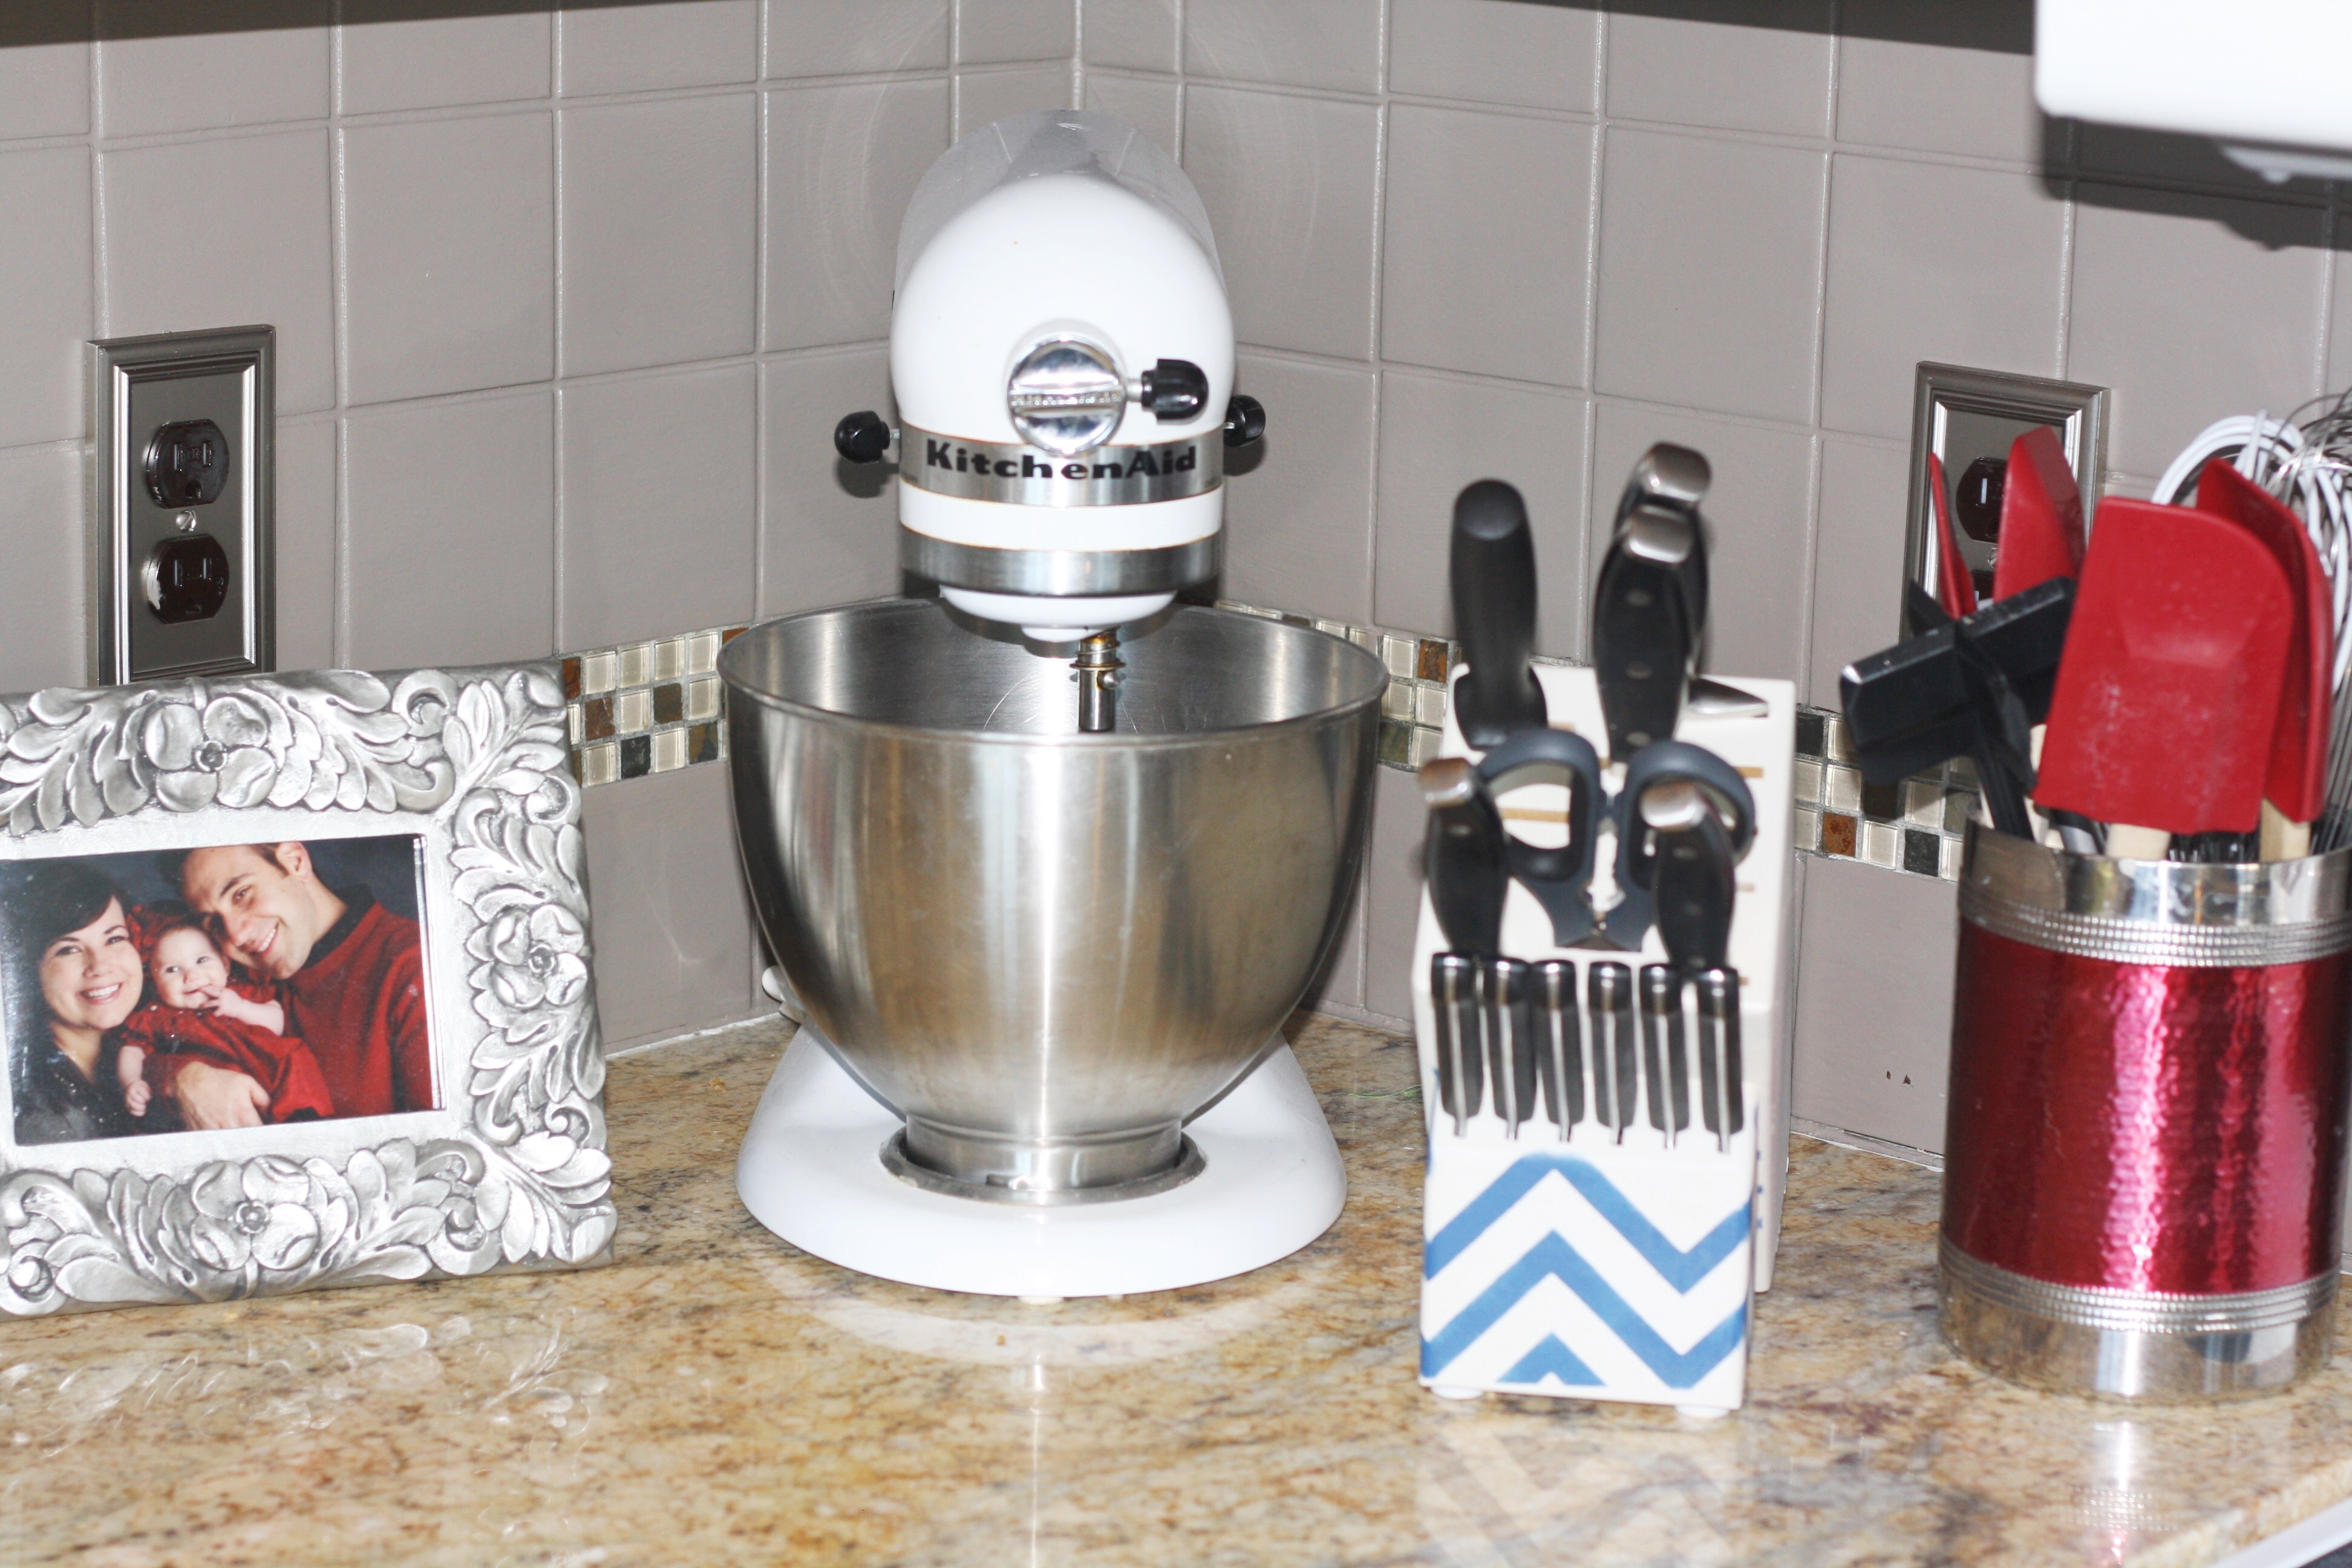
Our knife block was a blonde wood, which I hate, and I didn’t like the contrasting woods with our cabinets. I decided to update it a little and paint it my favorite color of all time, Accessible Beige from Sherwin Williams.


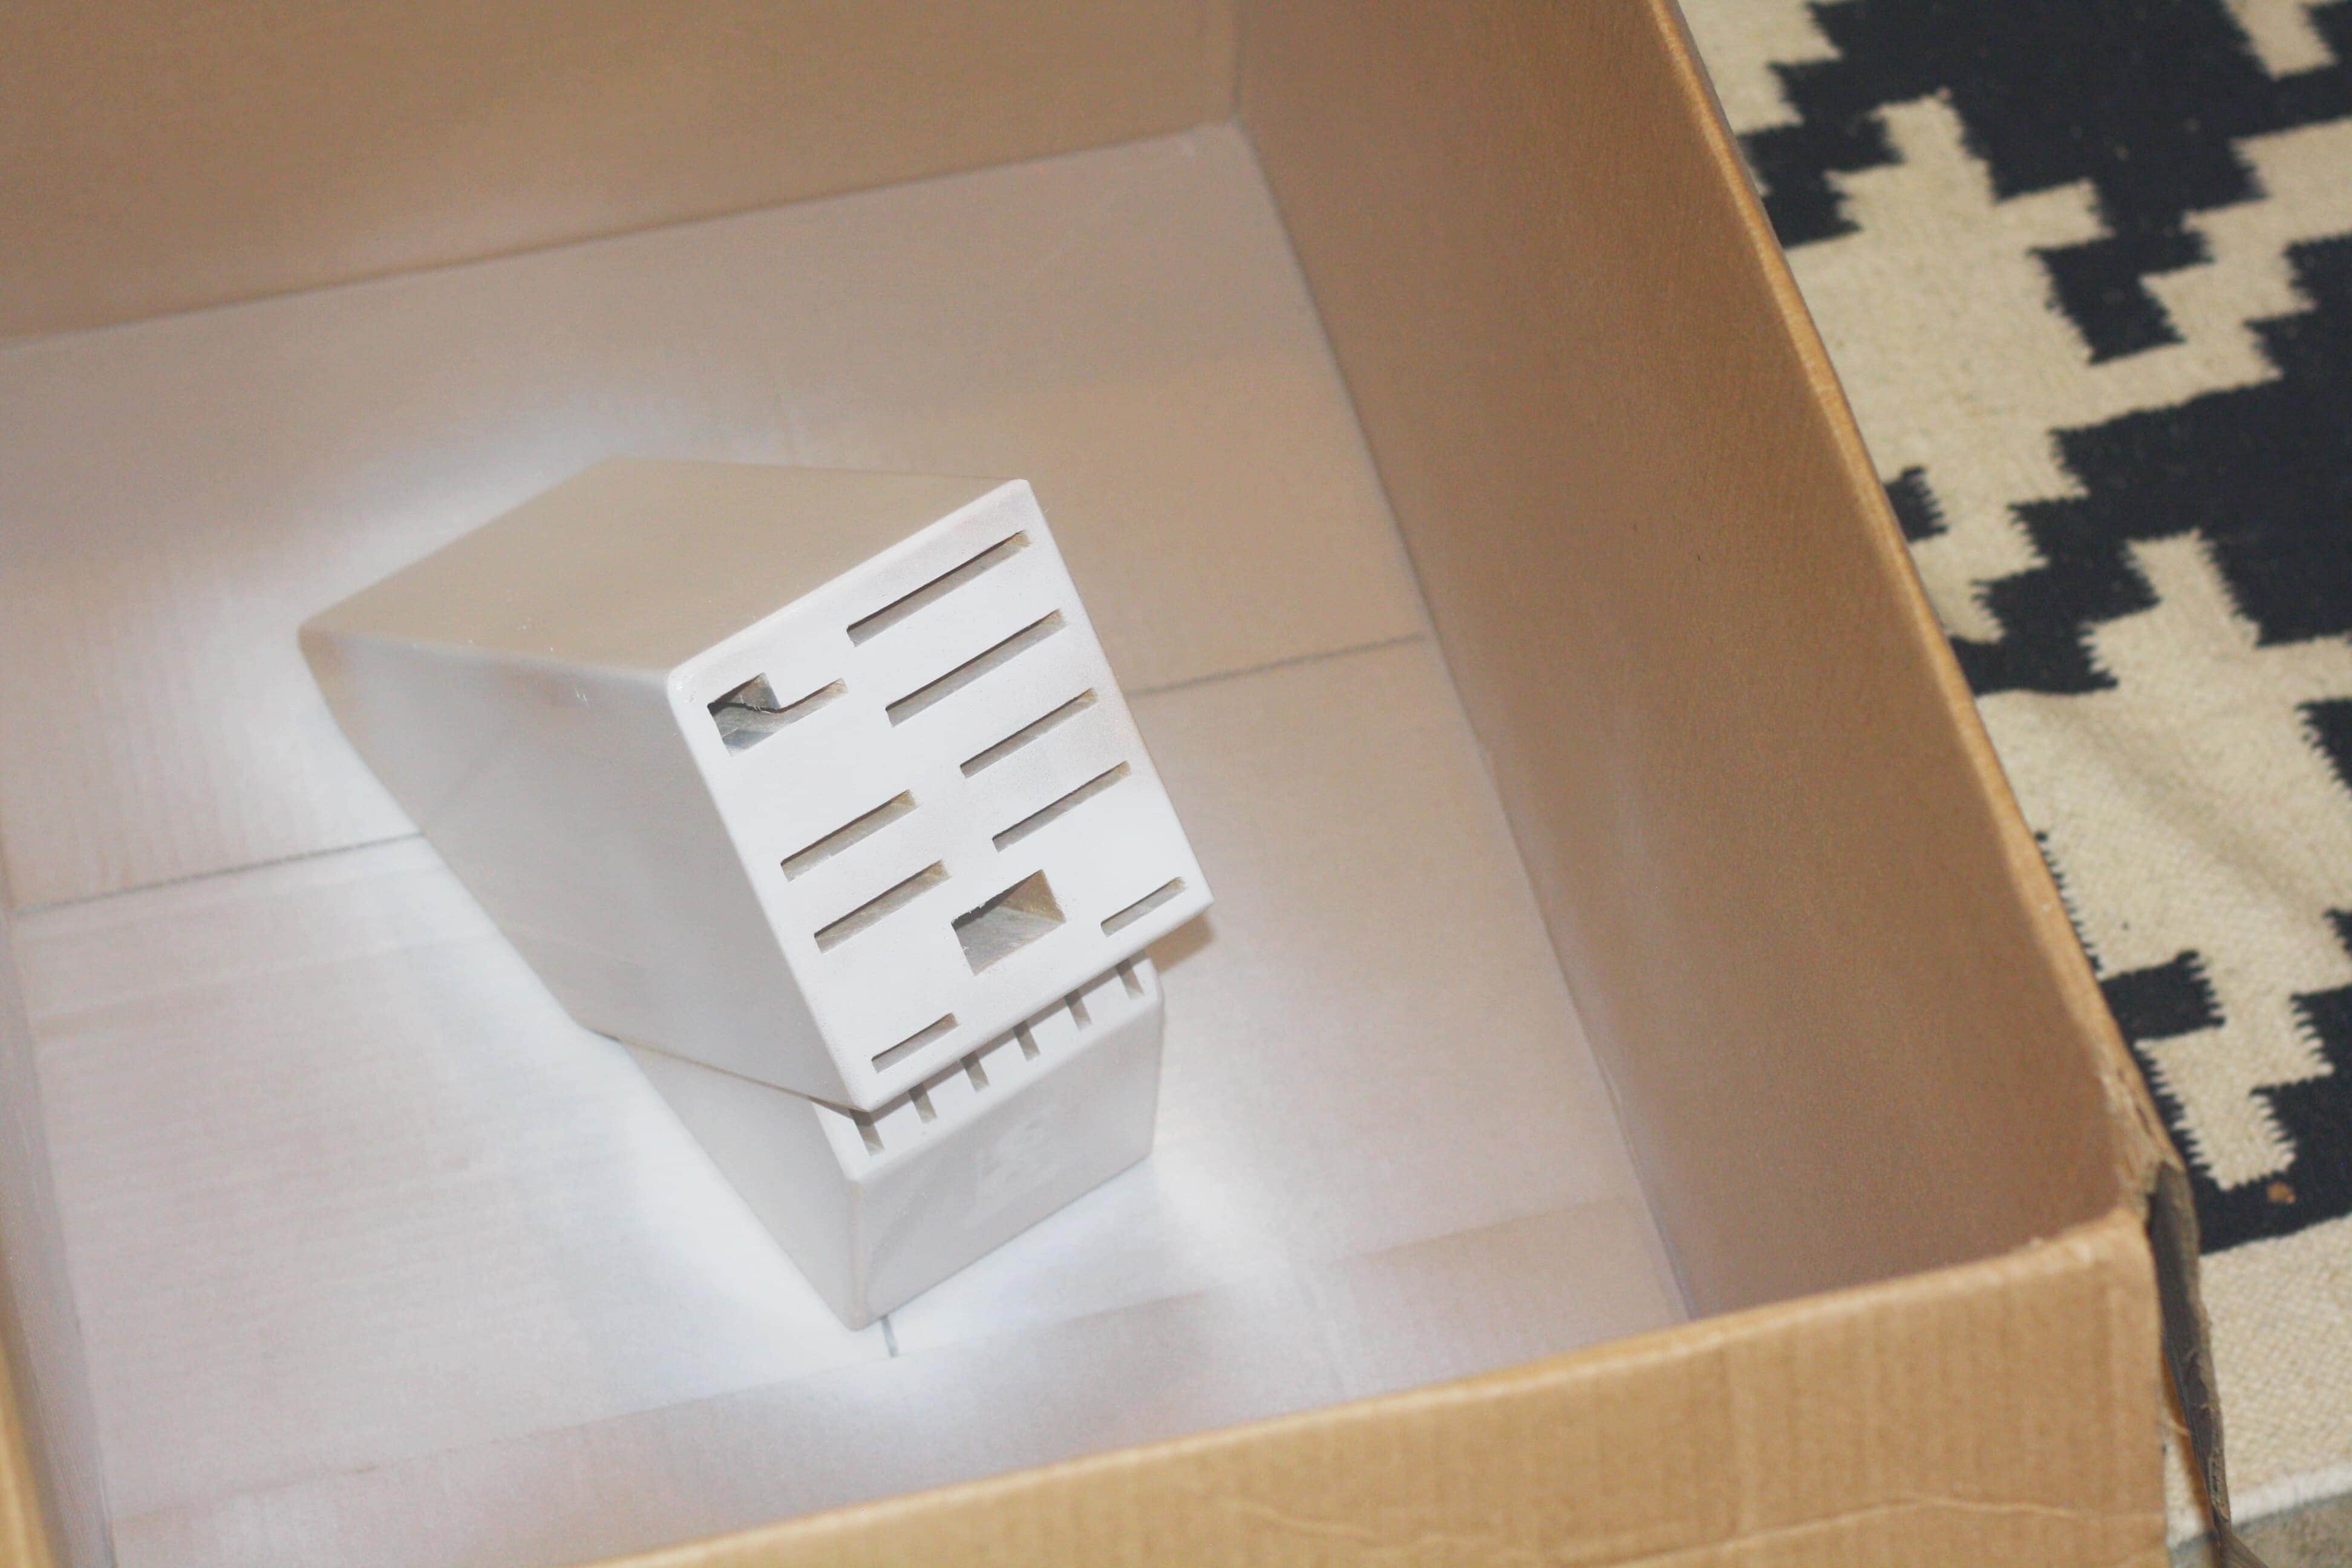
I sanded the knife block first so that the paint would adhere to it better. The block had a small etched logo on the front so I wanted that surface to be smooth so I used wood filler to give it an even look. I sanded the block one more time where the filler was so that it was smooth. Once I was finished I went down to my laundry room and placed the knife block in a box and spray painted it. As I had mentioned earlier in my Painted Basket post…it is just too damn cold to go outside and spray paint at this time of the year! 🙂

After the spray paint dried I put on two coats of the amazing color, Accessible Beige. It was then time to add a design. I picked up a chevron stencil at Michael’s and I wasn’t sure how much of the block I wanted to use the stencil on. I started with just the front area where the previous logo was. I felt that was not enough so I extended it to each side.

When using a stencil, be careful that the paint doesn’t run. I used a small round sponge brush and filled it with paint and then dabbed off most of the paint onto a paper towel before pressing it on the stencil. You will have to go over a spot many times since there isn’t a lot of paint but it will ensure that the paint doesn’t run and result in straight edges. I didn’t use a roller but I had to use almost the same process that I used while stenciling my table.


 I love the pop of color it gives against the gray tile in my kitchen. It adds to the contemporary style I’m trying to incorporate into my kitchen. It’s a small but dramatic change! I love my “new” updated knife block!


One Comment