

Here we are for another amazing Create and Share challenge. I’m fortunate to be a part of a really great group of ladies where we take one item and then each of us creates something of our own out of that item. It’s so much fun to see what everyone comes up with and to see all of the creativity that these women have! Here are a few of the challenges I have participated in so far!
Vase Makeover | Tray Makeover | Halloween Pillows | Christmas Stencils
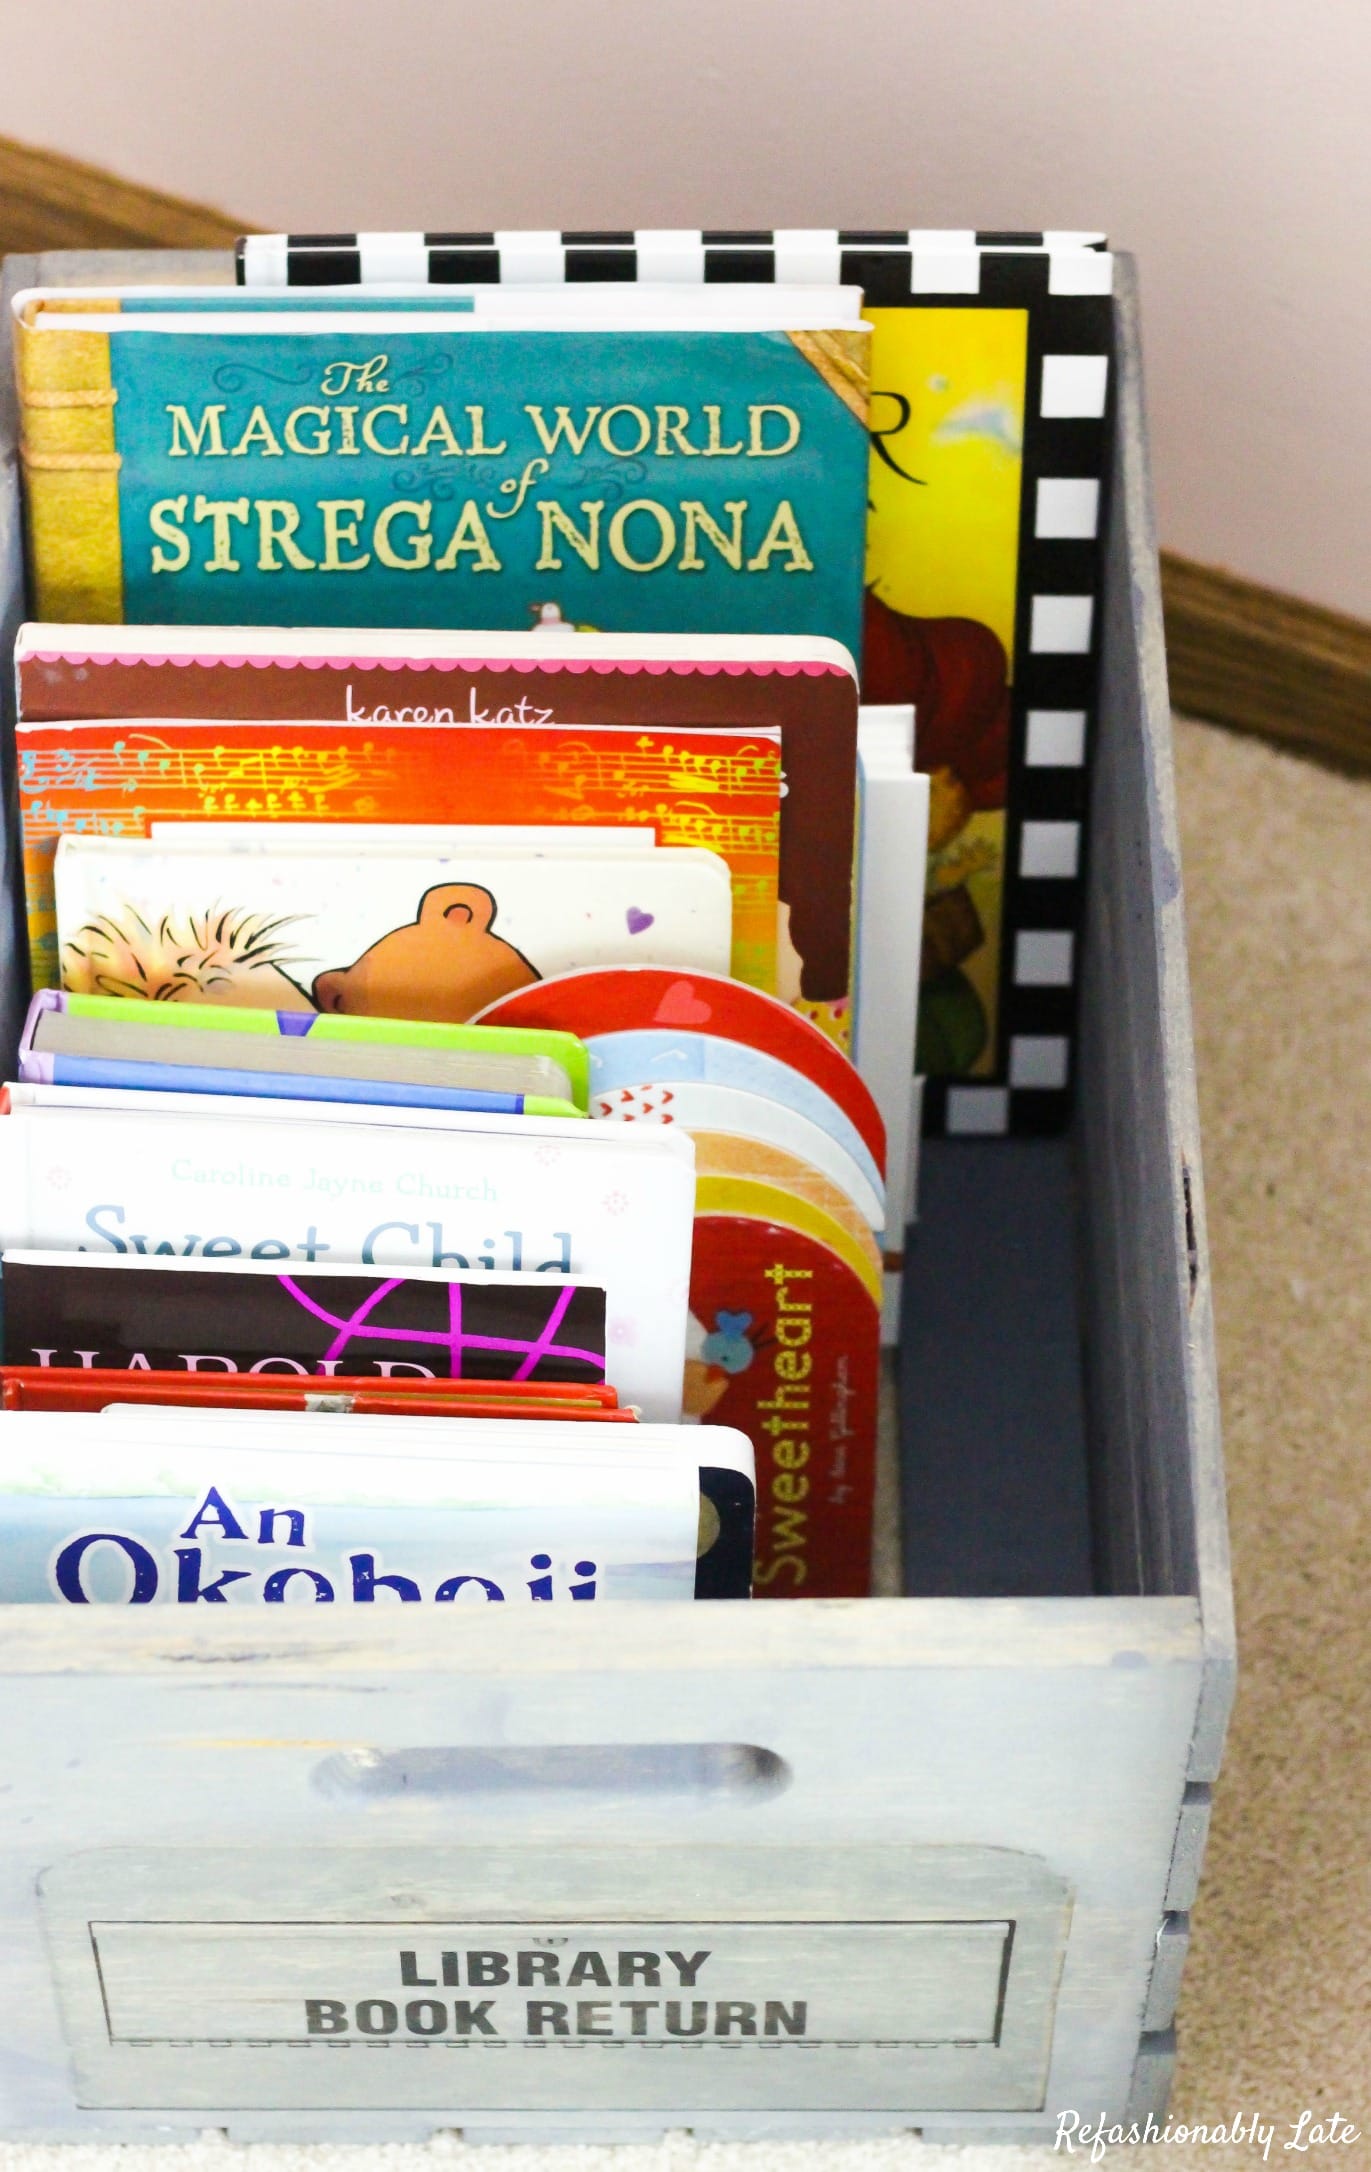
This month’s challenge we are teaming up with Storyblocks and creating DIY projects with their amazing collection of stock photography and images. I had about a million ideas of what I wanted to do but as I was browsing their endless lists of images I came across this little Library Book Return picture. I loved how it was rustic looking and I had a perfect idea for a project. My daughter LOVES books and as much as I love having a million books in our house it’s a little overwhelming on places to store them. I did transform some IKEA spice racks into bookshelves and it has a lot of great storage but her book collection continues to grow, which then overflows the bookshelves. I even have books on a small bookshelf in her closet! Needless to say, we needed a little more storage.
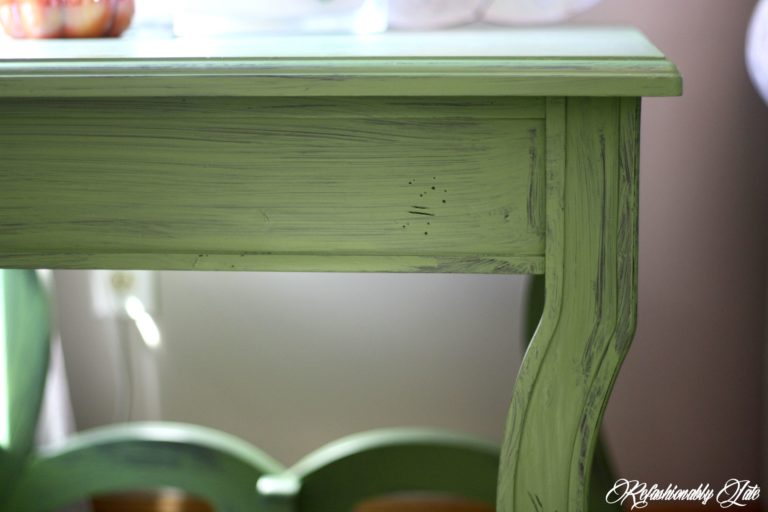
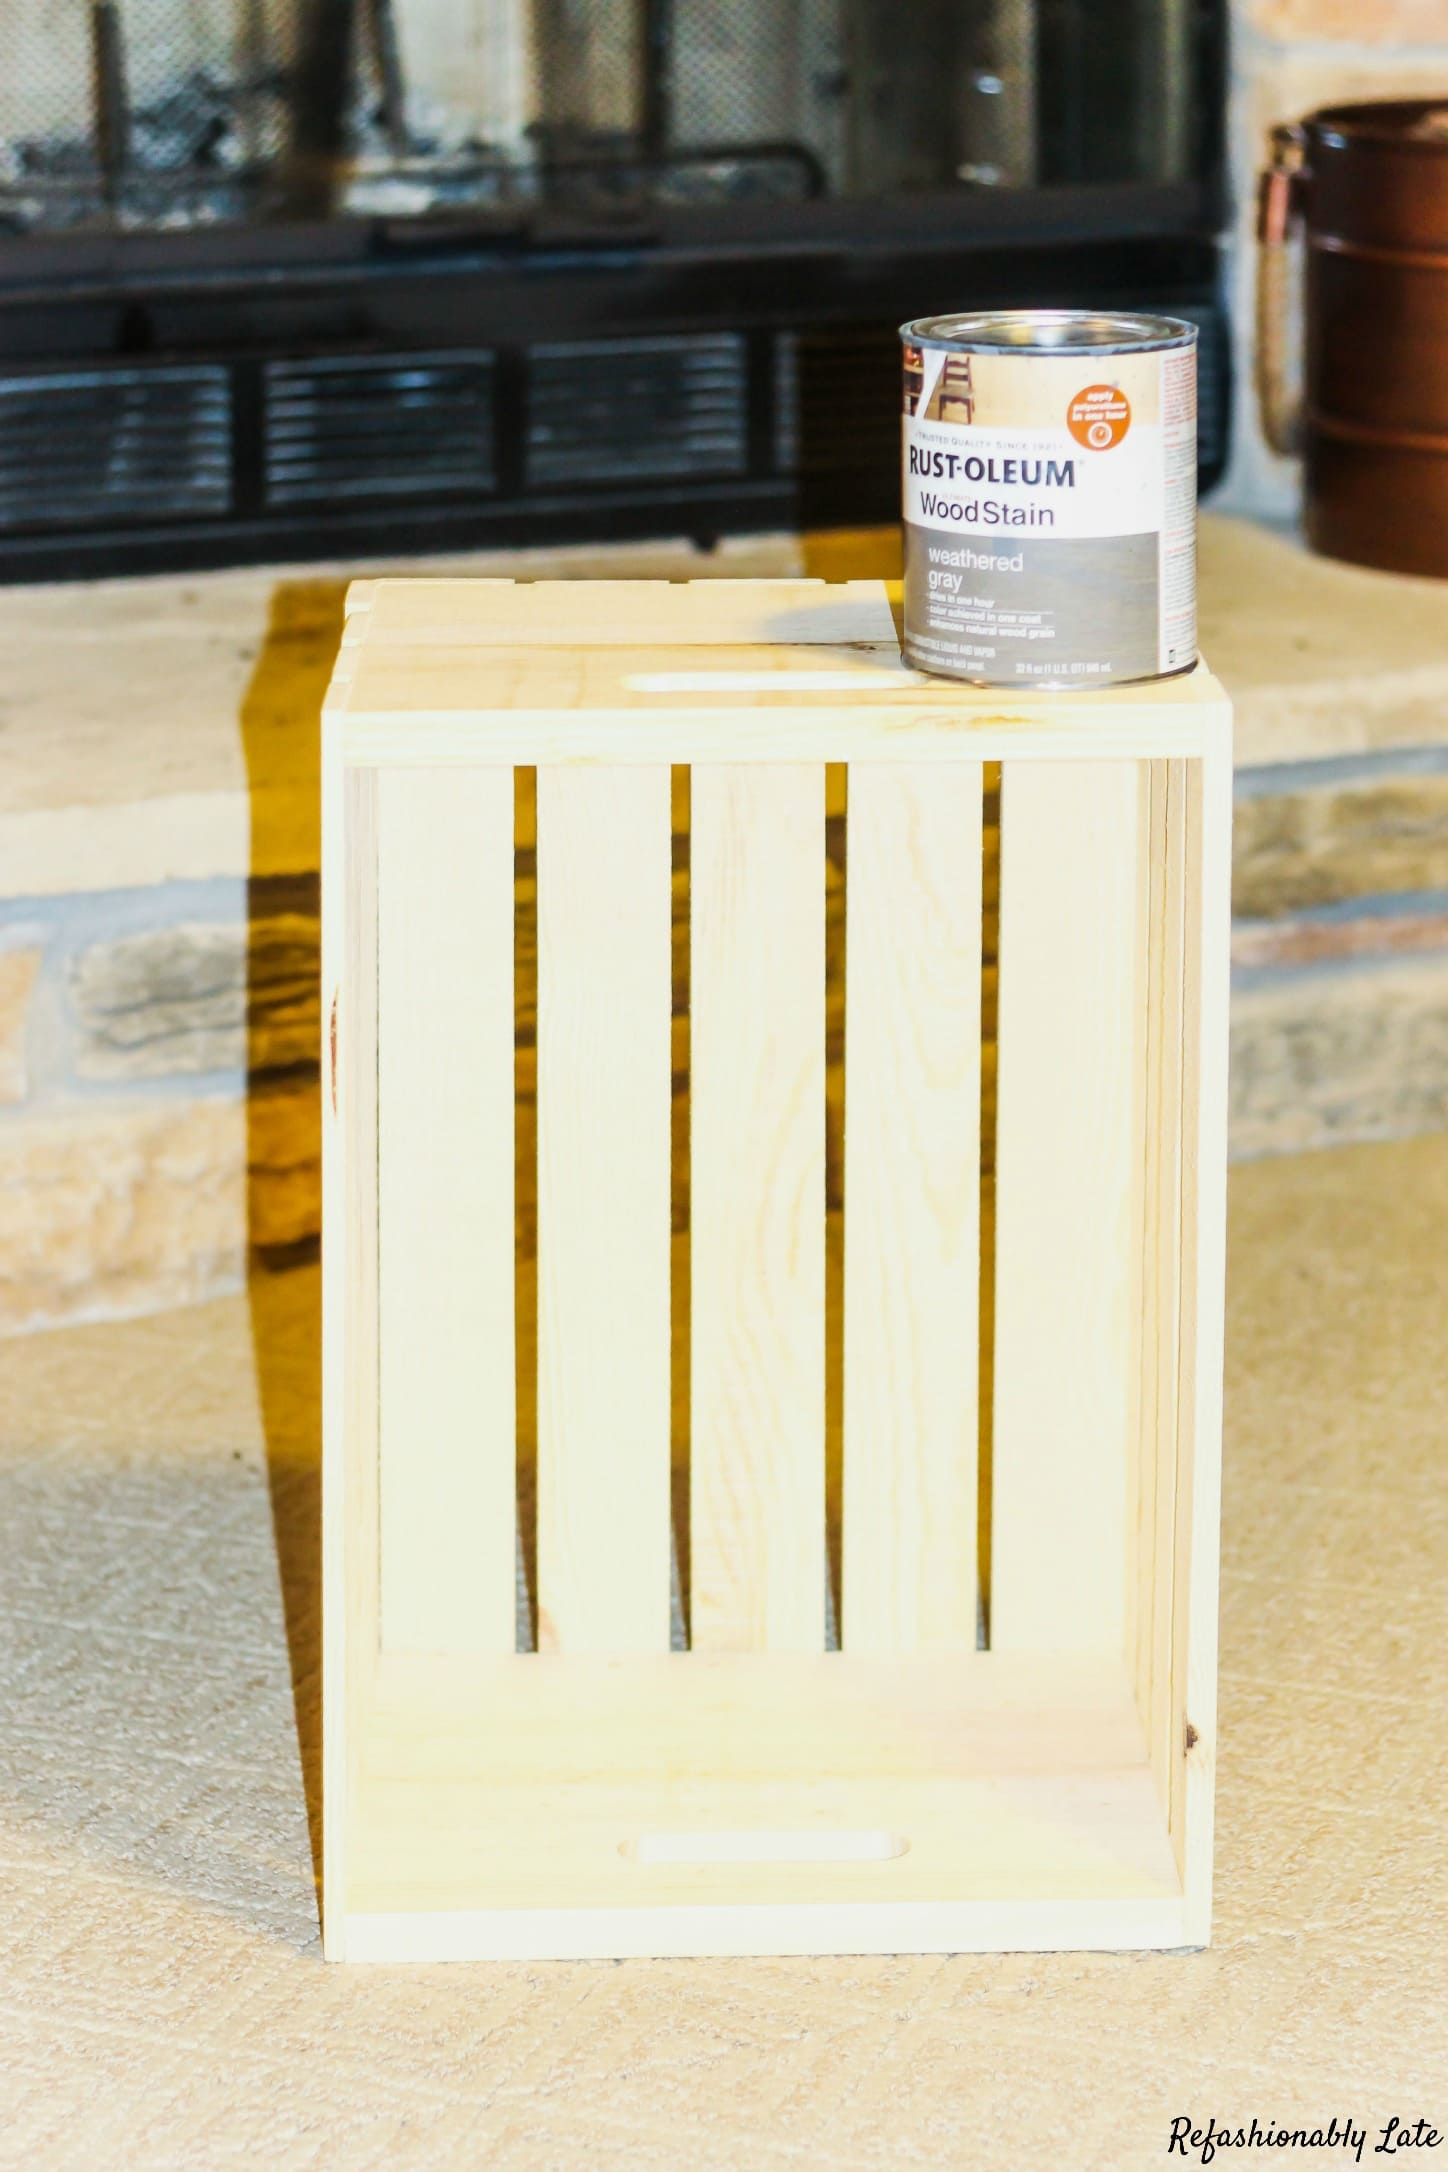 I started with a crate I purchased at Michael’s for $10 and I decided to stain it one of my very favorite colors, Rust-oleum – Weathered Gray. I sanded the crate and then applied the stain with a disposable foam brush and then wiped the stain after a couple minutes with a paper towel. It’s pretty messy so I recommend wearing gloves or you’ll be grey for a couple of days! 🙂 I would let the stain dry overnight as the crate really soaks up the stain.
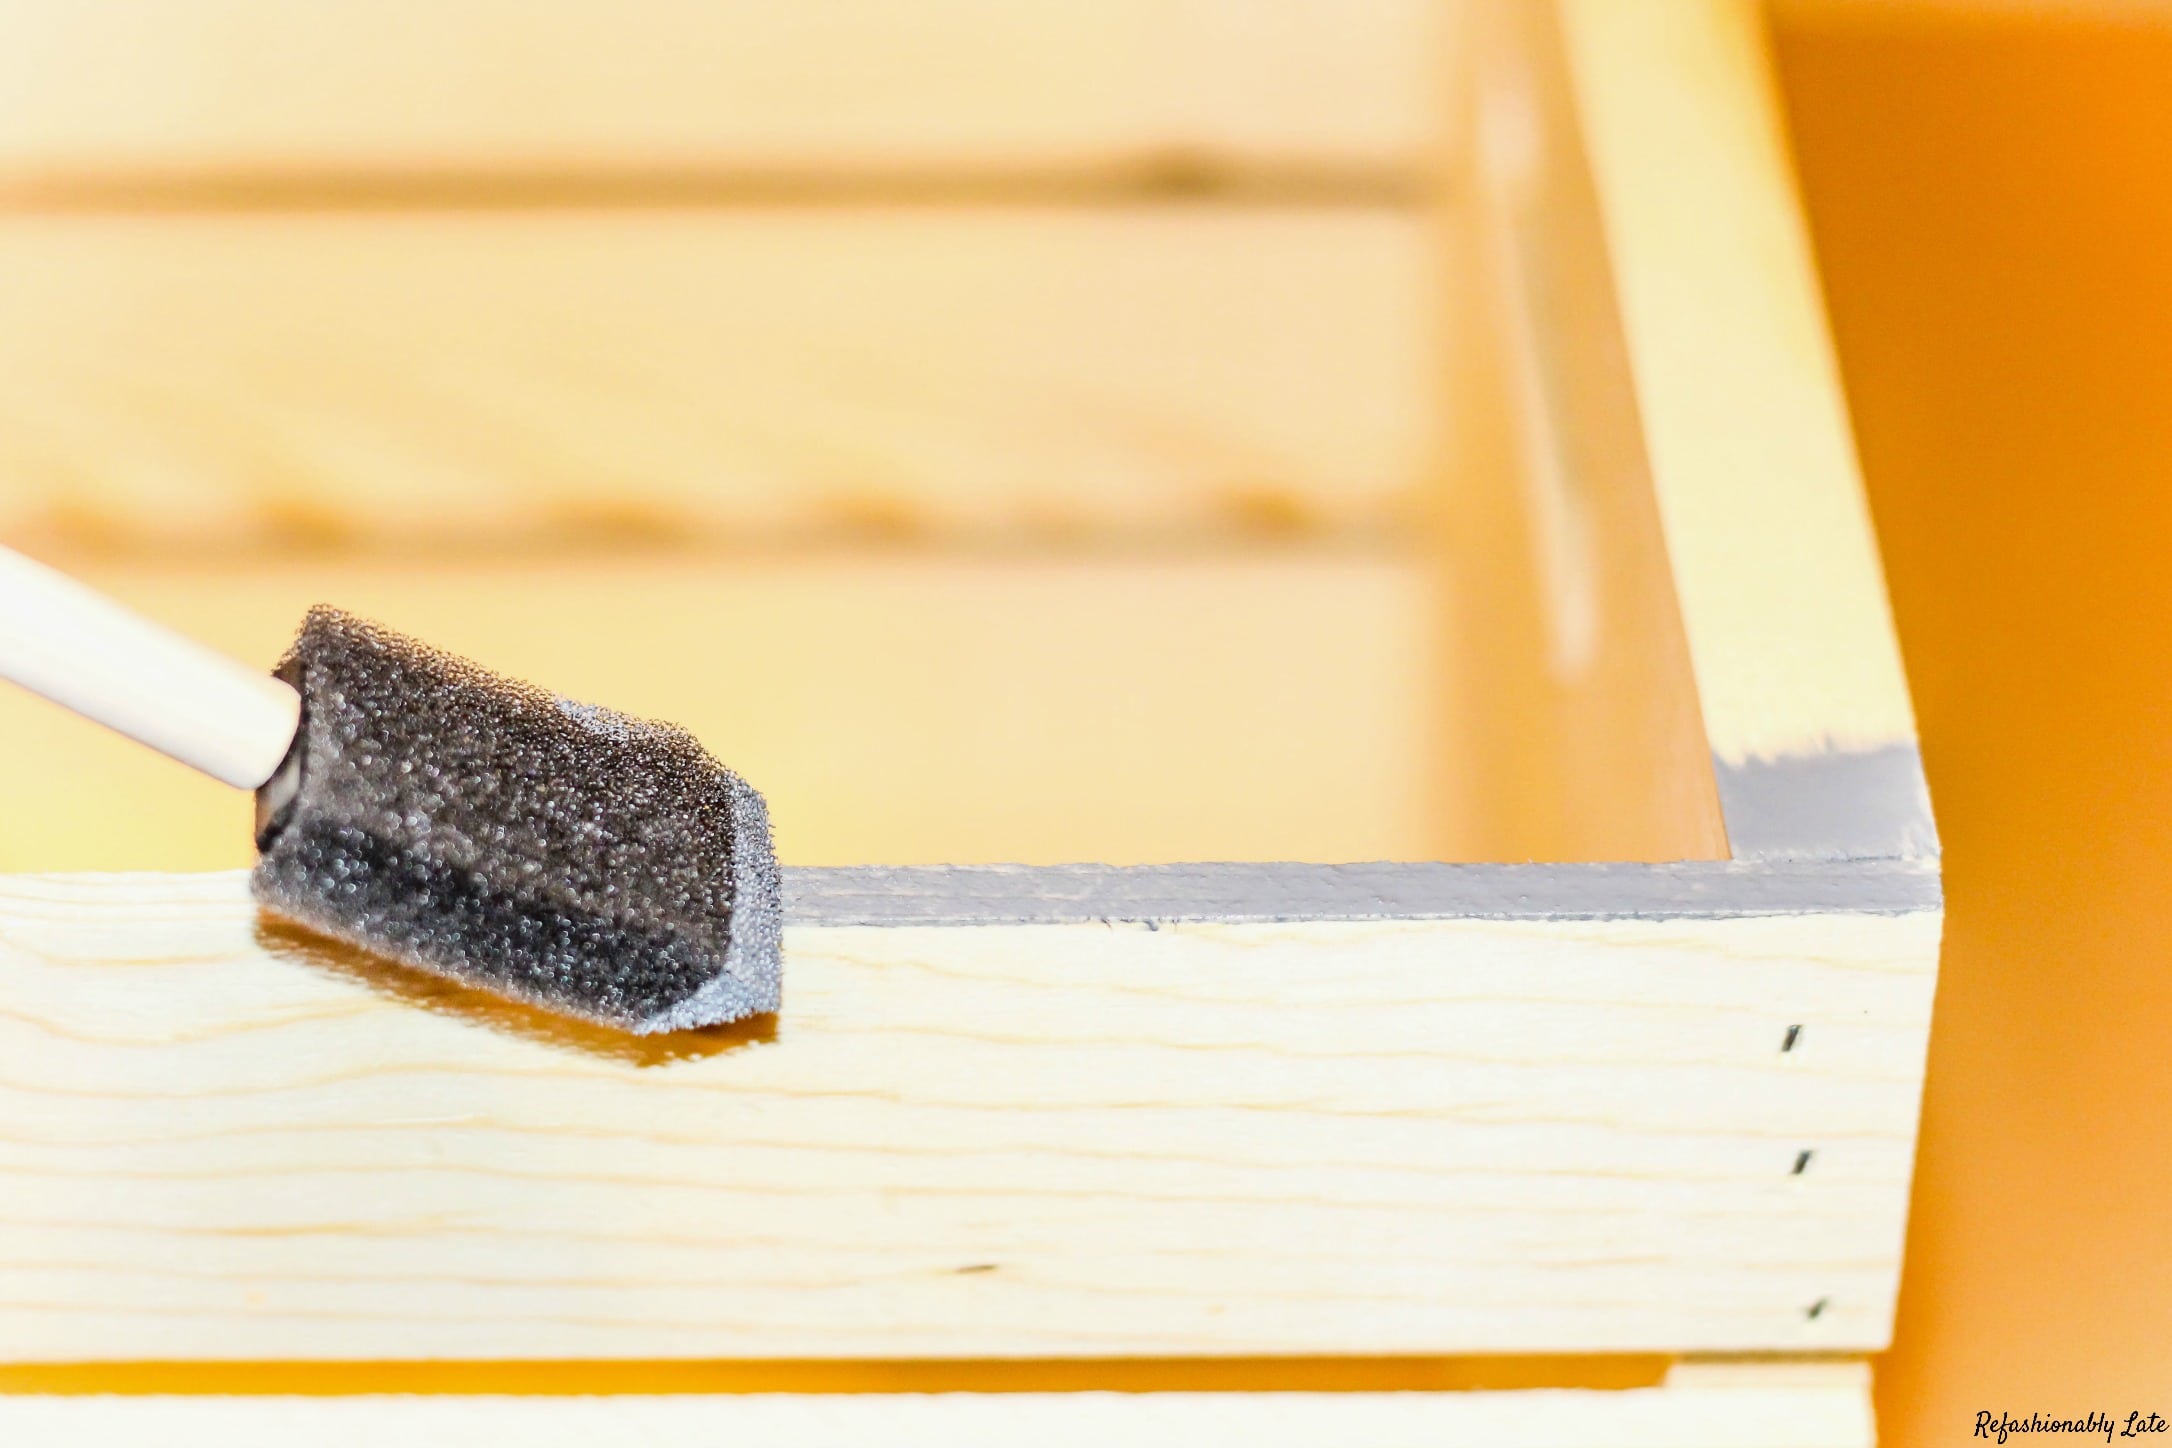
Once the stain was dry then it was time to apply my image. When applying a graphic with wording to an item you need to flip the writing so it will be shown correctly after applying. I did this in photoshop. Start with uploading your image to photoshop.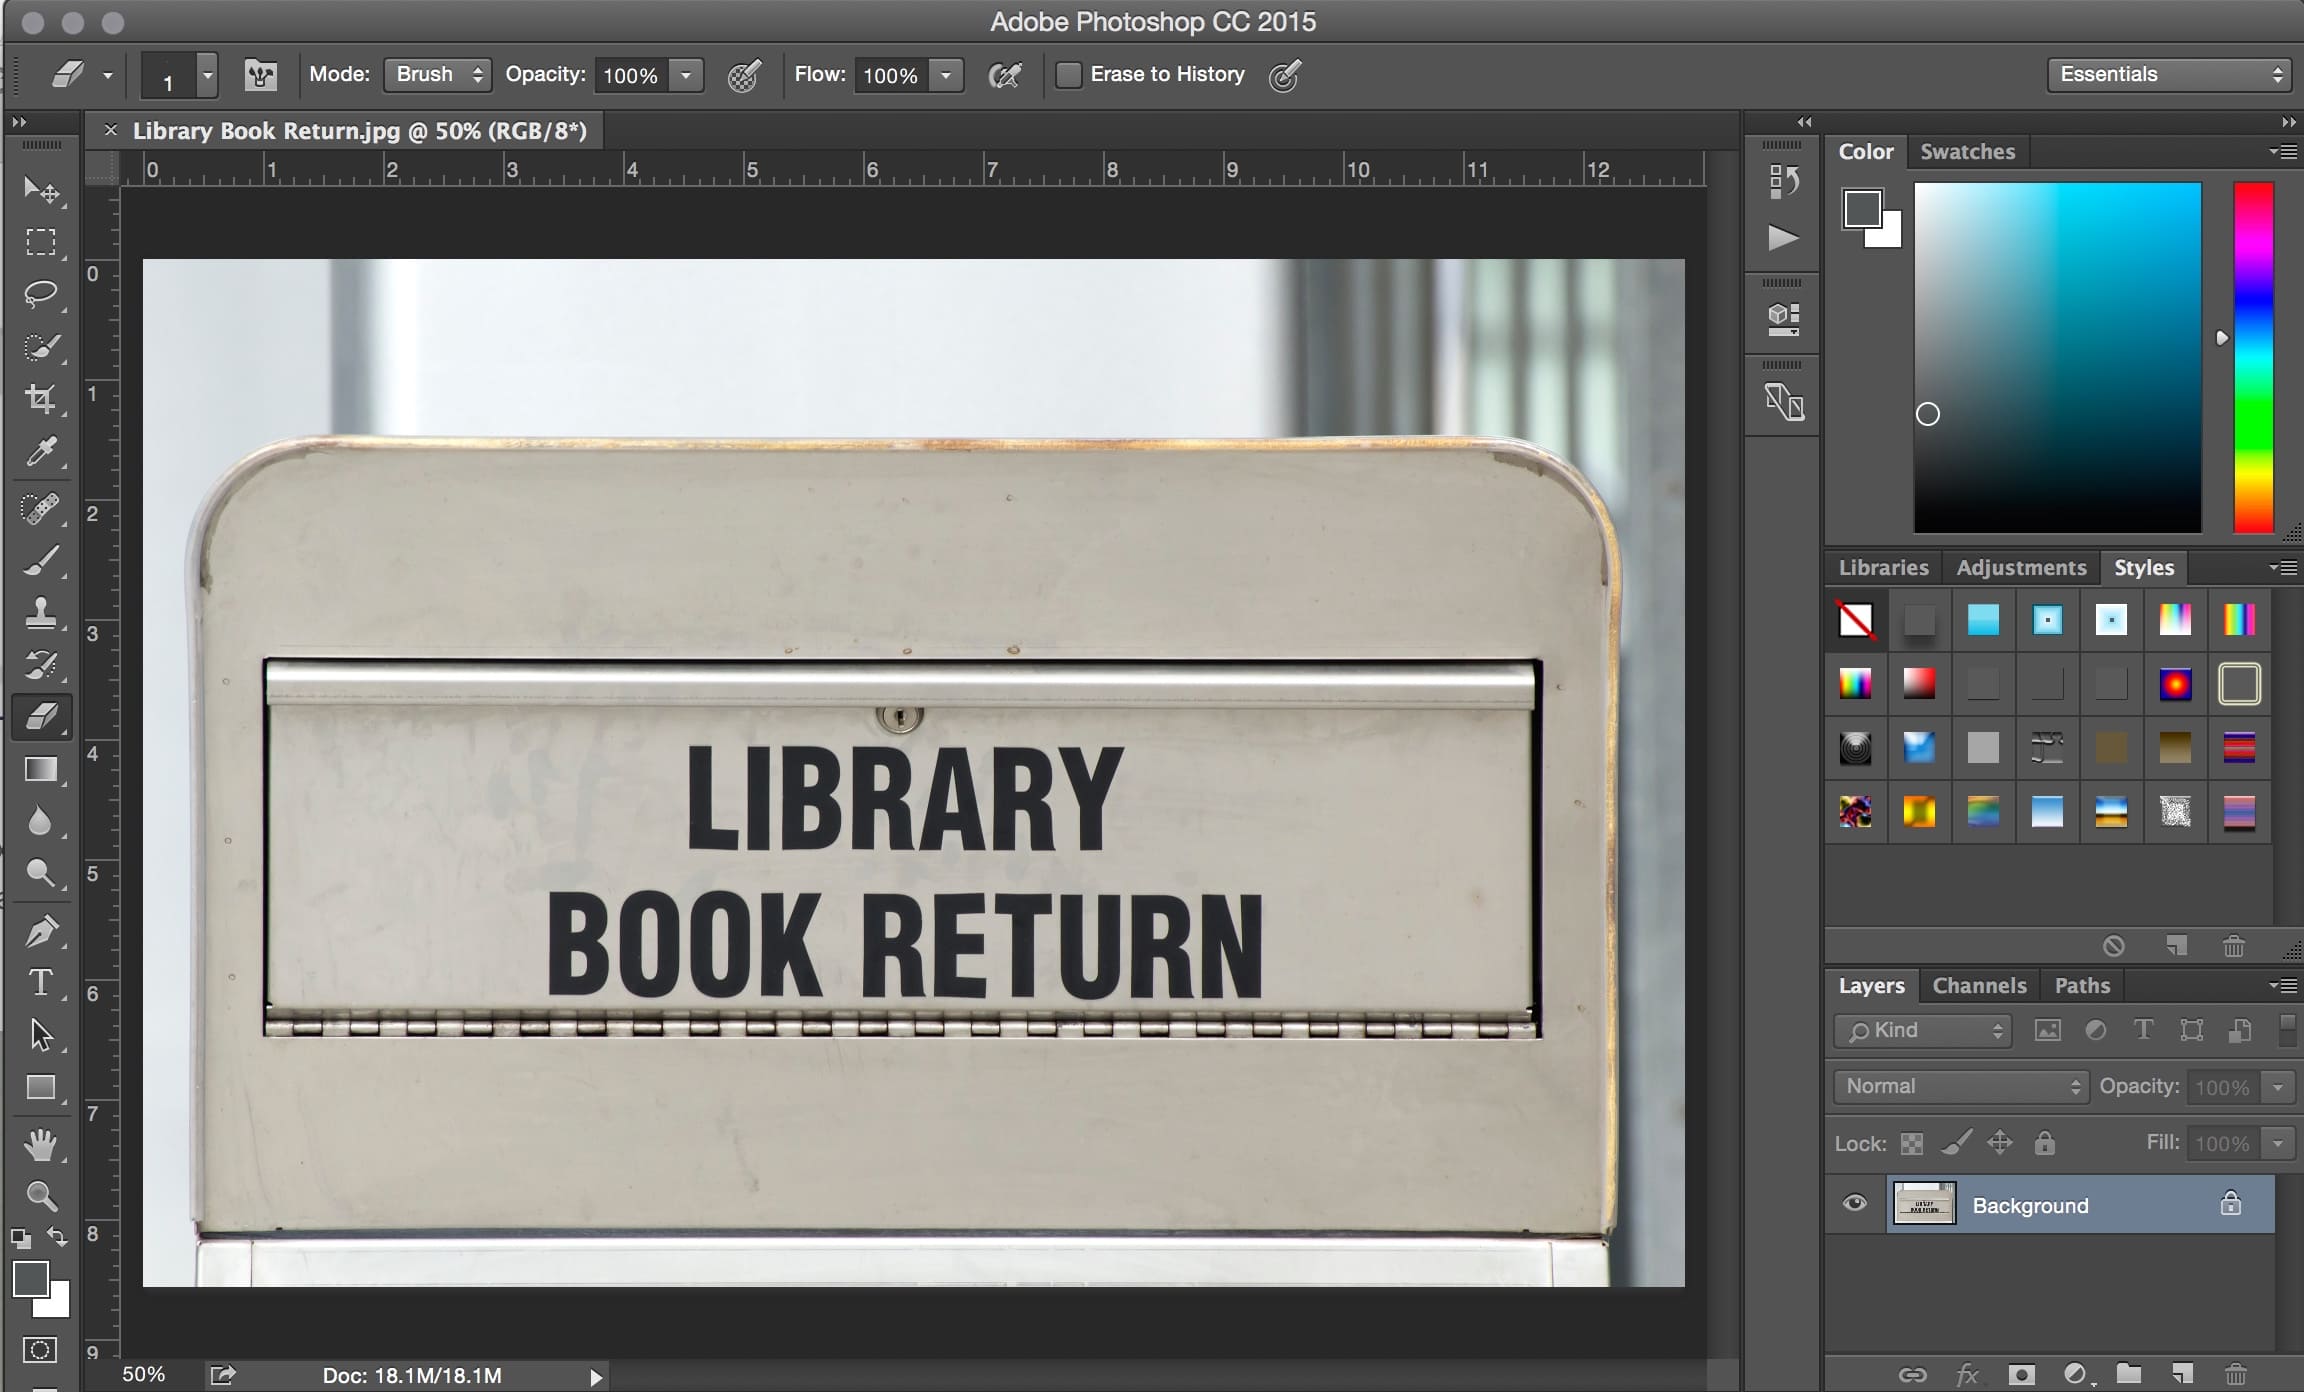
Then click on Image –> Image Rotation –> Flip Canvas Horizontal and it will flip the image.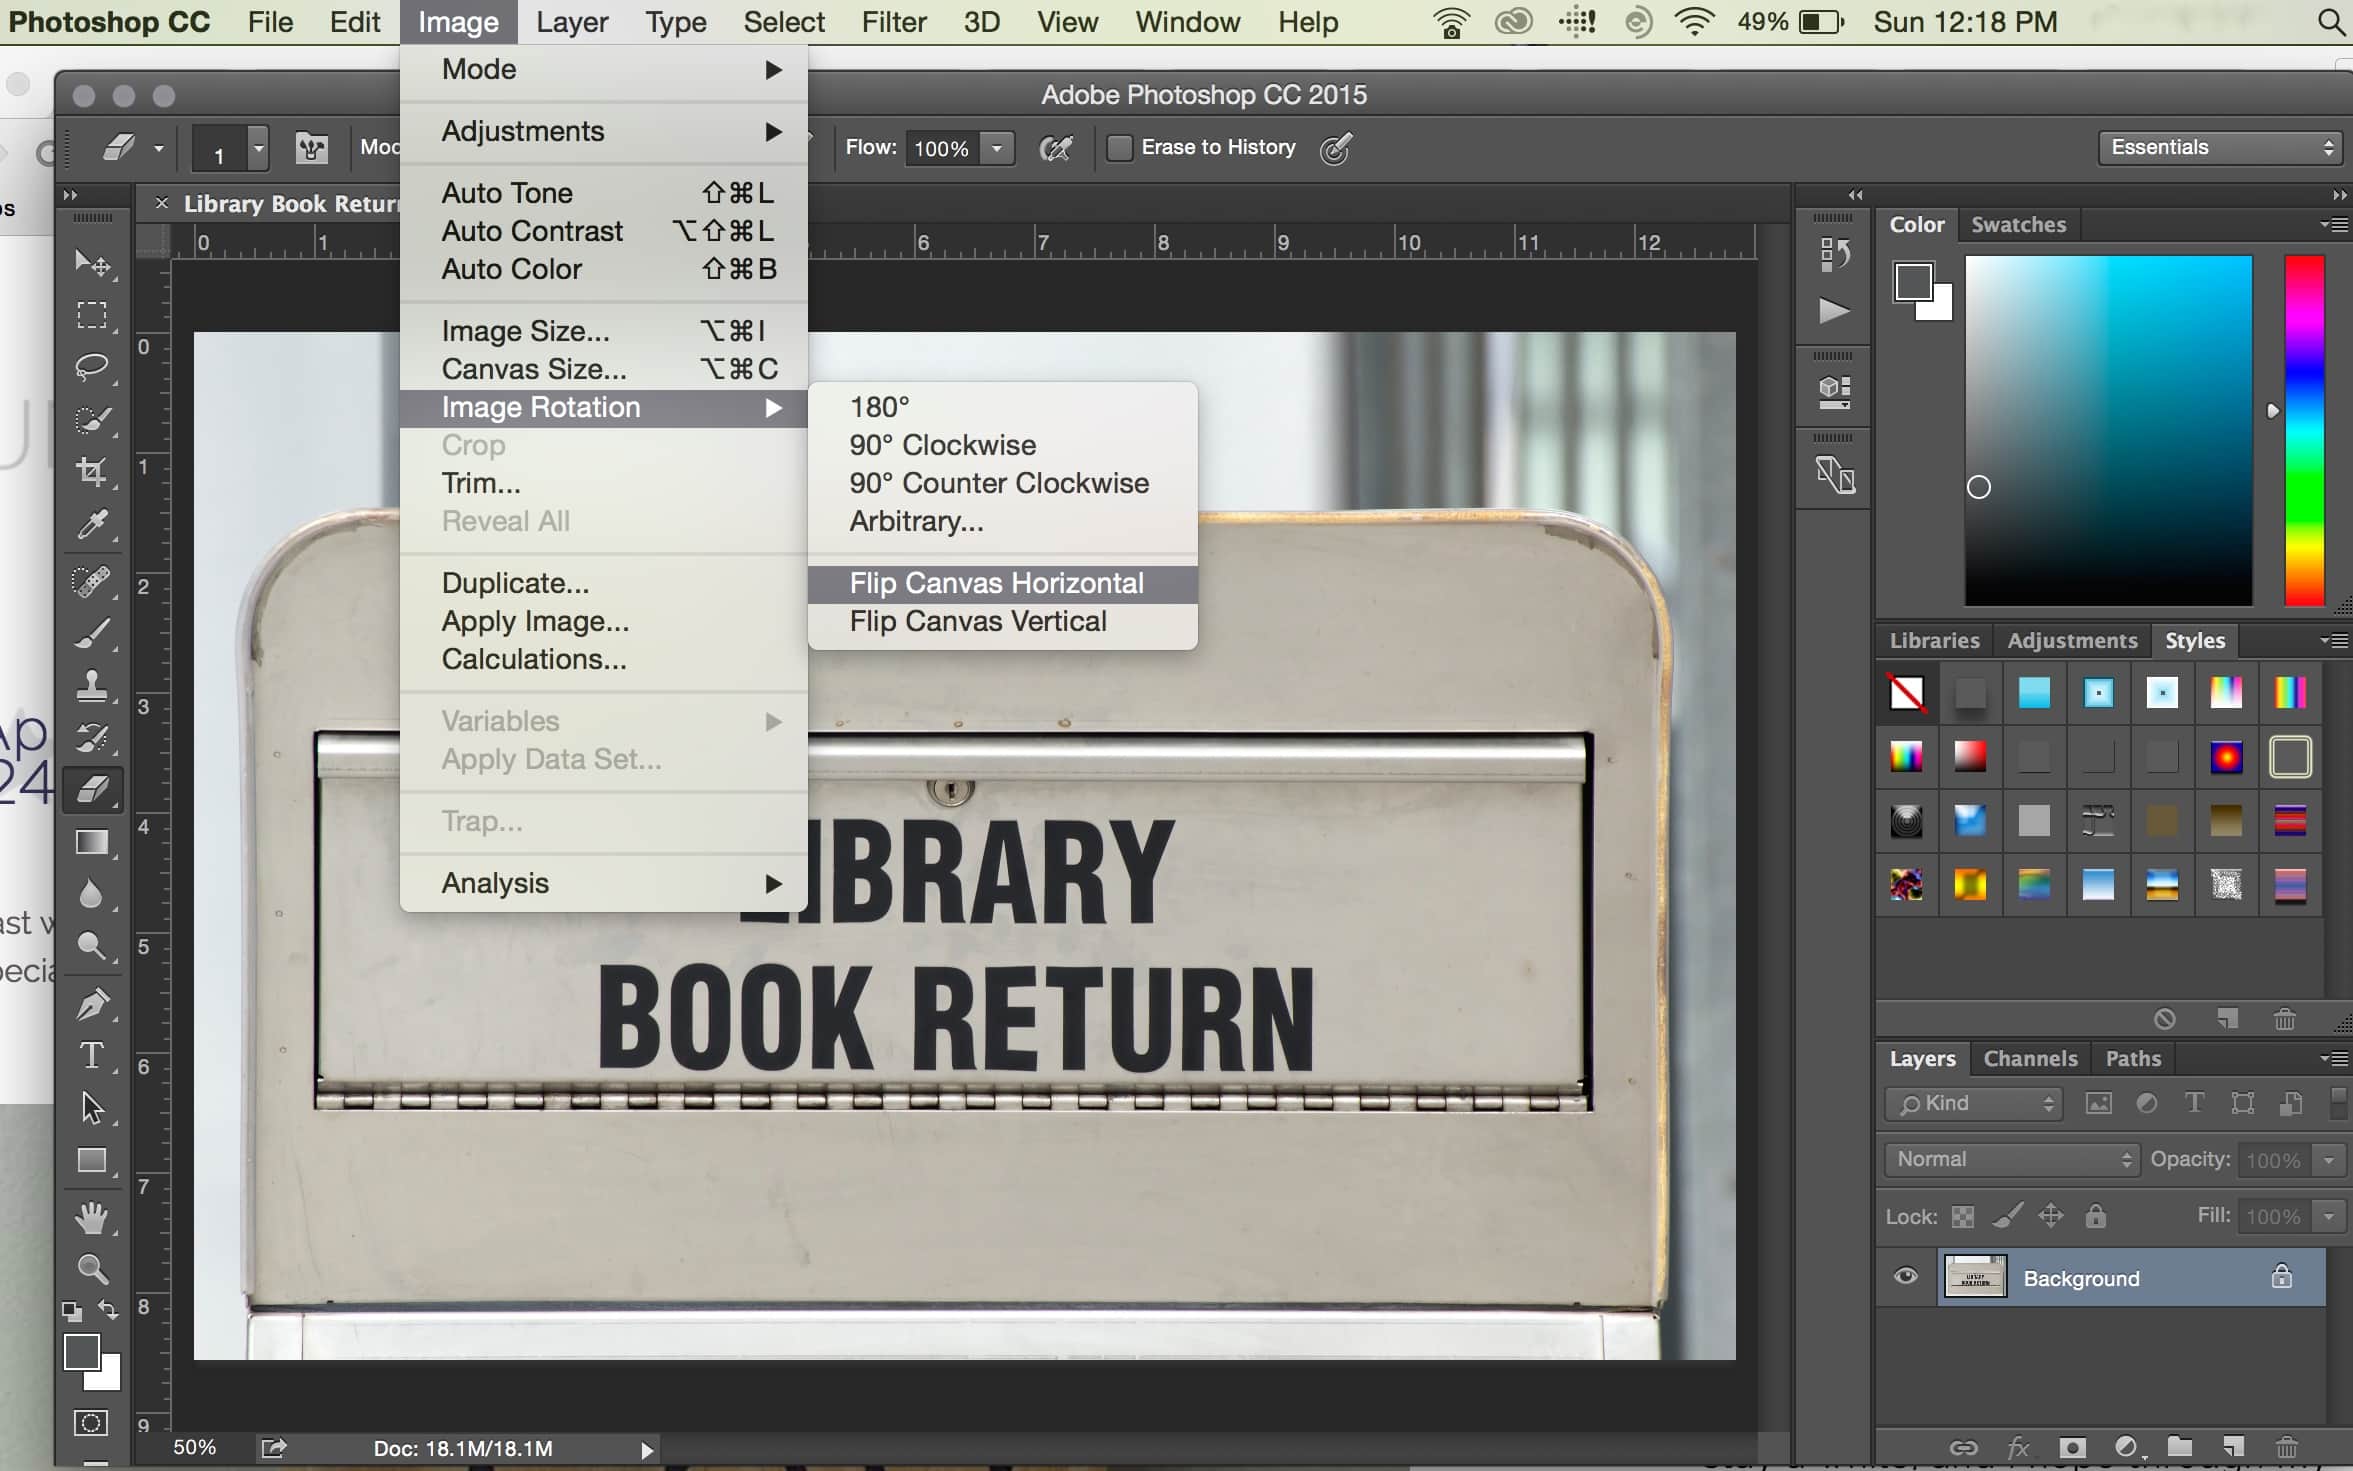
It’s now time to transfer this onto your crate. I started by cutting out the image so that just the return box would show on my crate.
I love using Liquitex (gel medium) to transfer photos. Apply it to the top of the actual photo or onto the crate and you want to apply a liberal amount of Liquitex to the photo. This will ensure it adheres nicely and sticks. You will then want to let it dry for several hours; I tend to let it dry overnight. Do not rush the drying period.

Then place it onto the crate and let it dry! You can see the writing is showing correctly on the create since it has been flipped.
Next, you will use a spray bottle to get that area pretty wet. Once you’ve saturated the area then start rubbing off the top layer of paper with your fingers. Do this until the entire image is showing through.

I find it hard sometimes to get all of the material off so sometimes you are left with a small white film. You may not notice it when it’s wet but you can sometimes see it when it drys. The best thing to “shine” it up and keep the film away is to apply a small amount of furniture oil to a paper towel and rub it onto the print. Poof –> it’s gone! You may need to do this about once a month or so. 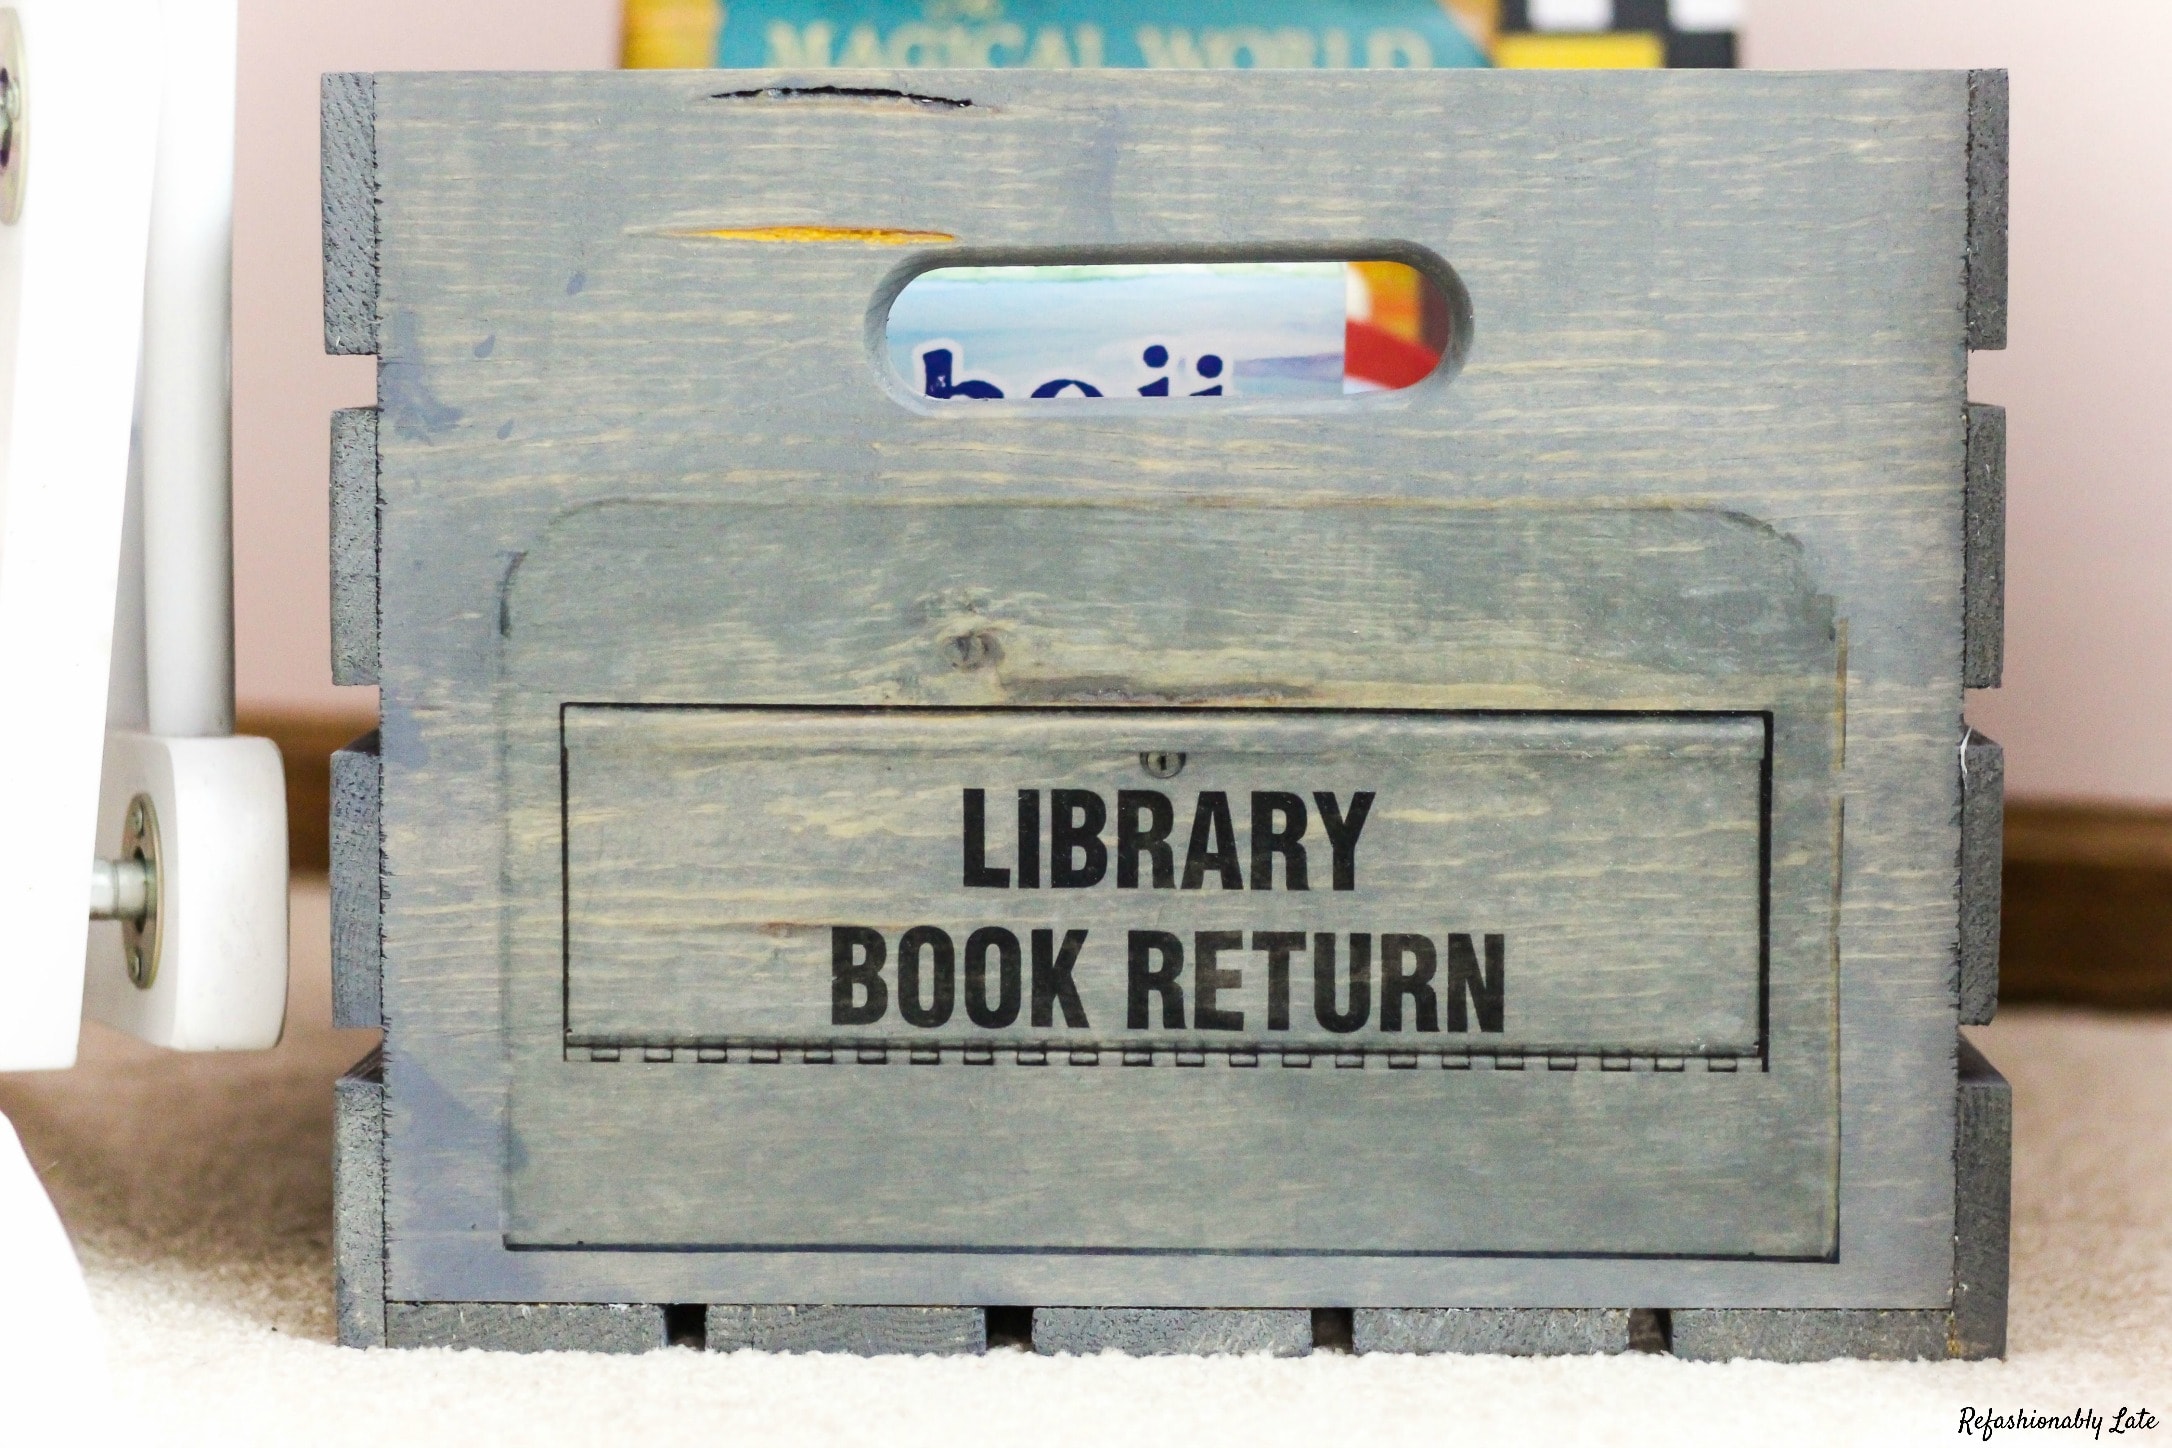

Now head on over to some of these amazing ladies projects! I am always excited to see what everyone ends up creating when we do these challenges!
I hope everyone has an amazing rest of your week and if you haven’t had enough head on over to PinkWhen, where I’m sharing a headboard makeover I did for my guest room. I’m knee deep in painting my cabinets so my life has been hectic lately. Stay tuned for the final results! I will be sharing the progress of our kitchen makeover on Friday! Happy hump day!
Many outgoing links on Refashionably Late are affiliate links. I may earn a small commission to fund my Diet Mountain Dew drinking habit if you use these links to make a purchase. You will not be charged extra, and you’ll keep me supplied in caffeine. It’s a win for everyone, really. I only link to products I have tried and love! See my full disclosure here.


Cute! Cute! Cute Ruthie! We have so many kids books floating around our house and I love the way this looks! I may have to make one or two for our house! Thank you for the idea! I am pinning!
Awesome! I’d love to see your end result! 🙂
This is such an awesome idea, Ruthie! I’m getting so excited to play around with more GraphicStock images as I check out everyone’s posts. There are just so many fun and creative ideas! Pinning!
Yeah there are a ton of great ideas that everyone has done with their images! I can’t wait to give a couple of them a try!
This is so cute, creative and functional! I love this!
Thanks Emily!
I LOVE this idea! We have a separate bin for our library books (because who knows how many more we’d lose without it!), but we don’t have anything nearly as adorable as this! I’ve never used Liquitex, but now I really want to.
Yeah I love Liquitex! You can use it to transfer an image to anything! It’s great!
This might be my favorite GraphicStock idea yet! So cute and I love the finish on the crate.
Thank you so much Kathy! I love how it turned out and it’s cute and functional! 🙂
This is GOOD Ruthie! Love that image and your idea!
Thanks Sara! I love having the extra storage for books!
Ruthie, this is so cute! I love how realistic it looks and the grey color fits in perfectly with the theme.
Yeah I love that gray stain! I sometimes overuse a color I love but I don’t care! 🙂 I love it right?!
This is such a cute idea! I love how it turned out!
Thank you so much Meg! 🙂
Awesome project! Saw it featured on Hometalk too – congrats! I’m assuming you used photo paper?
Thanks Meghan! I actually just printed the picture off on my computer! It’s recommended to use a laser jet printer! 🙂
What a cute idea! I wish someone would make one of these for every classroom!! I smell a teacher gift… 🙂
This would be a great teacher gift!! It gives so much storage and so easy to make!
This is just too cute Ruthie! What a unique and fun idea!
Thanks April! It has really helped tame the book mess in her bedroom!
SOO Cute Ruthie!!! I adore your project and this is a great idea for playrooms, bedrooms, and even family rooms. I’d probably need it by the door to remember to return them. 🙂 Thanks for participating in the Create and Share this month!
Thanks Stephanie! I love how it gives us extra book storage in my daughter’s room! Someone also commented about how it would be a great teacher’s gift as well!