
 I headed out to a garage sale in St. Paul one day because they were giving away a free swingset. Our house came with a swing set when we bought it but it’s a little old and needed new swings, rings, etc. I thought I’d go snag the swings. Unfortunately, when I got there the swing set was taken but she did have an extra swing that I could have so I was happy with that! She also had a huge garage full of stuff she was giving away for free. I started rummaging through everything and found a few pieces of furniture I thought would look great redone!
I have always wanted to do an antique side table makeover and this lady happened to have one! I snagged it and took it back to my car. I thought it would be perfect between our recliner and couch downstairs.
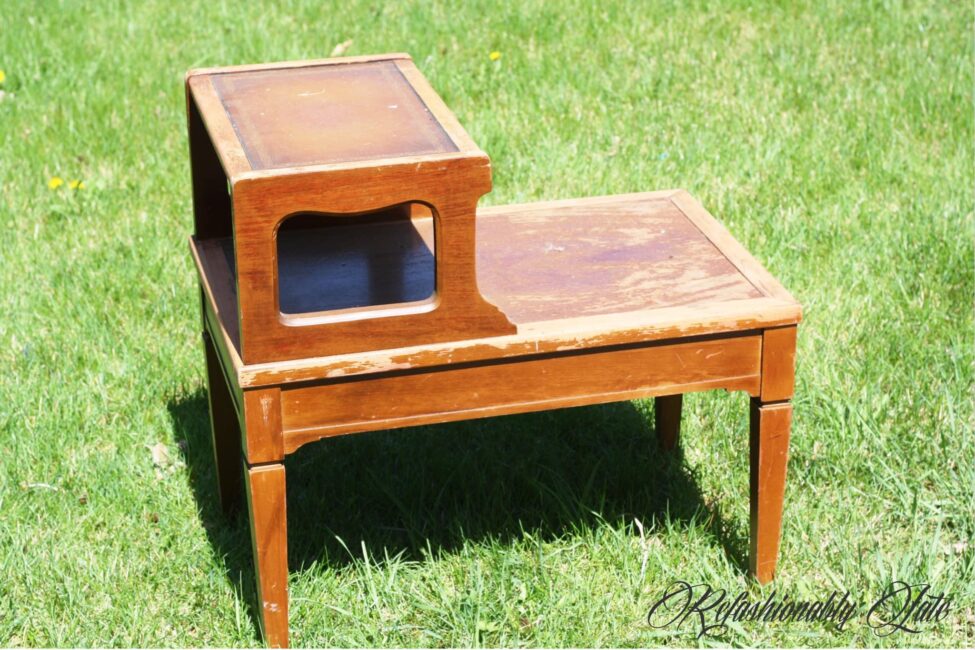
It needed a good sanding and as I started sanding it down I noticed that the front leg was broken and part of the wood was missing.

My husband helped me redo the broken screw which was inserted at an angle to hold the two pieces together. He then inserted another screw on the outer edge of the leg to really ensure that it was secure.


Once it was all sanded I then used Elmer’s Wood Filler to fill in the area that was missing. I knew that it wasn’t going to look exactly the same as I couldn’t (or didn’t want to try) and replicate the detail at the top of the leg, but I’m okay with that. This table was free so with a little love, it was going to look a hell of a lot better than it did! 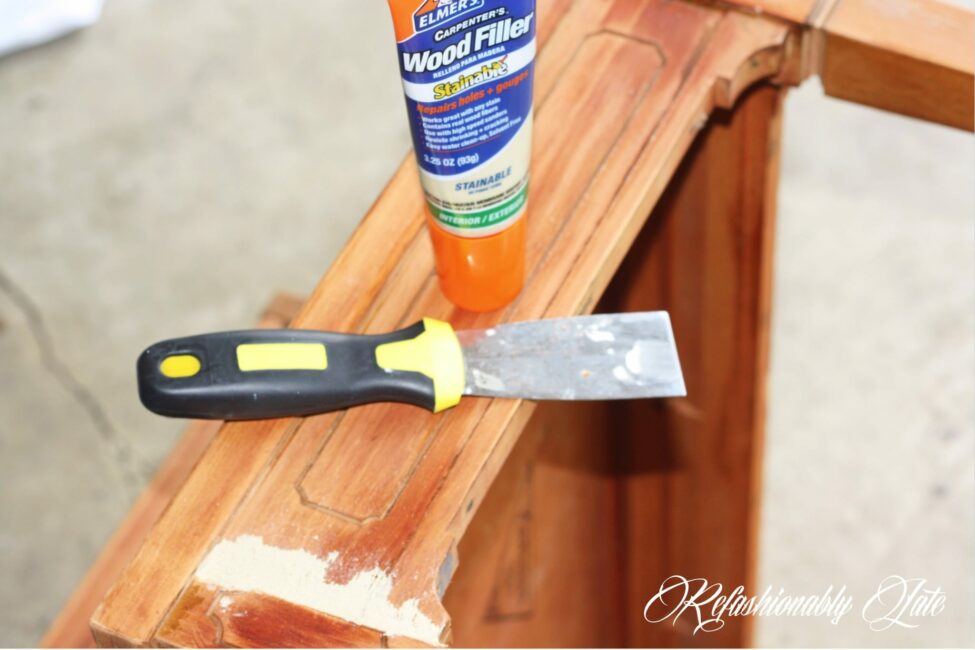 Since it was quite a large area that needed filler I let it dry for almost 24 hours. It recommended on the back that it may need 2-8 hours but it definitely needed more. After it was dry I sanded it down the best I could to match the table.
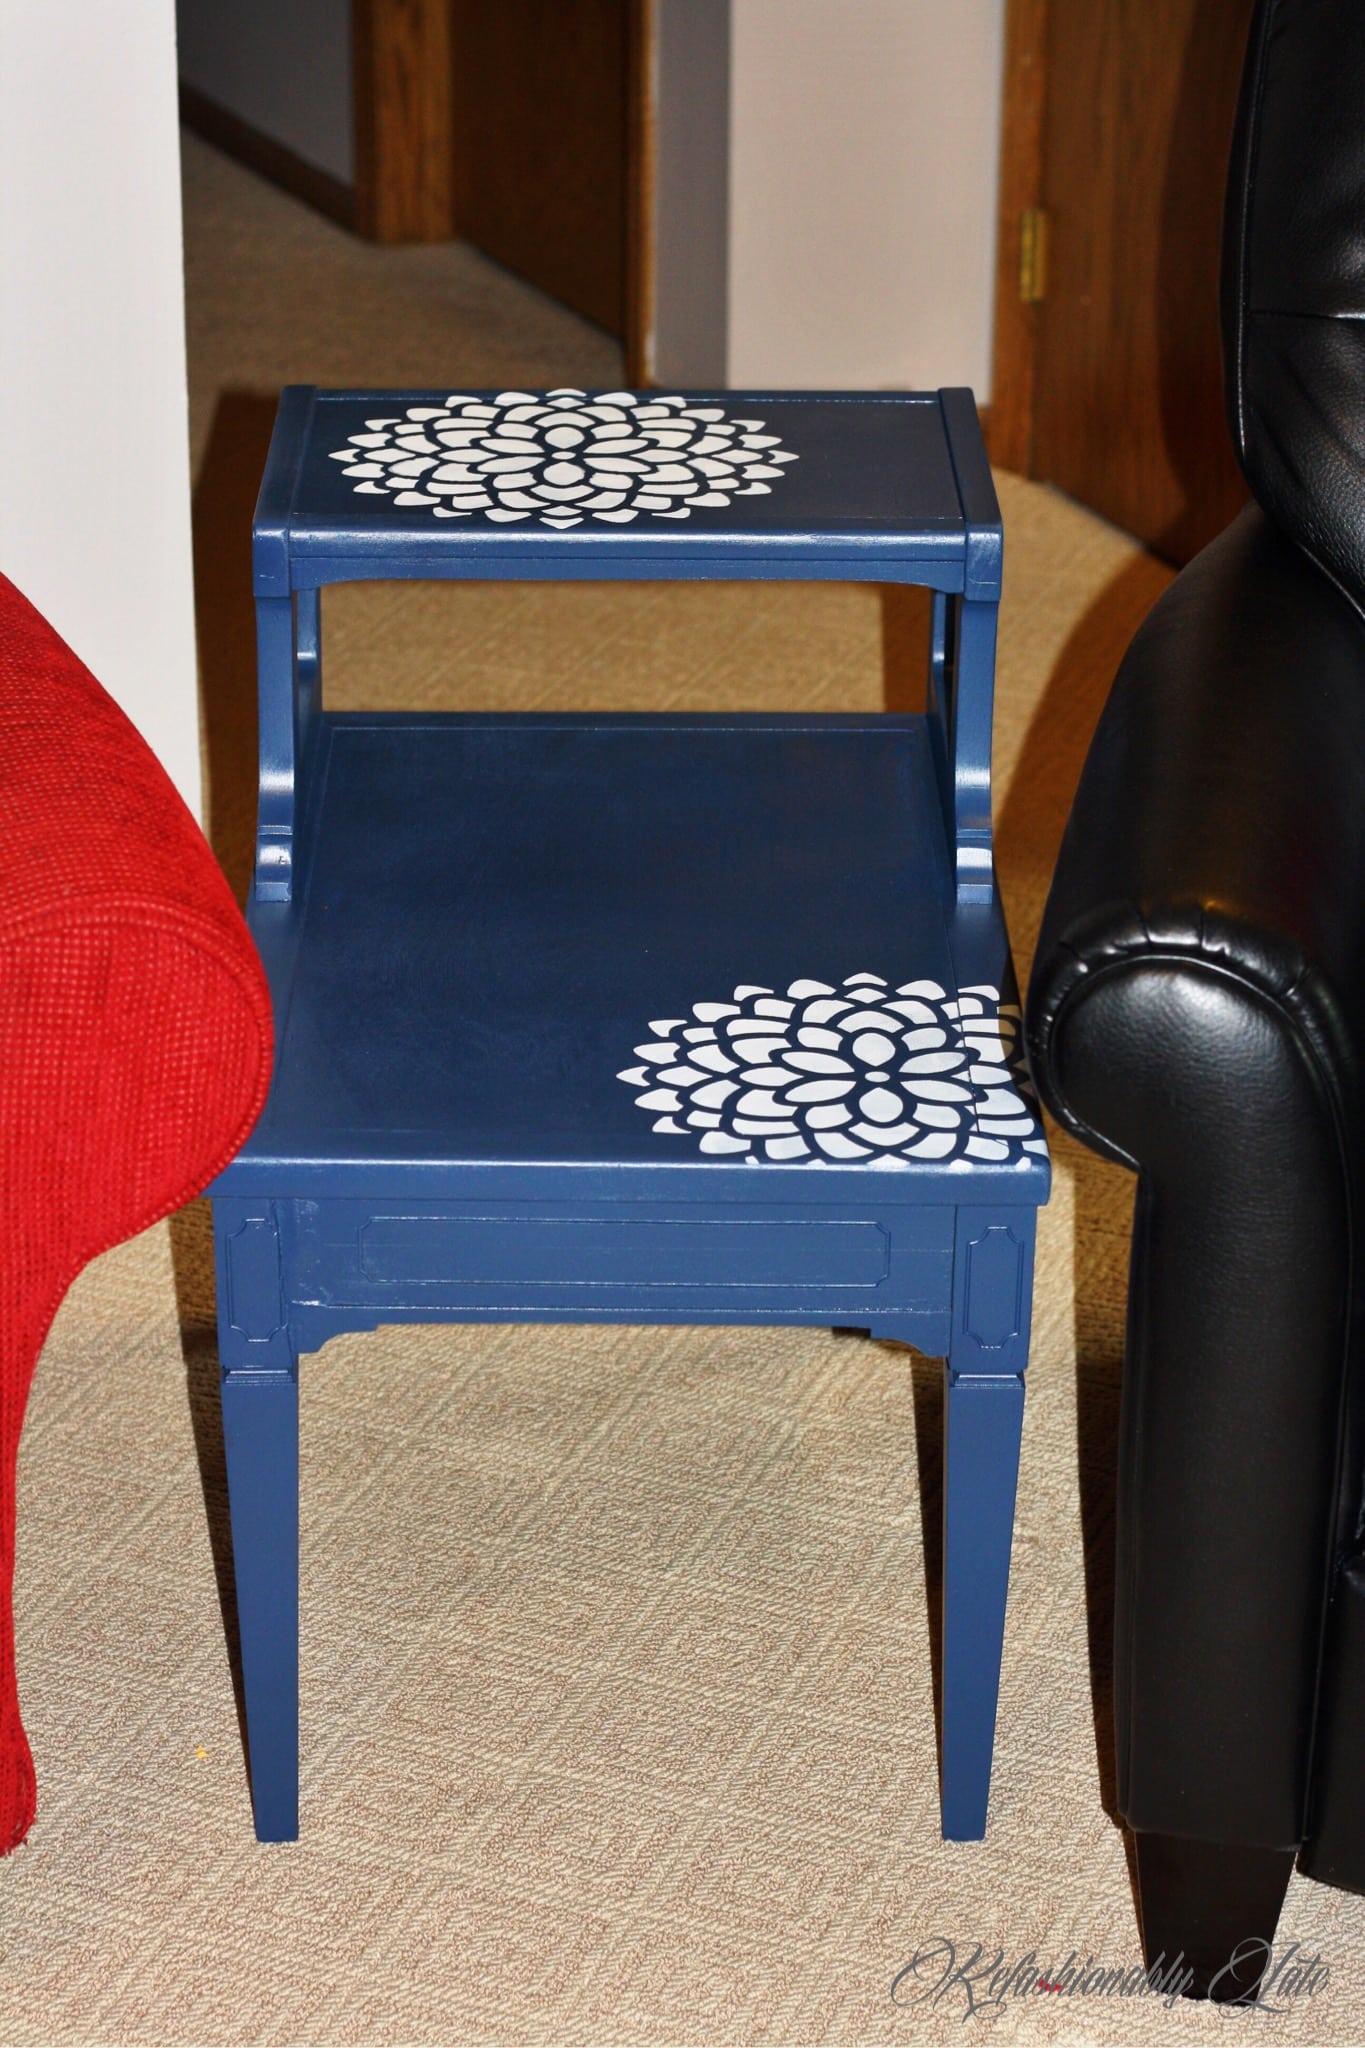
I then started spray painting the table with one of my newest favorite colors, Valspar Indigo Streamer. The spray paint is paint and primer in one so I didn’t prime the table first. It took about 2-3 coats of paint to really coat the table and have thorough coverage.
I loved how it turned out but I also wanted to add another little touch to it. I got this adorable floral stencil from Michaels so I added two flowers to the table. I think it really added to the table and made it even more beautiful! I’m so in love with this piece and super excited about it. I’m having a hard time finding exactly where I want to put it. In the pictures, I have it in our basement but it just doesn’t seem right there to me. I’ll keep thinking and I know I’ll end up finding the perfect home for my cute little table!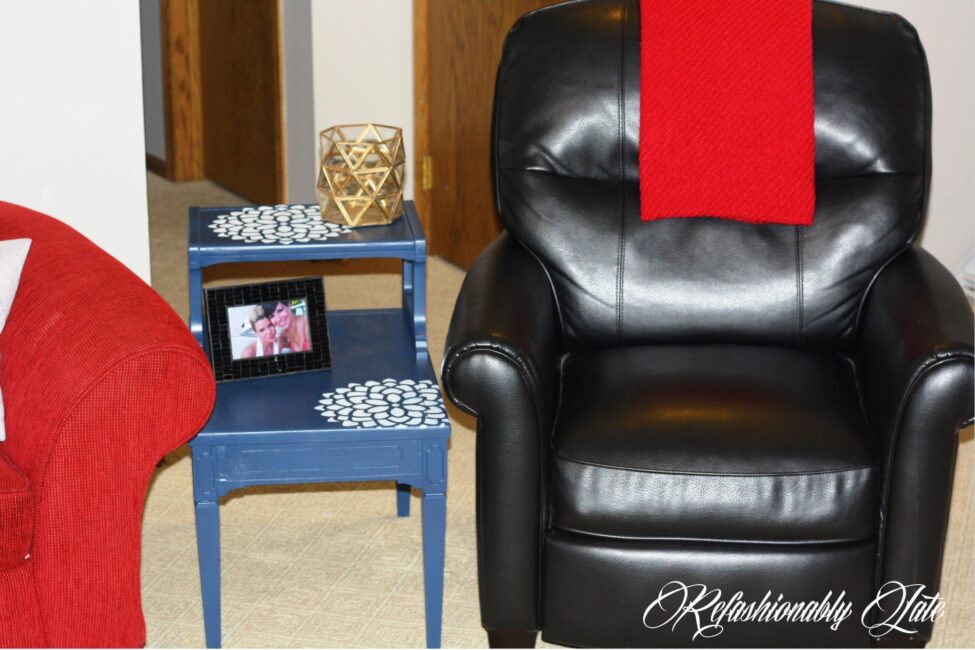
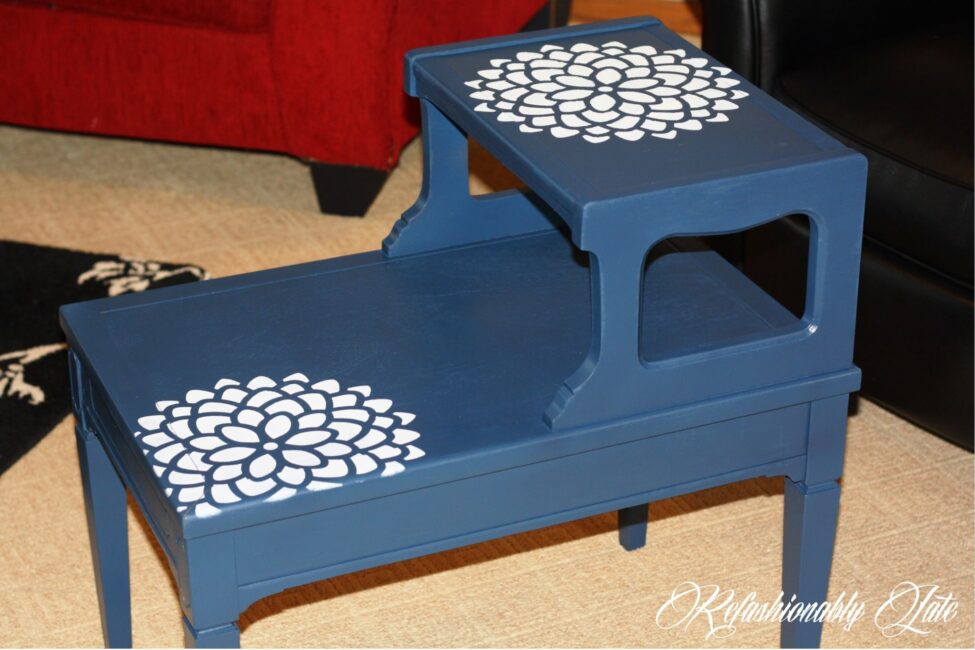

What kind of stencil projects have you done? Please share with me your favorite project! I’m a little obsessed with stenciling at the moment. In the next week or two, I’ll put up a tutorial on how to stencil furniture. See you on Friday!



I love it! You def upcycled that 🙂
Thanks, Brittany!
Good job!
Thanks, Marissa!
Your table turned out great. I love the color. Thanks for stopping by and commenting on my table on Hometalk! Have a great weekend.
Thanks Virginia for stopping by! Crazy we had the same exact table huh? I love what you did with yours!
This is so pretty, Ruthie! I love the color blue you used and the stenciling is perfect!
Thanks so much Amy! I love that blue too! It’s my favorite blue!