
 *This post contains affiliate links but I love and use these products! I would not share something with you that I didn’t honestly love!*
I’m here for another round of The Home Depot Gift Challenge! I’m really enjoying teaming up with some of these amazing ladies and really getting my creative juices rolling! In this challenge (if you are new here) we are to take one item from The Home Depot and create something with that item. We are not sponsored by Home Depot; we just love their products and visit them frequently!
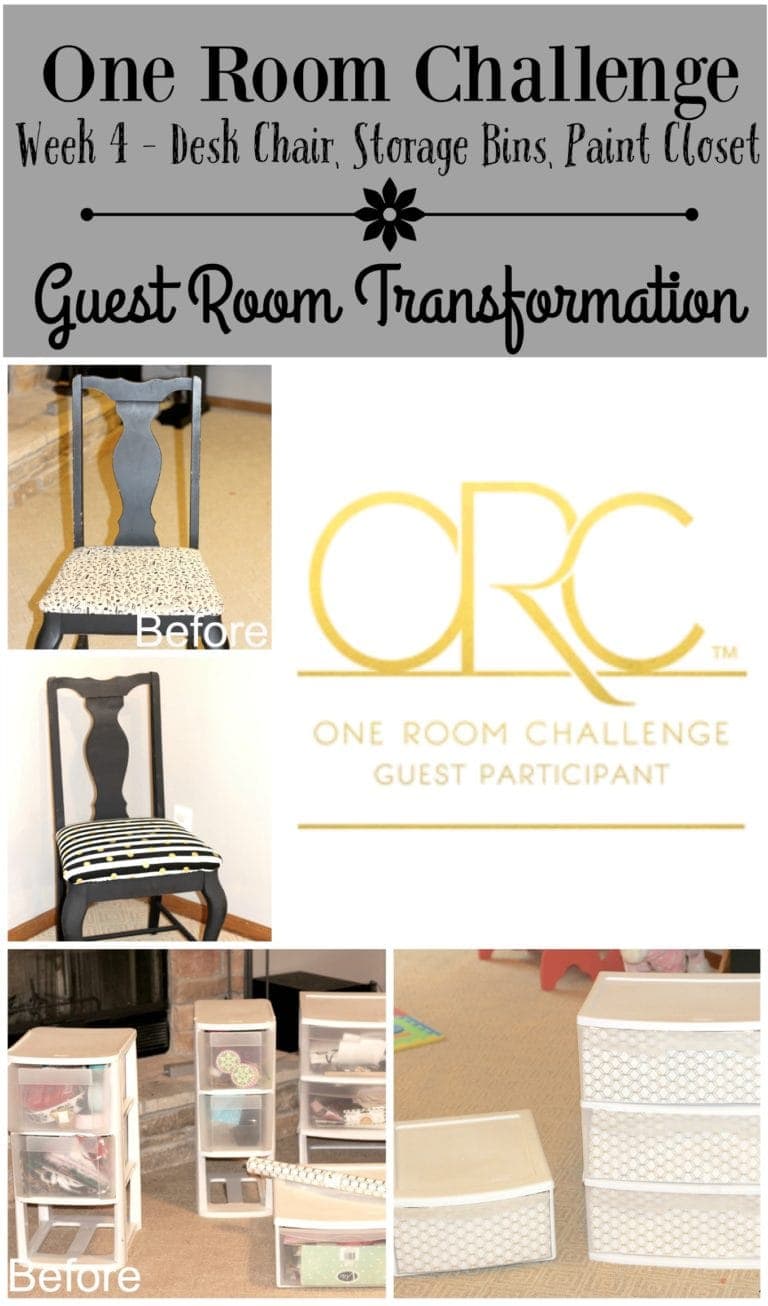
This month’s challenge item was furniture legs. I had a whole idea planned out but then I needed to make a desk for my guest room so I changed it all last minute. I just redid my guest room for the One Room Challenge and I wanted to create an oasis for my guests as long as a work area for myself.

Onto the tutorial….here are the items that you will need to complete this project:
- 2 furniture legs
- file cabinet
- wrapping paper
- mod podge
- wood for desktop
- spray paint
- gorilla glue
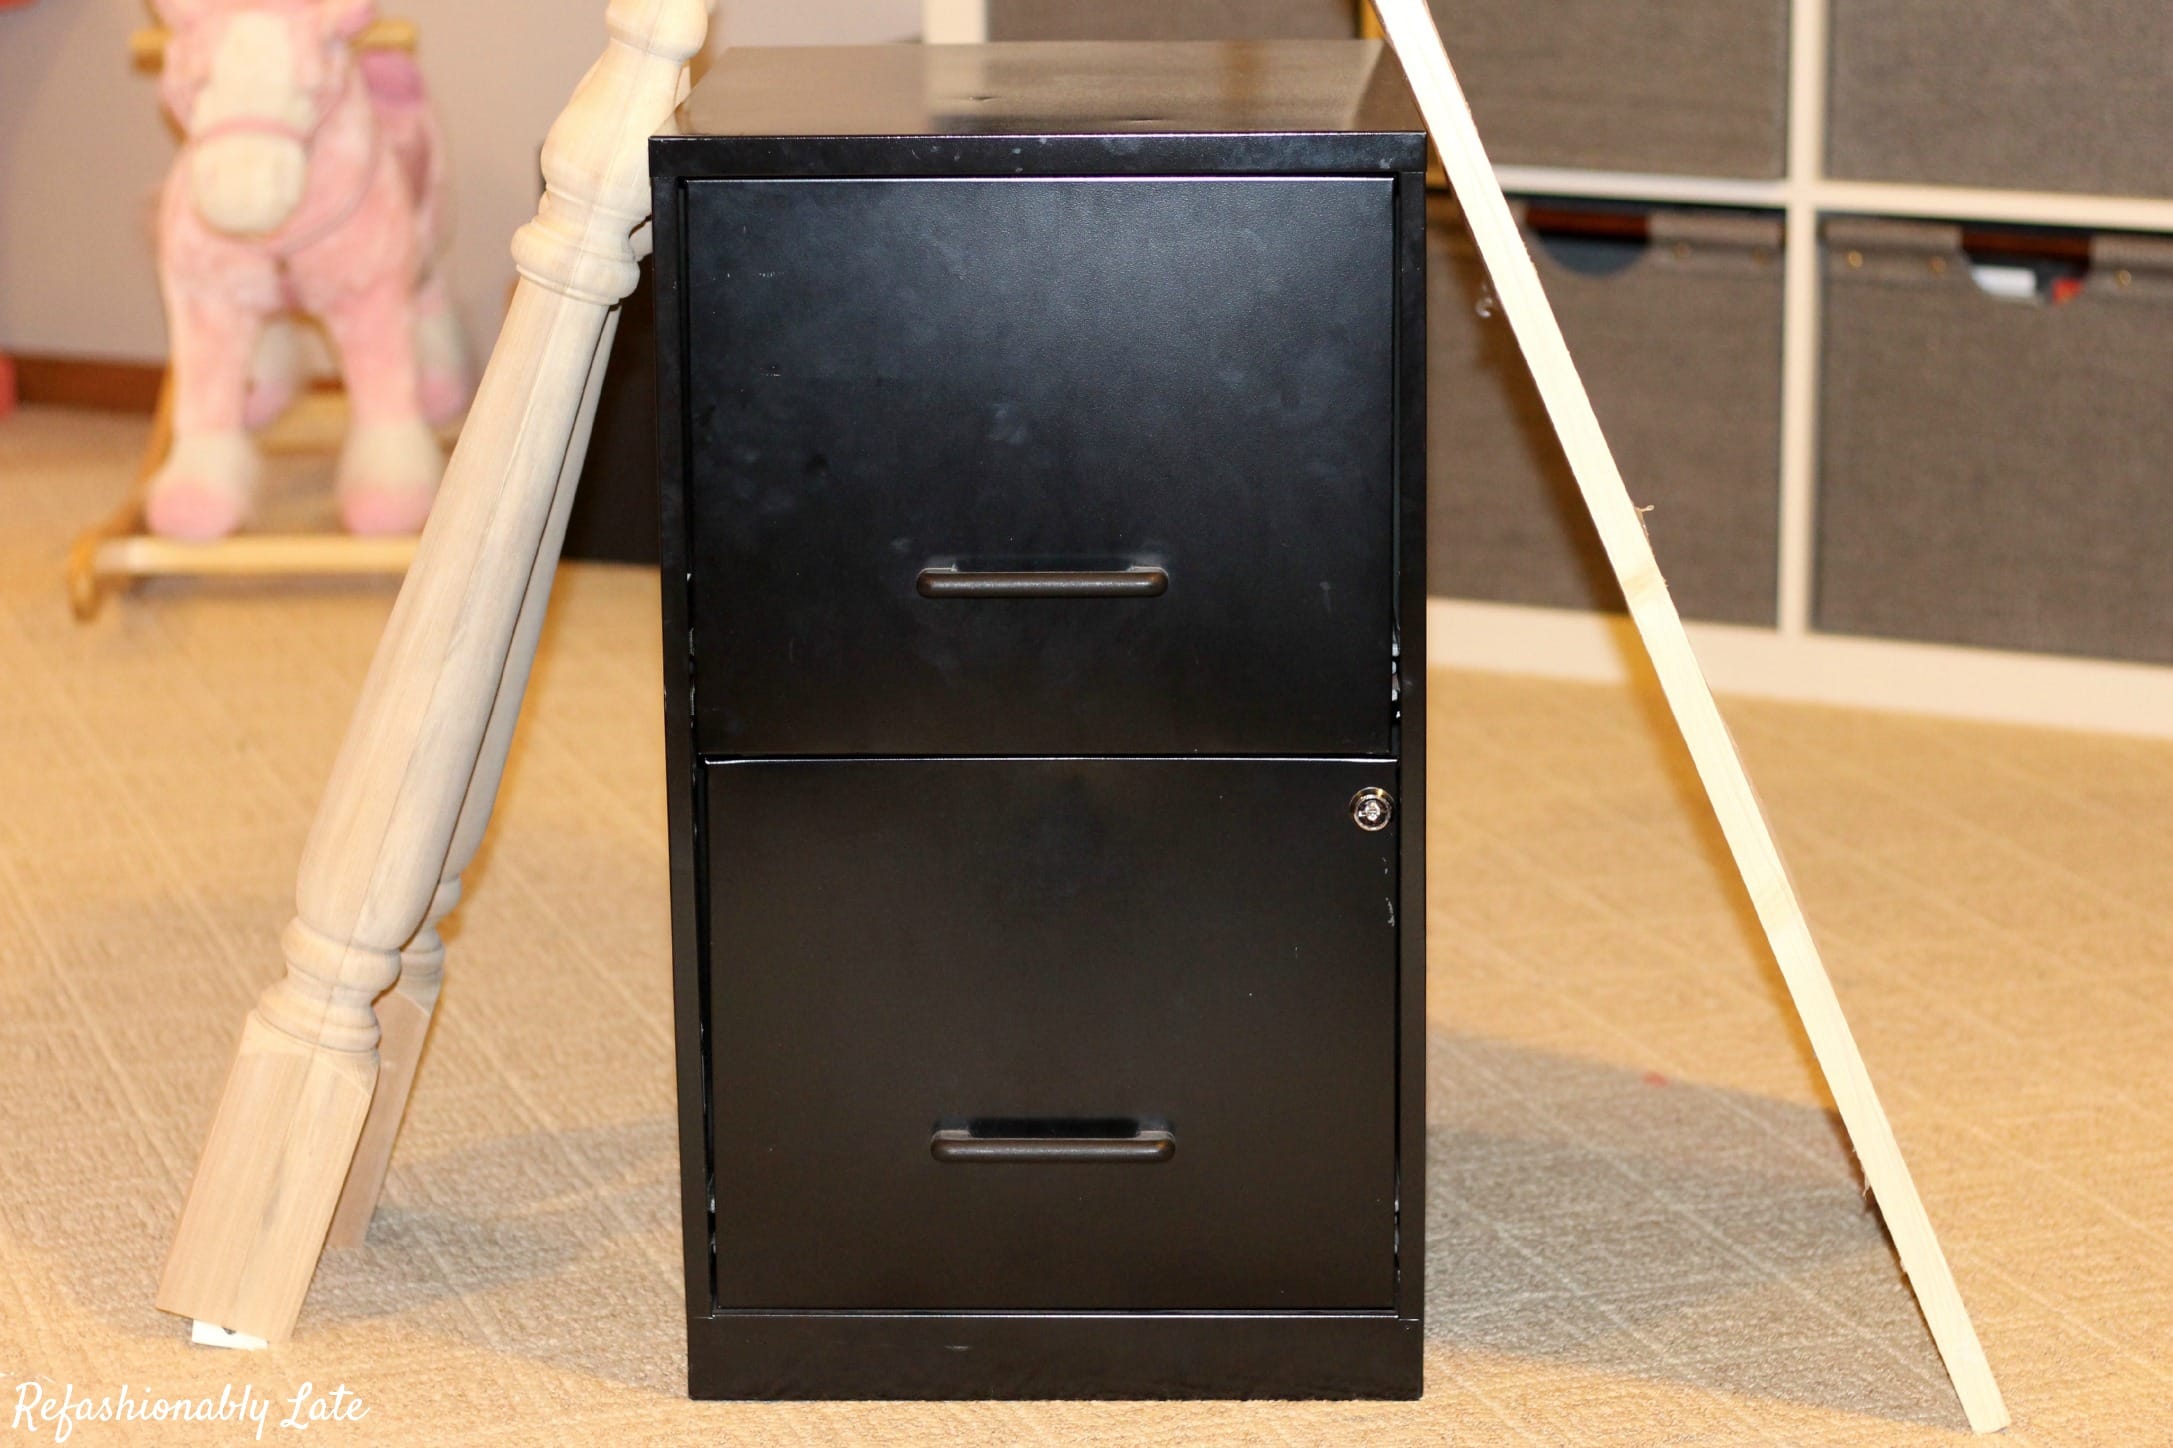
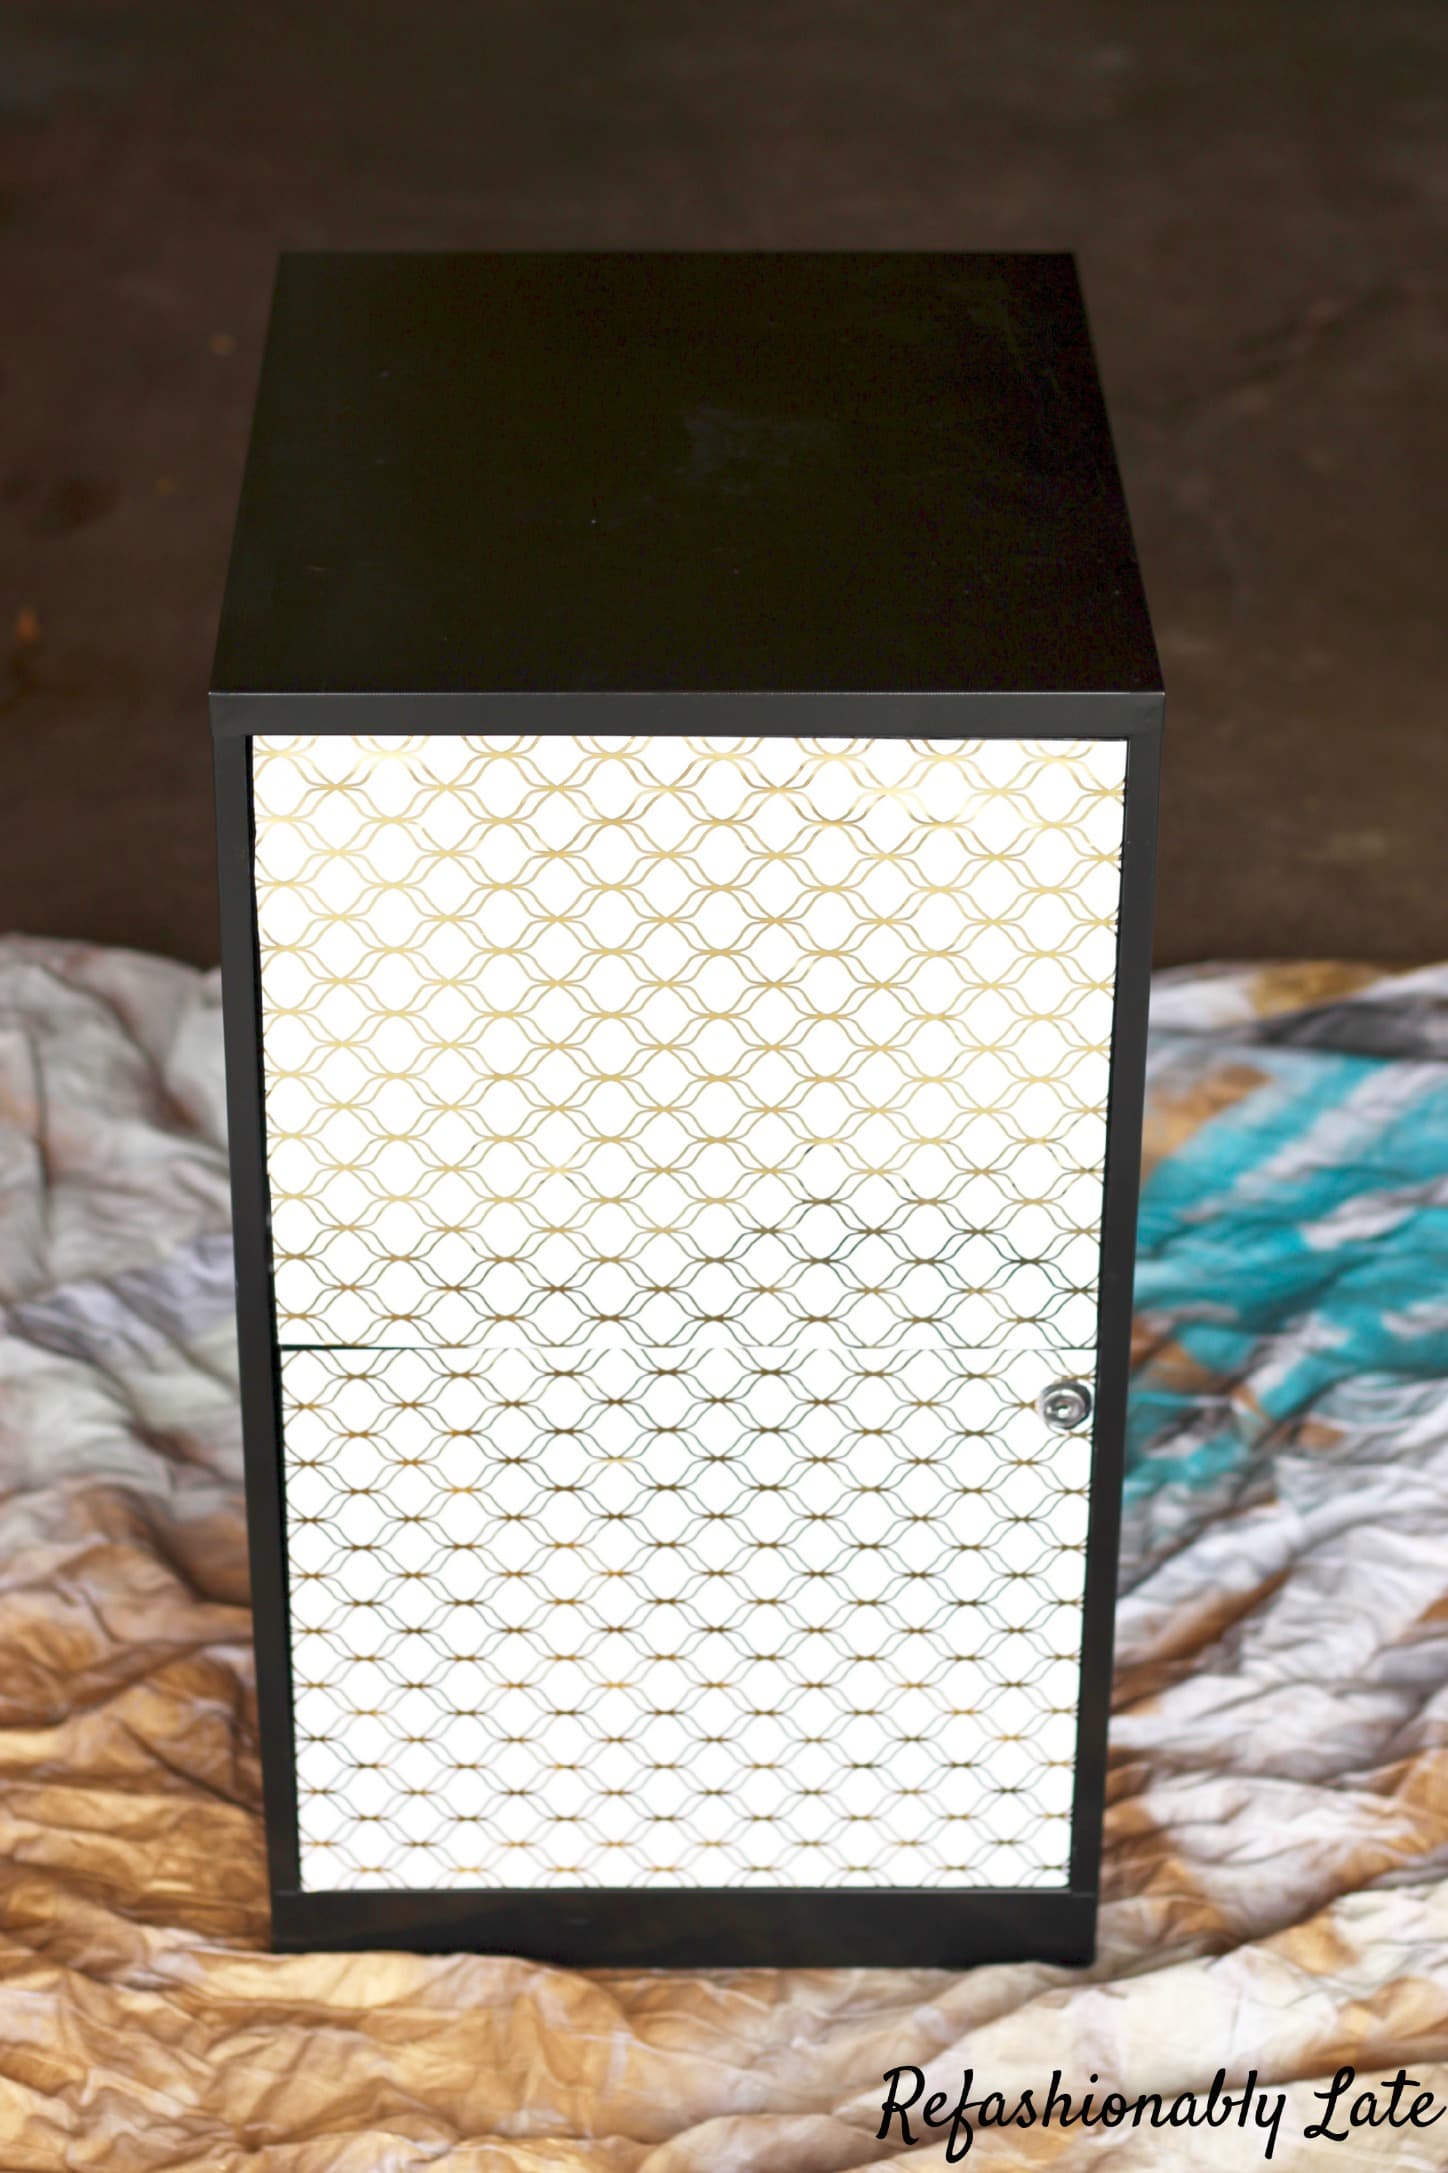
I had an old file cabinet that needed a little TLC and I thought I could create a little crafting desk with it! The first step I did was to mod podge the wrapping decorative paper I had onto the front of the cabinet. I removed the handles and applied a thin layer of mod podge directly to the file cabinet fronts and smoothly applied the cut to size paper to the front of the cabinets. I let it dry for about an hour or so and any smaller wrinkles that were showing were gone! I love mod podge!!
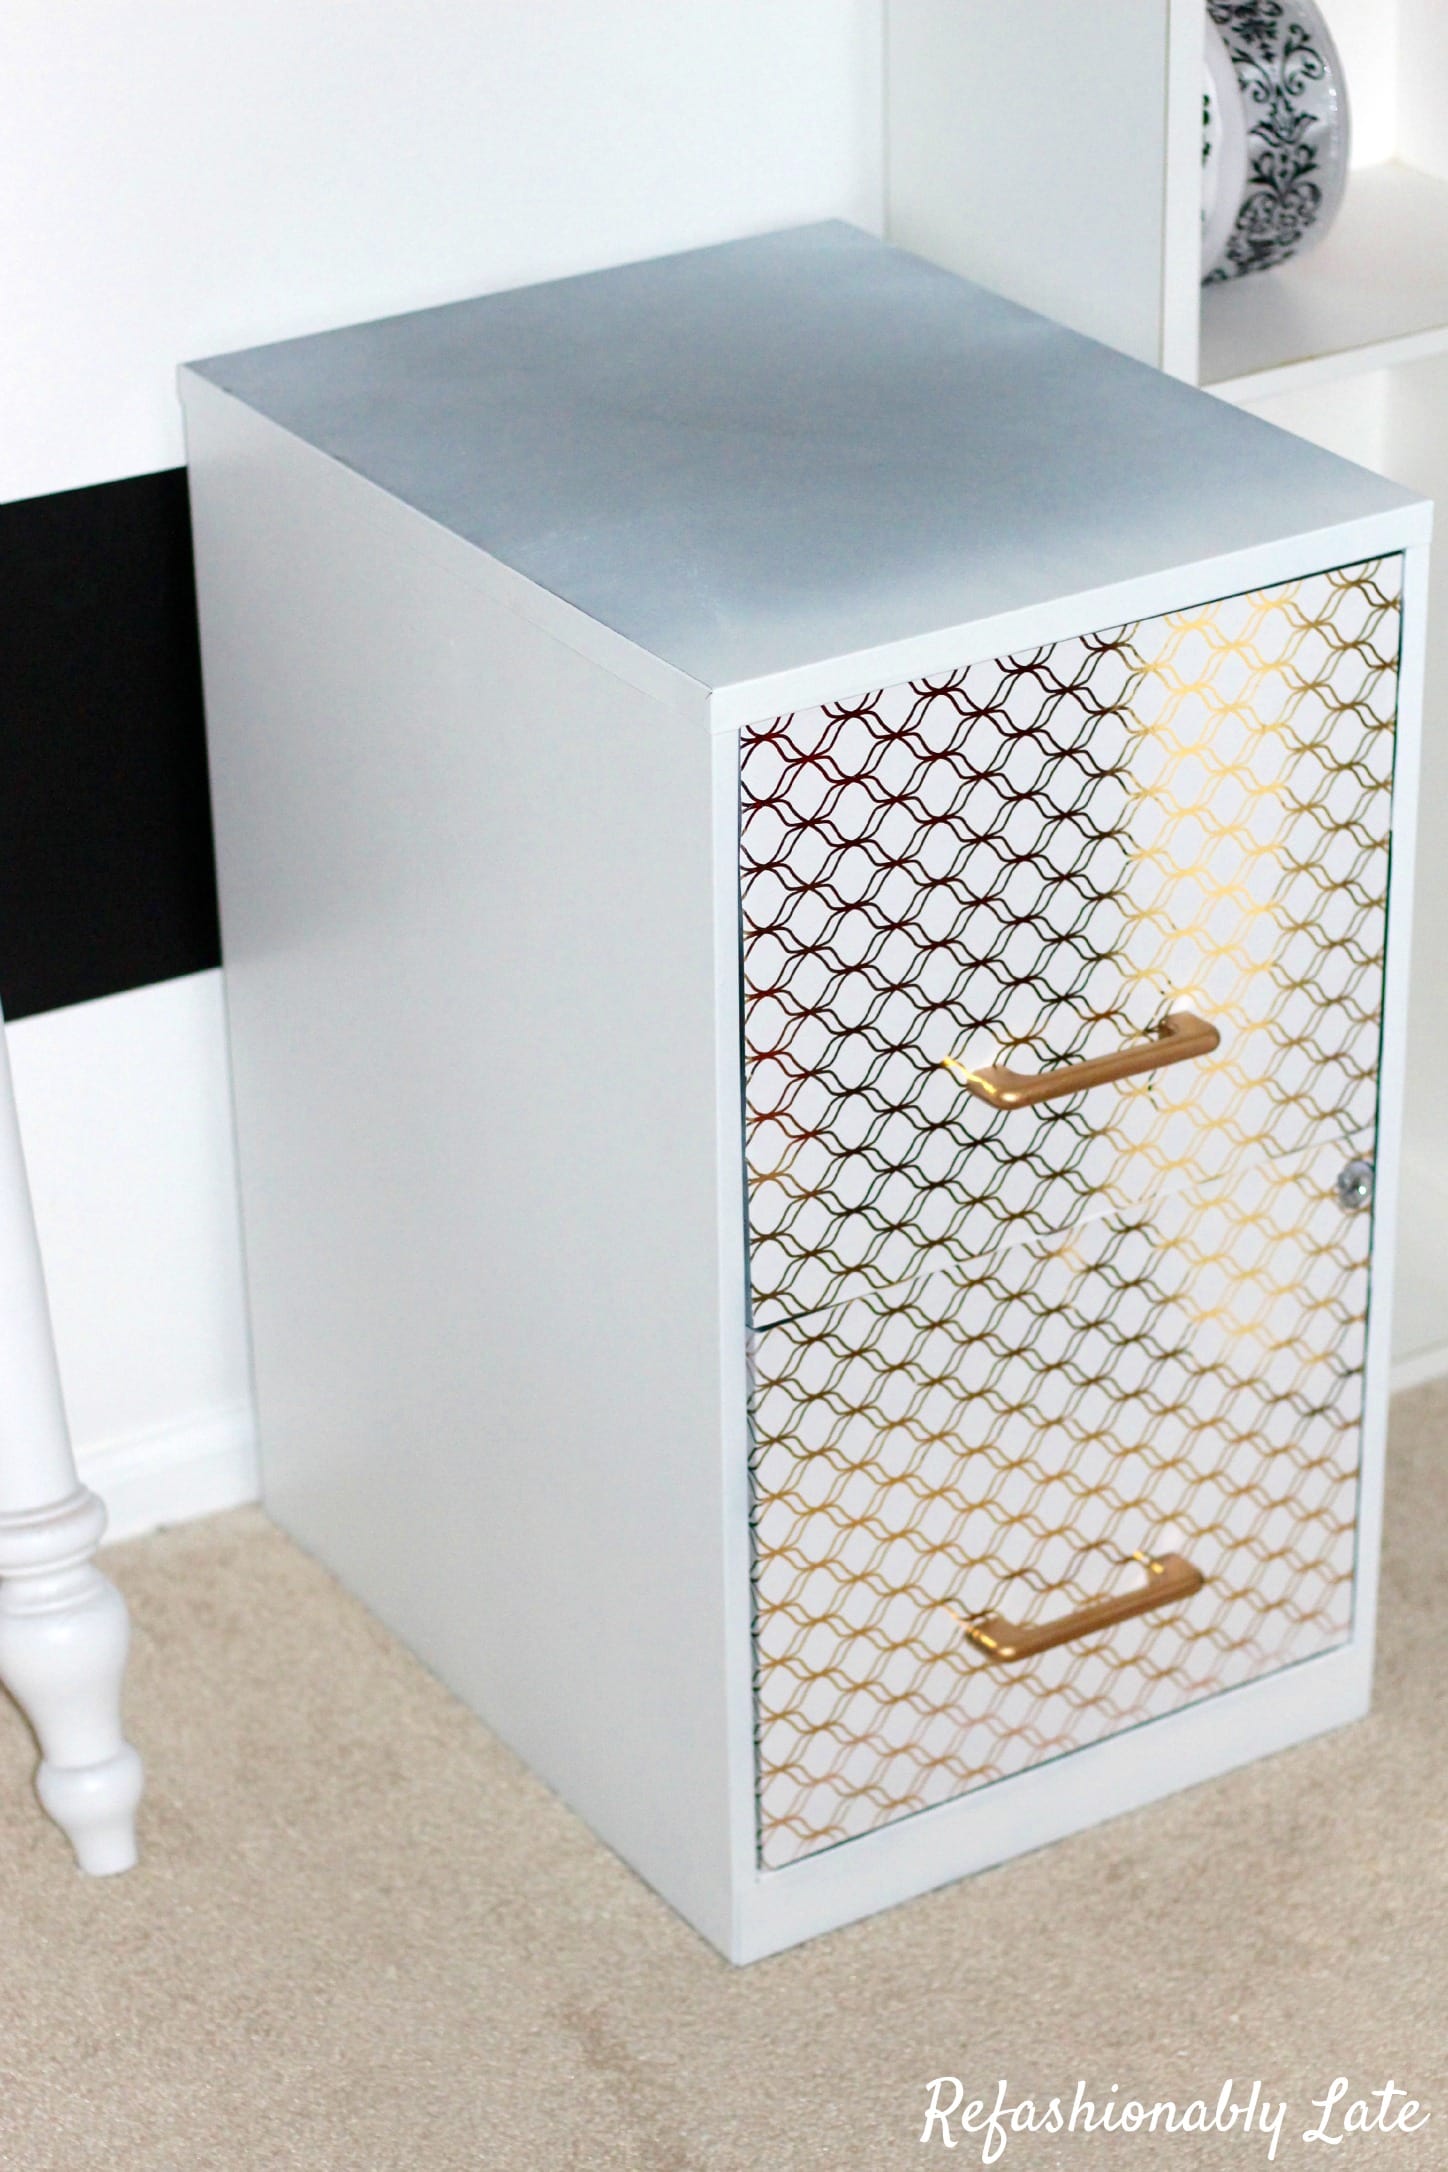
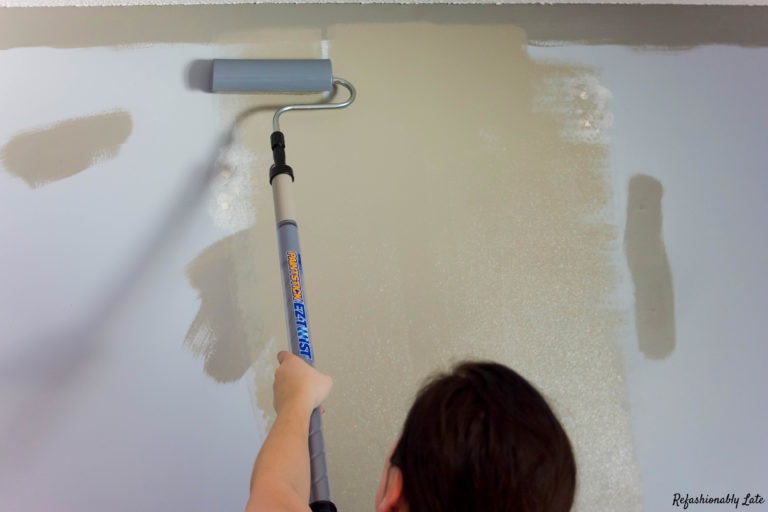
The next step was to spray paint the file cabinet white. I had my husband carry it outside to the garage. We have had an unusually warm November here in Minnesota so I’m taking full advantage of spray painting while I can. You can’t typically spray paint in weather below 50 degrees so I always spray paint when I’m able to! I go quite a few months of no spray painting during the winter months! I did not spray paint the top of the cabinet as I wanted to have a clean service to adhere it to the wood. I also spray painted the original black handles gold.
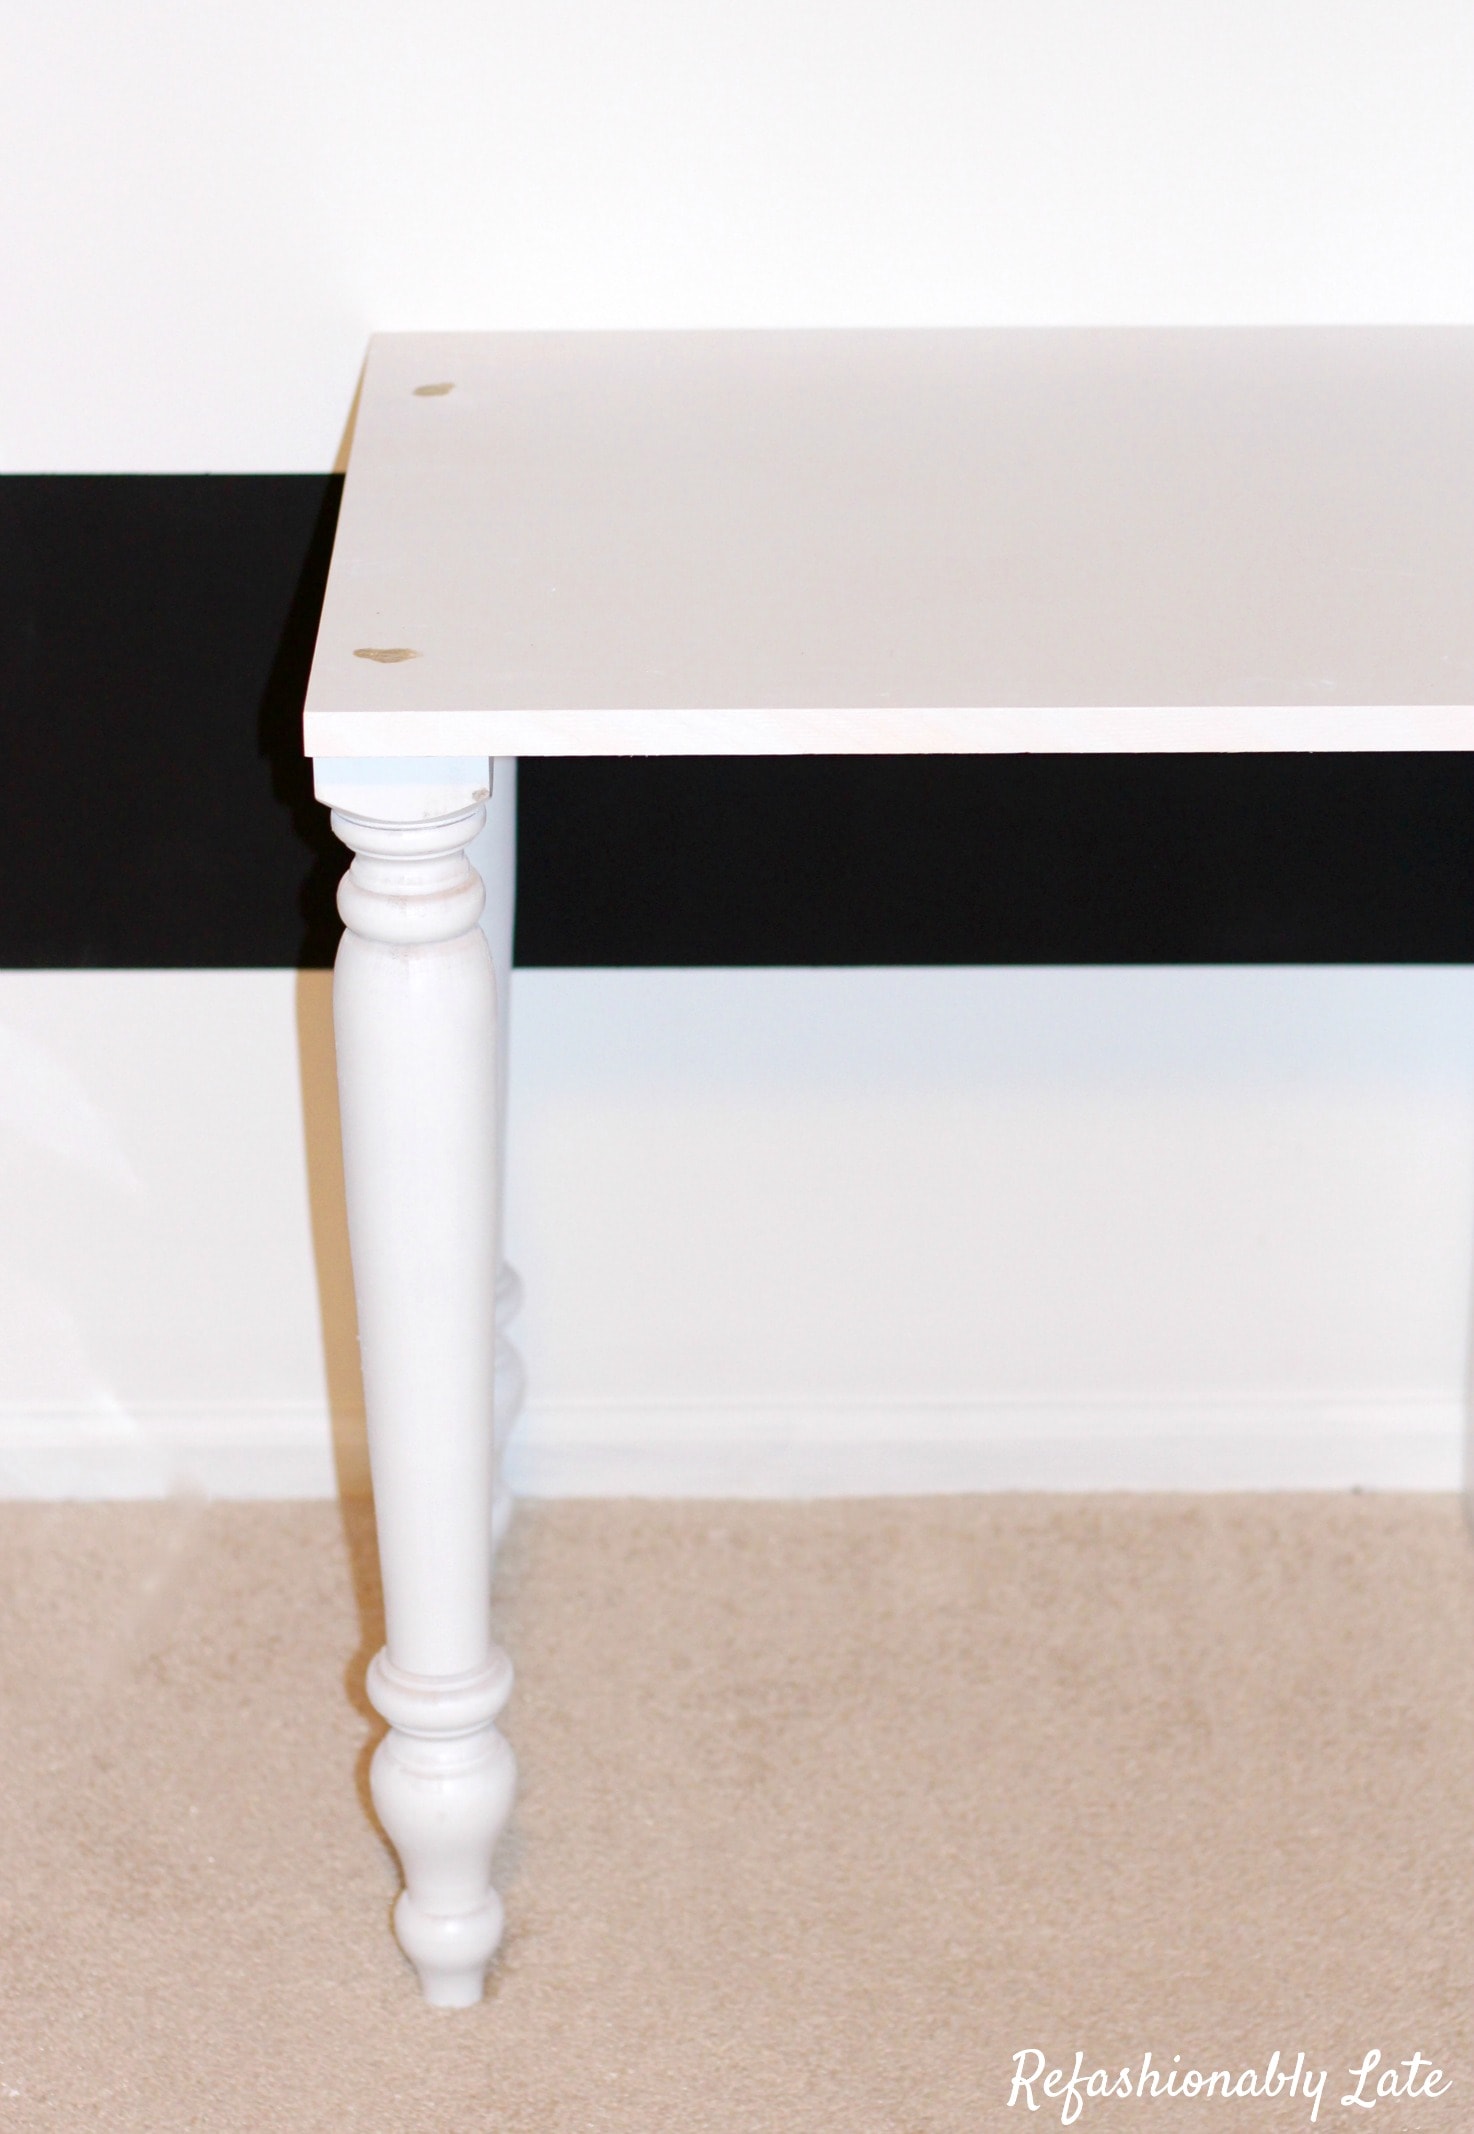
I also spray painted the legs and the piece of wood for the top of the desk white to match. I really wanted a clean, crisp look for the desk. The next step was to cut the legs down to size. They were too tall so my husband stood them next to the file cabinet and drew a line across the edge of the furniture leg from the top of the file cabinet. This way it measured perfectly with the height of the file cabinet. 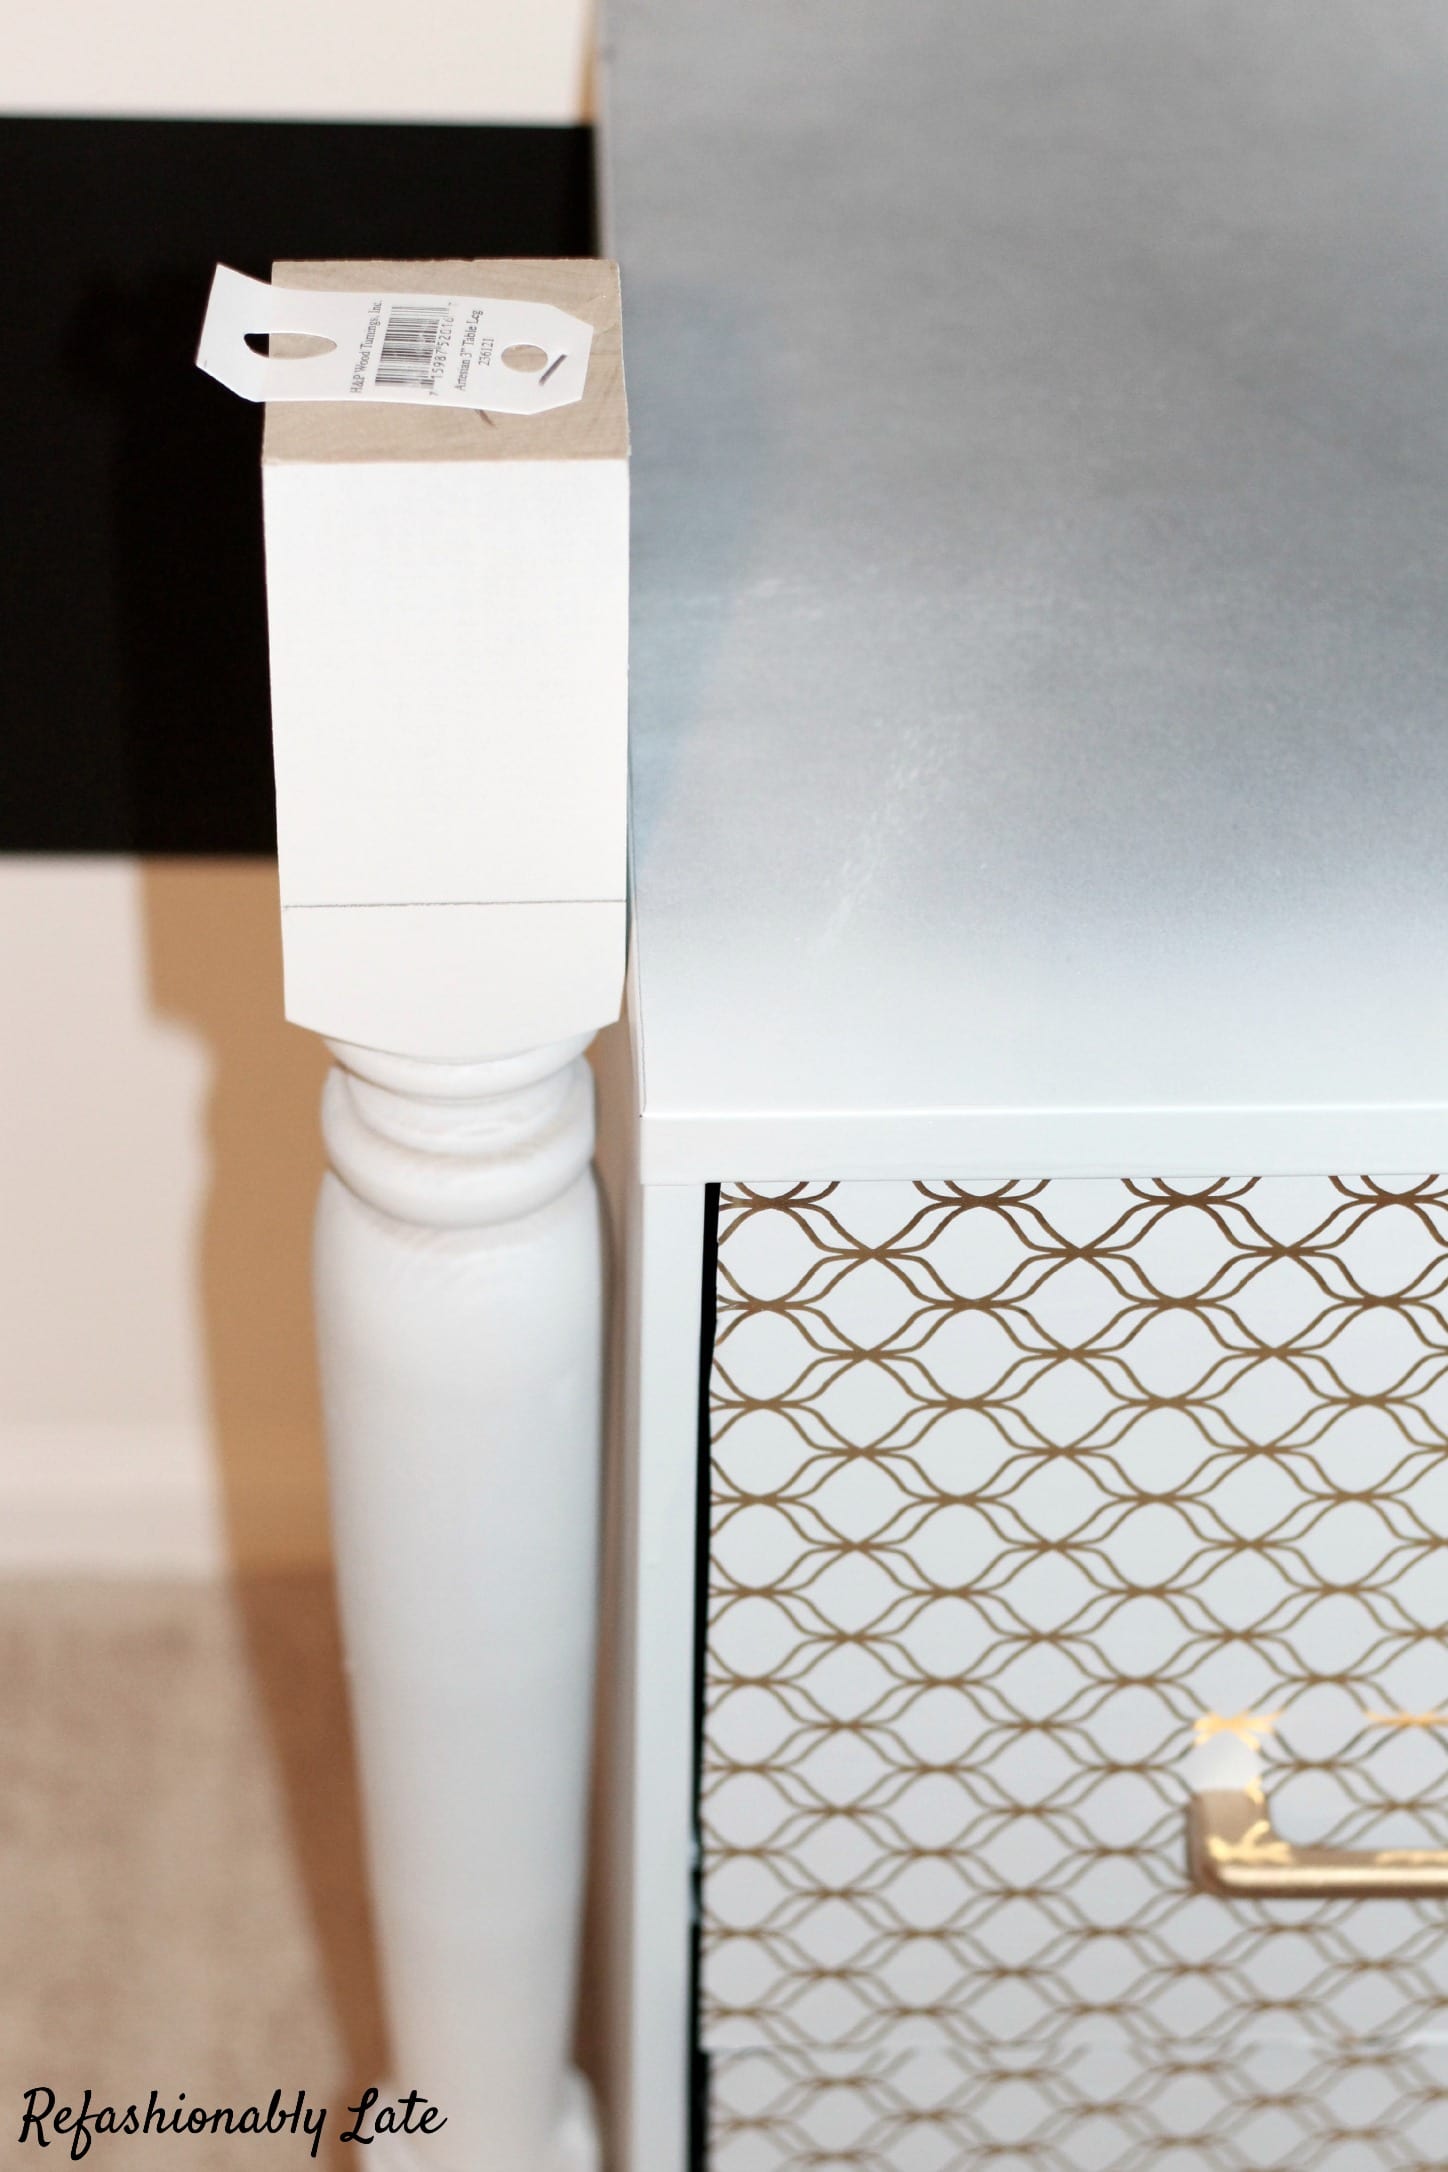
He went outside and cut the legs with our circular saw. Then we sanded down the edges of the leg and set the table up to how we liked it. My husband then drilled large wood screws into the top of the table top through the top of the legs to secure them. I didn’t want the screws to show so I put a layer of wood filler on top of the screws.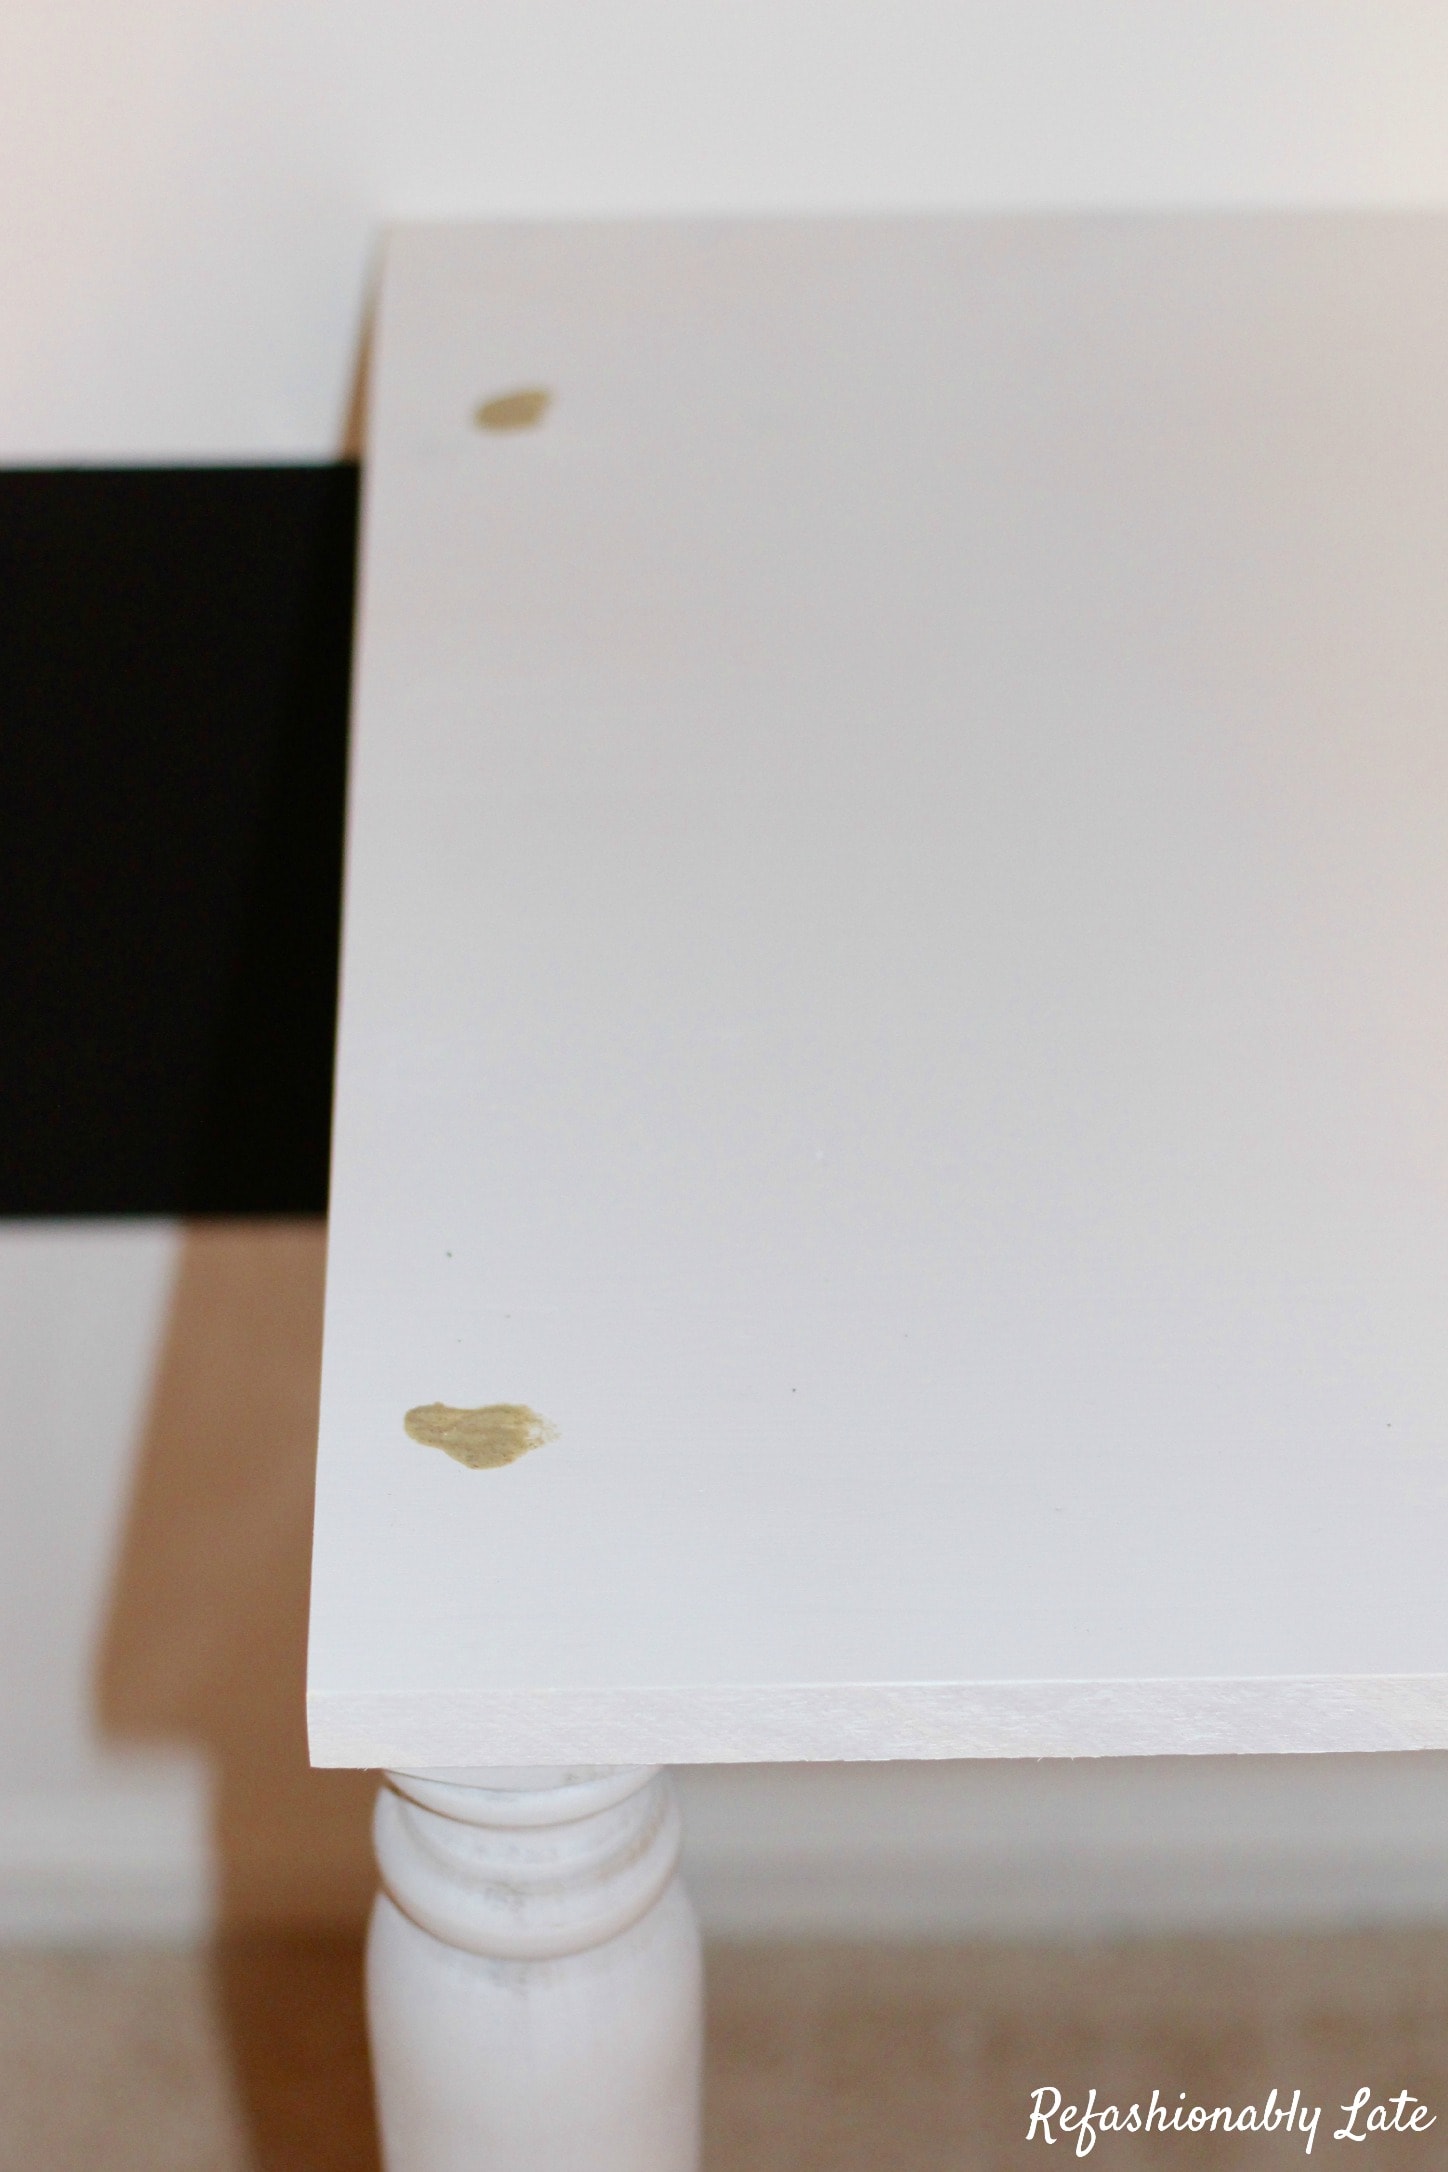
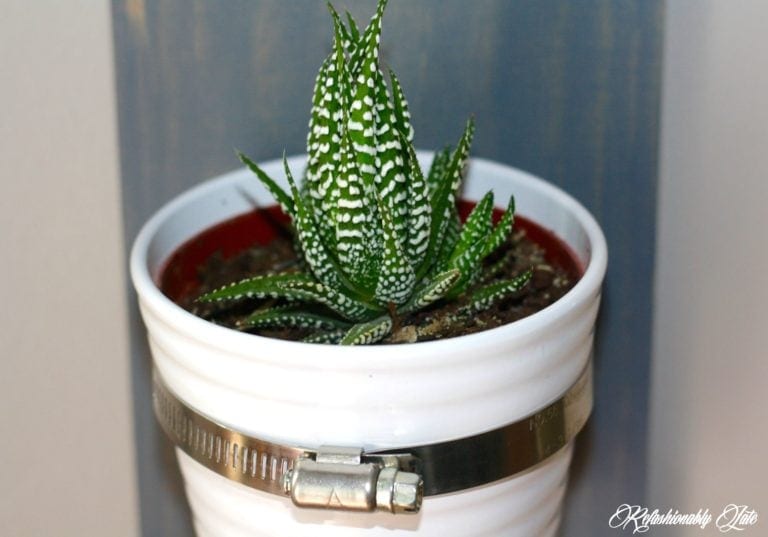
After the wood filler was dry I sanded it and painted over it with white paint! Now you can’t even tell there are screws there! The final step was to do a thin coat of gorilla glue to the top of the file cabinet. You may want to sand down the area a little to give it a rough area to adhere to. Once you have the gorilla glue on the top (don’t make it too thick as gorilla glue can grow) lay the table on the top where you want it to stay exactly. You can either clamp it down or just put some heavy books on top! That’s what I did. Once it’s all dry you can decorate your table and you are ready to go!


How adorable is it?! I’m super happy with how it turned out and I’m so excited to create my first craft on it! Now head on over to these talented ladies and see what they created with furniture legs. Every month I am just amazed by their talent and creativity! I feel very fortunate to be a member of this group! Thanks ladies! Happy Sunday everyone and keep your eyes peeled for two big posts I have this week! I’m SOOO excited about them and can’t wait to share them you all!


Beautiful Ruthie, I love it!!
Thanks Roxanne! 🙂
What??? That is crazy smart!
I never in a million years would have thought up something so cute, functional and easy!
Great job!
Pinning!
Thank you so much Karen!!
Hi, Ruthie ~ This crafting desk is great! I especially like how you redid your file cabinet. That wrapping paper is perfect! Looks like you have a space all your own in which to craft. :0) Great job on this month’s challenge!
Thanks Tiffany! It does feel good to have my own space and not working on the dining room table! Hopefully I can keep it that way but how can I not when all my materials are in one place! 🙂
Oh my gosh is that clever! I love it!
Thank you Rose! I love it!
It is seriously adorable!! I love the gold touches. Your entire room just looks fantastic, you should be so proud of it!!
Thank you so much Amanda! I love how it turned out!
It looks great, Ruthie! I love how you put all of this together.
Thanks Heather! I love how it turned out!
This is goregous and amazing upgrade! Love that decorative paper. Pinned!
Thanks so much Rachel! I love how the decorative paper really added to the file cabinet!
This is amazing Ruthie! I love the way it turned out and I need to update my husbands file cabinet. You’ve given me ideas!!
That’s awesome!! I’d love to see what you do with it! Please make sure to share!
This is SO cute! I love the wrapping paper front on the file cabinet. Pinning!
Thanks Erin! 🙂
These legs made a great addition to your desk Ruthie! The desk turned out beautifully! So sad I’m missing out on these HD Gift Challenges right now!
Thanks Lindi! I love how it turned out!
Love the desk out of file cabinet how did you do the curtain glad I discovered your site a few months ago
Thank you so much Pat! What curtain are you referring to? The ones in place of closet doors?
Did you mod podge the paper on top,and if so how many coats? I love the idea!
Yes I did! I just did a layer of mod podge directly to the front of the drawers and then put the decorative paper on top, smoothed out the bubbles and let it dry! That was it! 🙂
This is super cute! I’m thinking about building a new desk for myself because mine is breaking! I just might have to snag your idea! Thanks for sharing
That’s great!! I hope it works out for you! 🙂
Was the filing cabinet the metal kind, or was it a wooden one?
It was a metal filing cabinet! 🙂 The paint is holding up great!
It looks great. What is the official name of the wrapping paper or where did u get it? I want to do something like this to my kitchen cabinet doors. I can’t seem to look the material I’ve seen used before. Any suggestions?
Thank you so much! I don’t have the official name of the paper but I bought it at JoAnn Fabrics. It was called something like designer paper. Are you going to put this on with modge podge? Otherwise look into some contact paper for you cabinet doors.
Awe this is darling! I love the desk and Audrey ❤️! I love your name that’s my name too! It’s not very often you see “Ruthie”!!! Especially with the “I.E.”
Thank you so much!! I love your name too!
What were the measurements for the table top?
Sorry for the delayed response but the top is 36inches by 20inches 🙂
What is mod podge?
Diana, it’s a decoupage medium — an all-in-one glue, sealer and finish used to attach paper and fabric to various surfaces 🙂 You can buy it at any craft store!
Love this and plan on doing it myself!! Thanks so much for the idea! What were the dimension on the wood and what type of wood did you use for the top? Thanks!!
The top is 36 inches by 20 inches. I purchased a pre cut wood top at Lowes. It is pine wood I believe.