The power of paint is pretty incredible. You can take any piece of furniture and transform it into a whole new work of art.
One of my absolute favorite things to do is to refashion furniture. Someone’s trash may be someone else’s treasure! I have a hard time not looking at the potential in pieces of furniture.
Lots of people would look at an old dresser and want it gone. My garage tends to get junked up with furniture that I want to redo! My husband doesn’t always appreciate that! 🙂
I have an end table that is pretty special to me. It’s nothing amazing and it’s simple but I love it. The reason it tugs at my heartstrings is that it was my first DIY project, ever!
My roommate in college had an old wooden end table that we used in our apartment. When we were moving out she no longer wanted it anymore so I said I’d take it.
I loved the lines of the legs and was moving into a place by myself so I needed all the furniture I could get. Once I moved in I decided I wanted to paint it. I called my Mom (a DIY expert and my DIY mentor) and asked her how to properly paint this little end table black.
End Table Makeover One
I took it outside in the yard of my apartment building and gave it a good sand and then used cans of black spray paint. Voila, I had a “brand new” piece of furniture!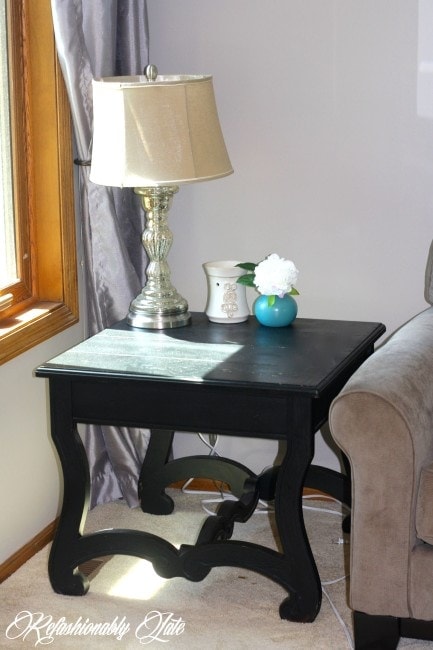
Since then it has moved with me to California and then to Minnesota. As I was redoing our home in Minnesota I felt the need for more color in our living room.
End Table Makeover Two
I went bold and decided to paint it a bright green. I loved the color and thought it was the perfect piece of furniture to add some character to!
The funny part is I only painted it by hand with one coat and liked how it looked. This ended up being my easy way to distress furniture!
The bright green was fun for a year or two but as my room evolved so did my taste. I just wasn’t loving the bold color with the rest of my furniture.
End Table Makeover Three
So…..back to black it went. I was in the process of redoing our living room for the One Room Challenge. I wanted the end table to be an accent to the room rather than a focal point.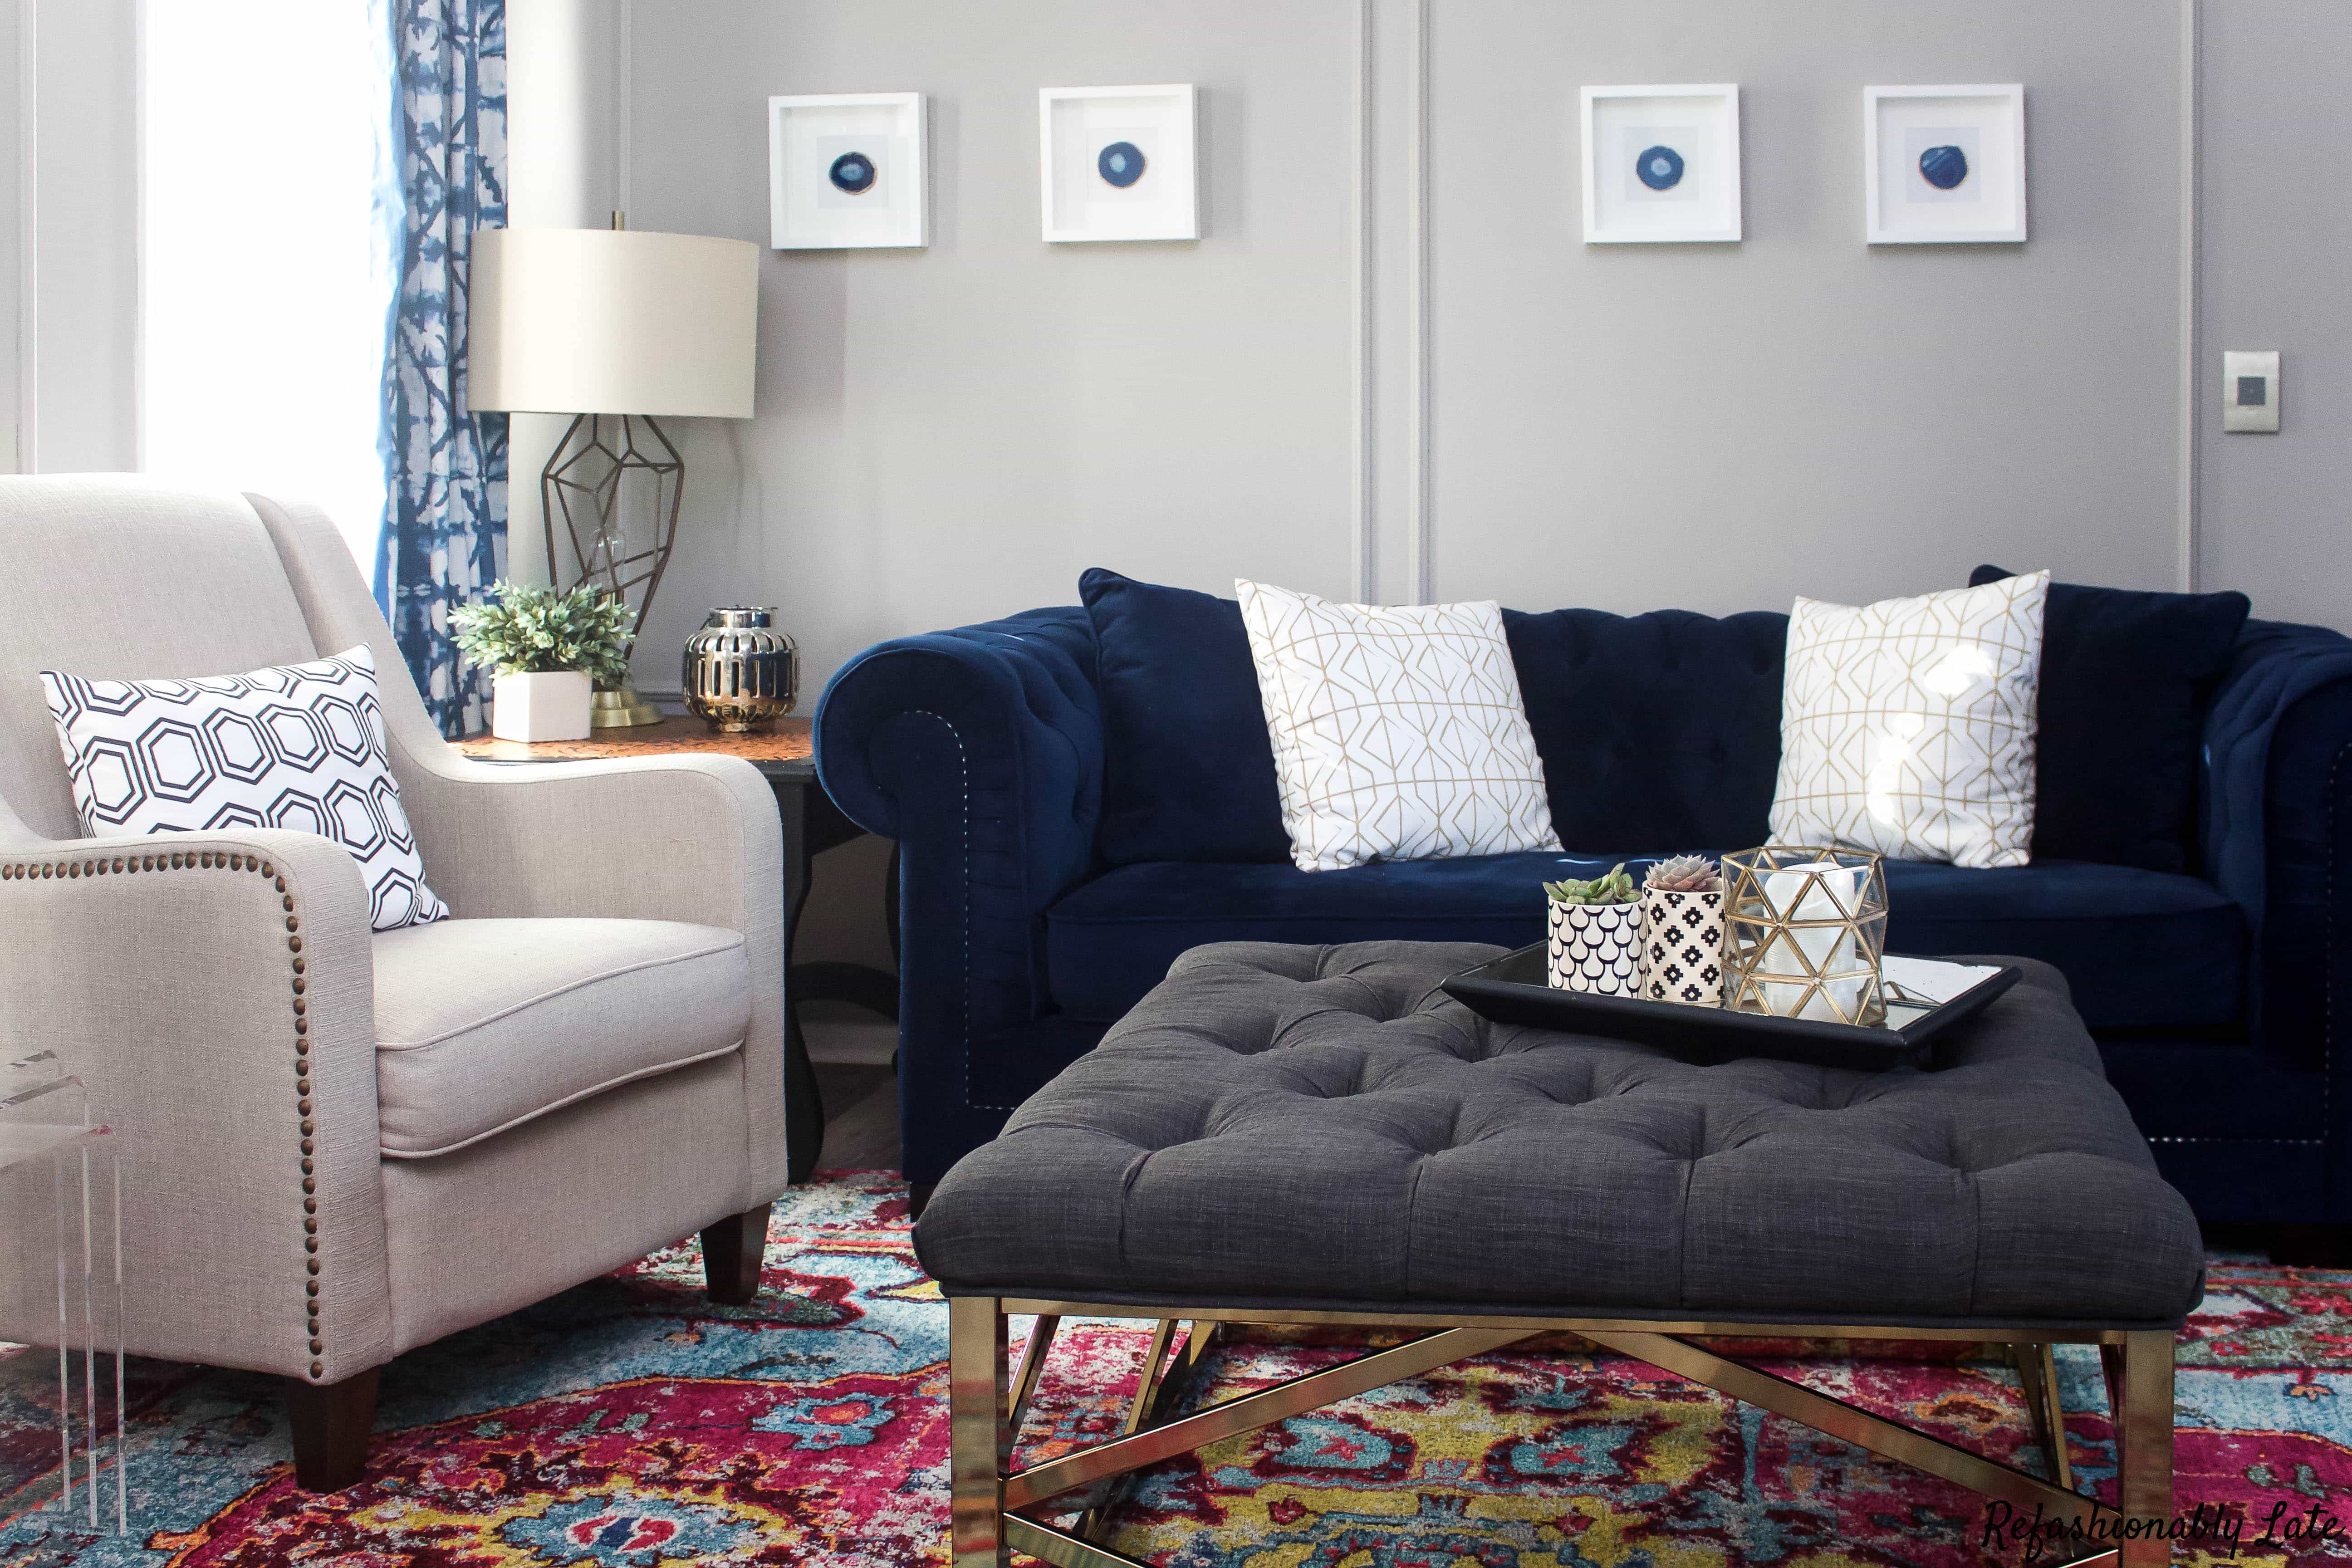
In the end, I did add a beautiful foil decal on the top. I loved the way it complimented the room!
Unfortunately, the decal got worn down in time and started peeling off. I tried to fix it multiple times but I finally had to say goodbye to the beautiful design.
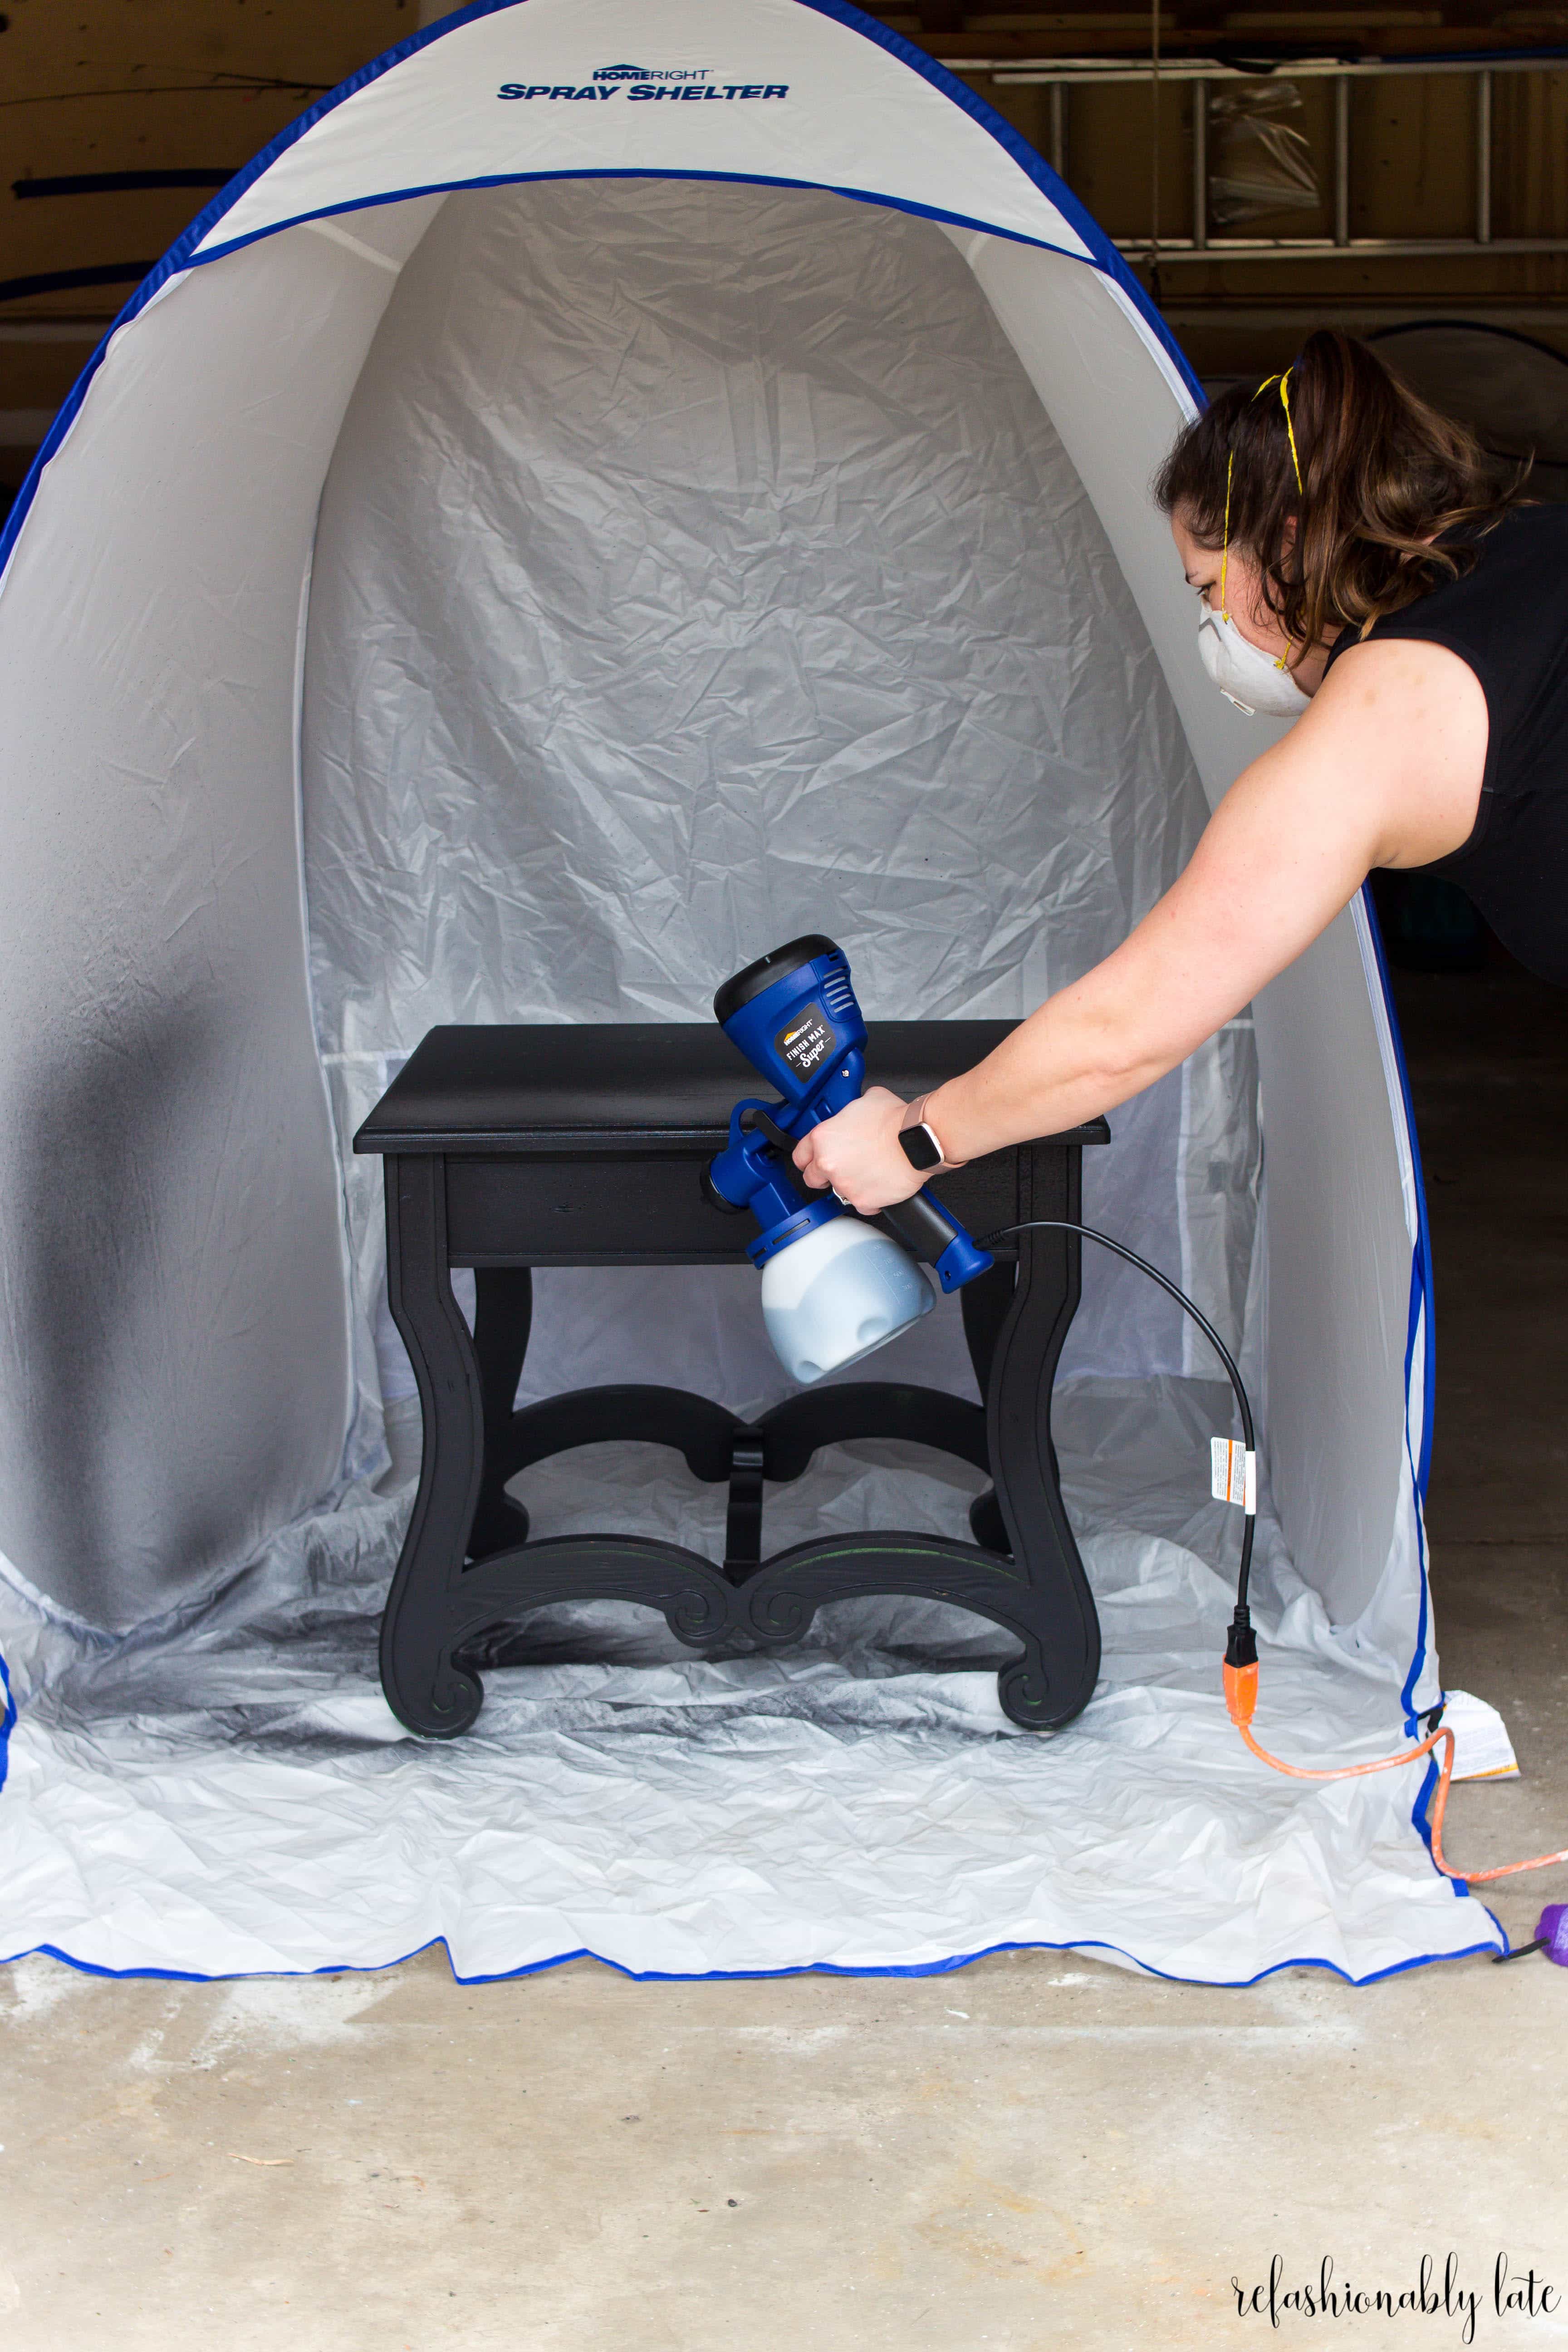
End Table Makeover Four
When I was removing the decal some paint decided to come up with it. 🙁 I was pretty bummed as it had to be painted again. The sad part is it took me quite a few months to actually get that done.
I grabbed two of my absolute favorite painting go-tos to get the project done quickly! As I have mentioned multiple times before, I love my Medium Spray Shelter and Super Finish Max from HomeRight.
I literally painted the entire end table in less than 5 minutes! I never hand paint furniture anymore unless the weather doesn’t allow because of how fast it is with the paint sprayer!

All you have to do is pour your paint of choice into the container and attach to the Super Finish Max and you are ready to paint.
Now you are probably thinking this last transformation wasn’t that much of one. And yes….I did paint it black again. But this time I used chalk paint. I had never used chalk paint in the Super Finish Max before so I was really excited to give it a try! I used Wise Owl Chalk Synthesis Paint in Black!
The end result was beautiful and I love the matte finish on the end table. It isn’t a huge transformation but it’s a really simple and beautiful transformation. 
This table has a lot of memories attached to it and has been with me for over 15 years! I don’t see myself getting rid of it anytime soon! So if you have a piece of furniture you are having a hard time parting with why not give it new life with a little paint?!![]()
Not only has the table changed throughout the years, but my photography skills also have too! Ha! I’m loving this journey of blogging and sharing my passion for furniture makeovers, home decor and DIY with you all! Thanks for stopping by and I’ll see you next week for a new Mother’s Day tutorial!