

If you haven’t heard of this amazing little machine called the Cricut Explore Air 2 then you have come to the right place. This machine is magical in my opinion and I’ve been so giddy since I received it from Cricut. It’s like a printer but can do so much more. It can draw images, write beautiful calligraphy and cut out almost anything you could ever imagine! It uses a laser cutter to create projects using vinyl, cardstock, fabric…you name it, it can probably be cut! Plus with the Cricut Explore Air 2, you have the option to cut a faster speed, up to 2x faster!

I have seen a lot of my blogging friends use Cricut for so many amazing projects for their home. I knew it was something that I wanted to get to make things for my home too! When I received it in the mail I felt like a little girl on Christmas Day! I opened up the box and started looking at everything I had received and my mind started spinning with ideas of projects I wanted to start. I’m a very visual person so the first thing I started doing was watching tutorials on Youtube. Cricut’s Official Youtube page has a lot of amazing tutorials and how-tos.
Once I felt I had watched enough tutorials it was time for me to get started. I got onto their Cricut Design Space to start experimenting with the machine. There are so many projects to choose from and so I just started clicking on various projects and started cutting and having fun! Once I felt I had learned the basics on using the machine (which is not hard), I wanted to make a gift for one of my expecting Mama friends and found a fun SVG template on Etsy. All new moms need some coffee to drink during those first couple of months of a new baby.
I started by inserting the image into the Cricut Design Space.
You then want to adjust the size of the image to fit the item you will be adhering it to. I used a larger coffee cup so I was looking to have the image be about 3 inches wide and about 3.5 inches tall. What I love about the Cricut Design Space is that you can set your canvas to an item that you are making your decal for. I used the mug canvas as I used a larger coffee cup. It’s a great visual to see how the project will look when it is finished!

Once you have it set to where you like, push the Go button and it will show you how it looks on the mat. Push Go again and you can then set it up to cut by loading the mat and pressing the Cricut button and then watch the magic happen! It’s so fun to watch the machine cut such intricate designs!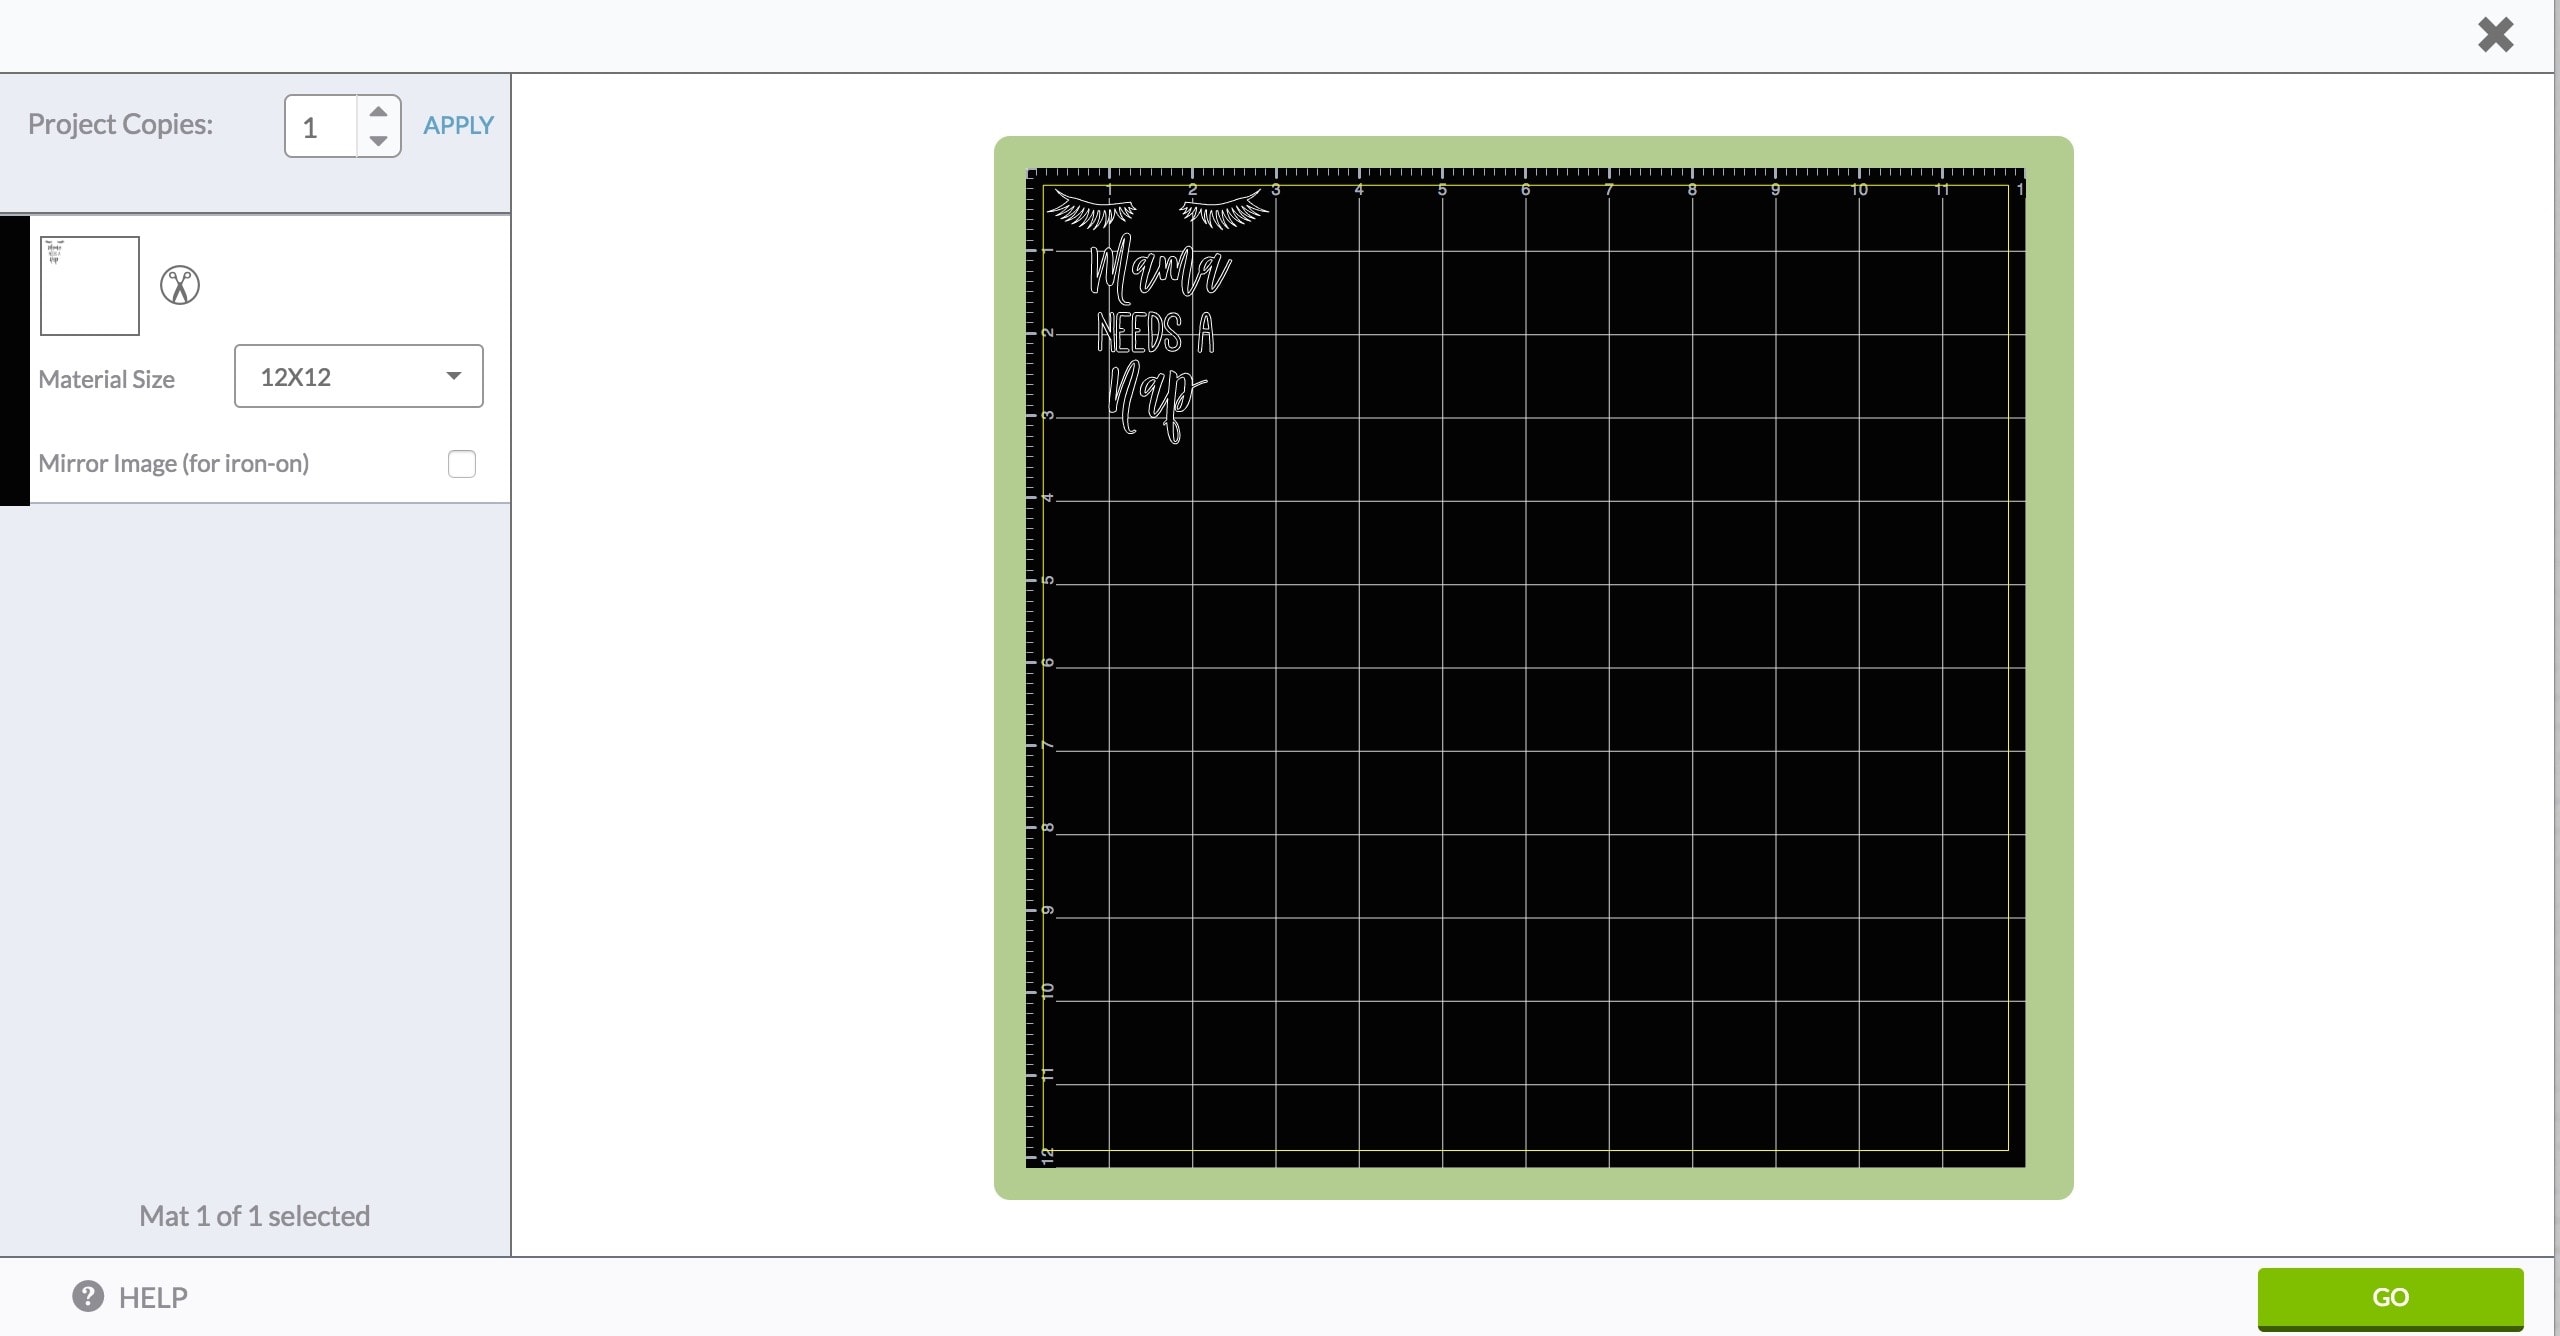
Once your image is cut then you can use your weeding tool to remove the excess vinyl. The next step is to use the Cricut Transfer Tape. Apply the tape on top of your project and use the scraper to get it to adhere to the transfer tape. Peel the image from the mat gently and it should be stuck to the transfer tape.  The only thing left to do is to then apply the tape to your project and use the scraper to get it to stick to your mug! Then peel the tape carefully as it adheres to your mug. You can even make a little new mama gift basket if you’d like to add to your mug!
I’ve had so much fun learning more about Cricut and I’ve started making cards for family and friends as well as a few projects for my daughter’s One Room Challenge room reveal. I’m so excited to continue to create with this amazing little machine! If you have a Cricut, what has been your favorite project? I’ll be back in a couple weeks with another project I have made with my Cricut!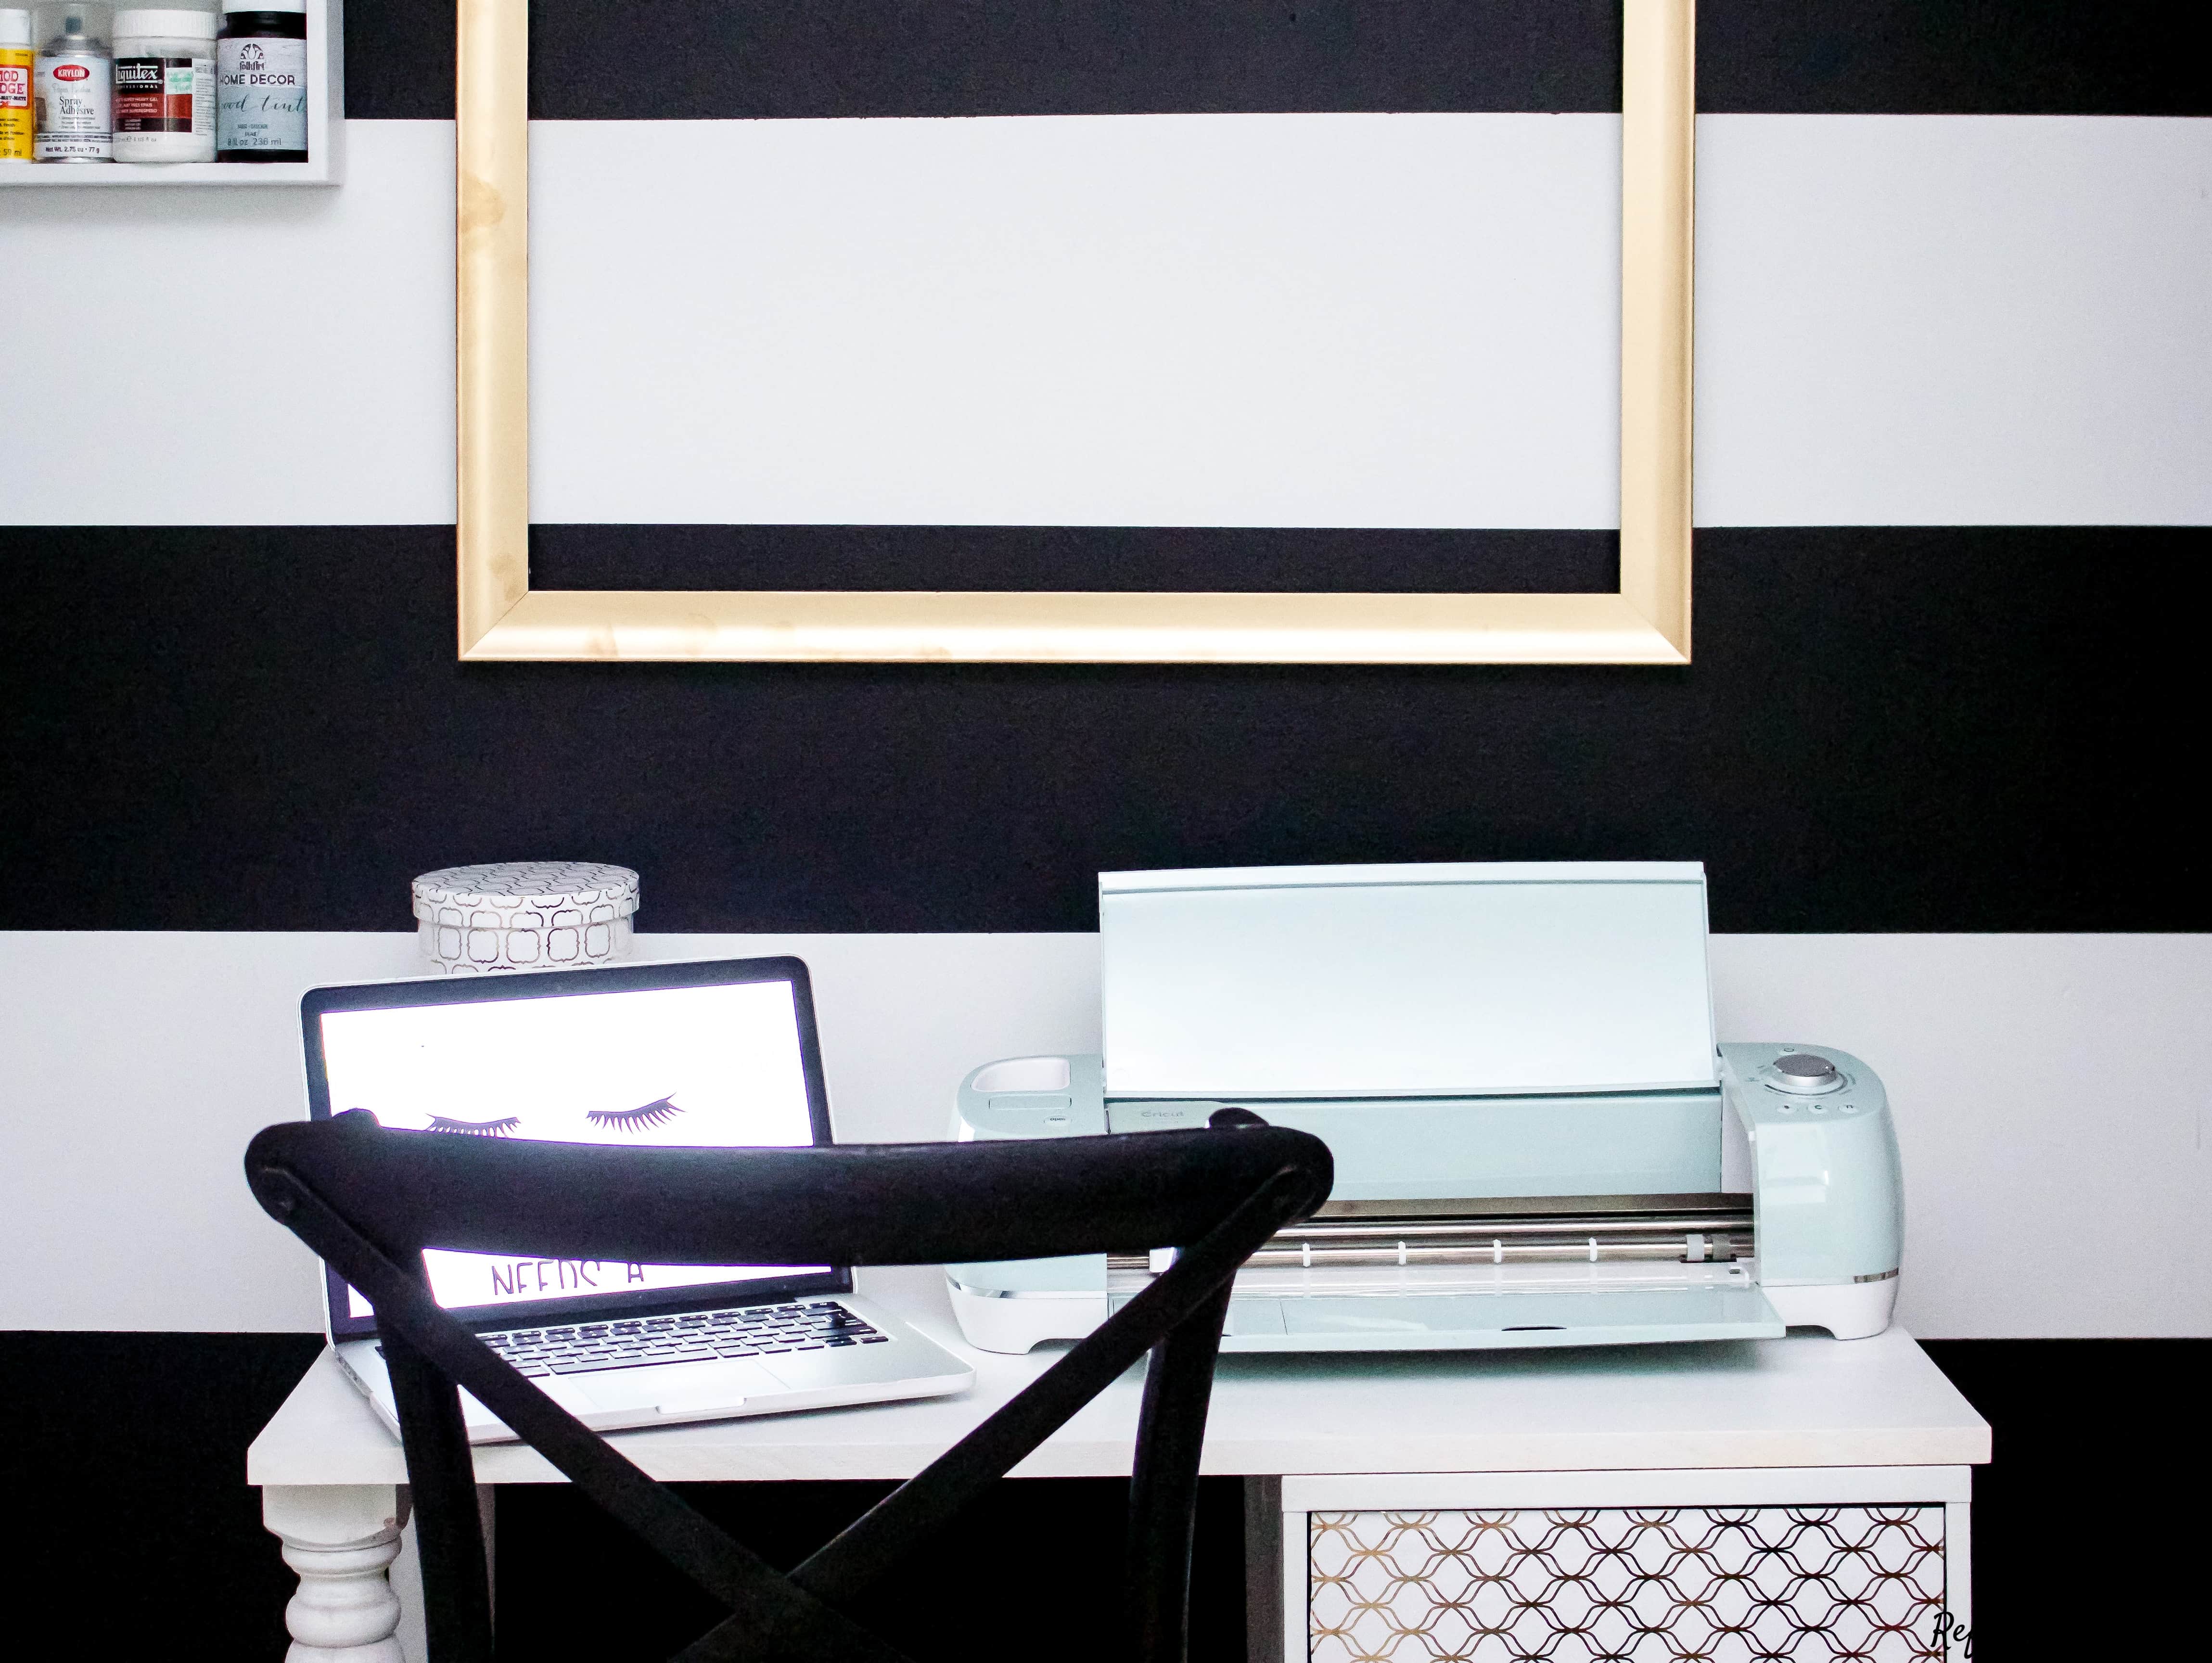
This post contains affiliate links for your convenience. See my full disclosure here.


how do you get it to stay on permanently. Won’t it peel off in the wash?
You will want to hand wash it. I have heard of some still putting it in the dishwasher and it doesn’t peel. Probably just depends. 🙂 I’d just say hand washing is best 🙂