Hey everyone! I’m back again with another fun project that I made with my new favorite toy, Cricut! Okay it’s not really a toy but I feel like it is! If you missed my first project, New Mama Mug, then head on over and see more about what Cricut is and how it works! You can create so many things with a Cricut and one of my favorites has been making cards for different occasions. I’ve made cards for birthdays, a wedding, thank you cards, you name it…if I’ve needed a card I’ve gone to my Cricut. I have so much fun looking through the Cricut Design Space and seeing all the different templates they have for card making.
With Father’s Day coming up I decided to make a couple of cards for the Father’s in my life, my husband, Dad, and Father-in-Law. I started by looking through the Cricut Design Space and clicking on the Father’s Day tab on the top right. There are so many fun themed projects to choose from!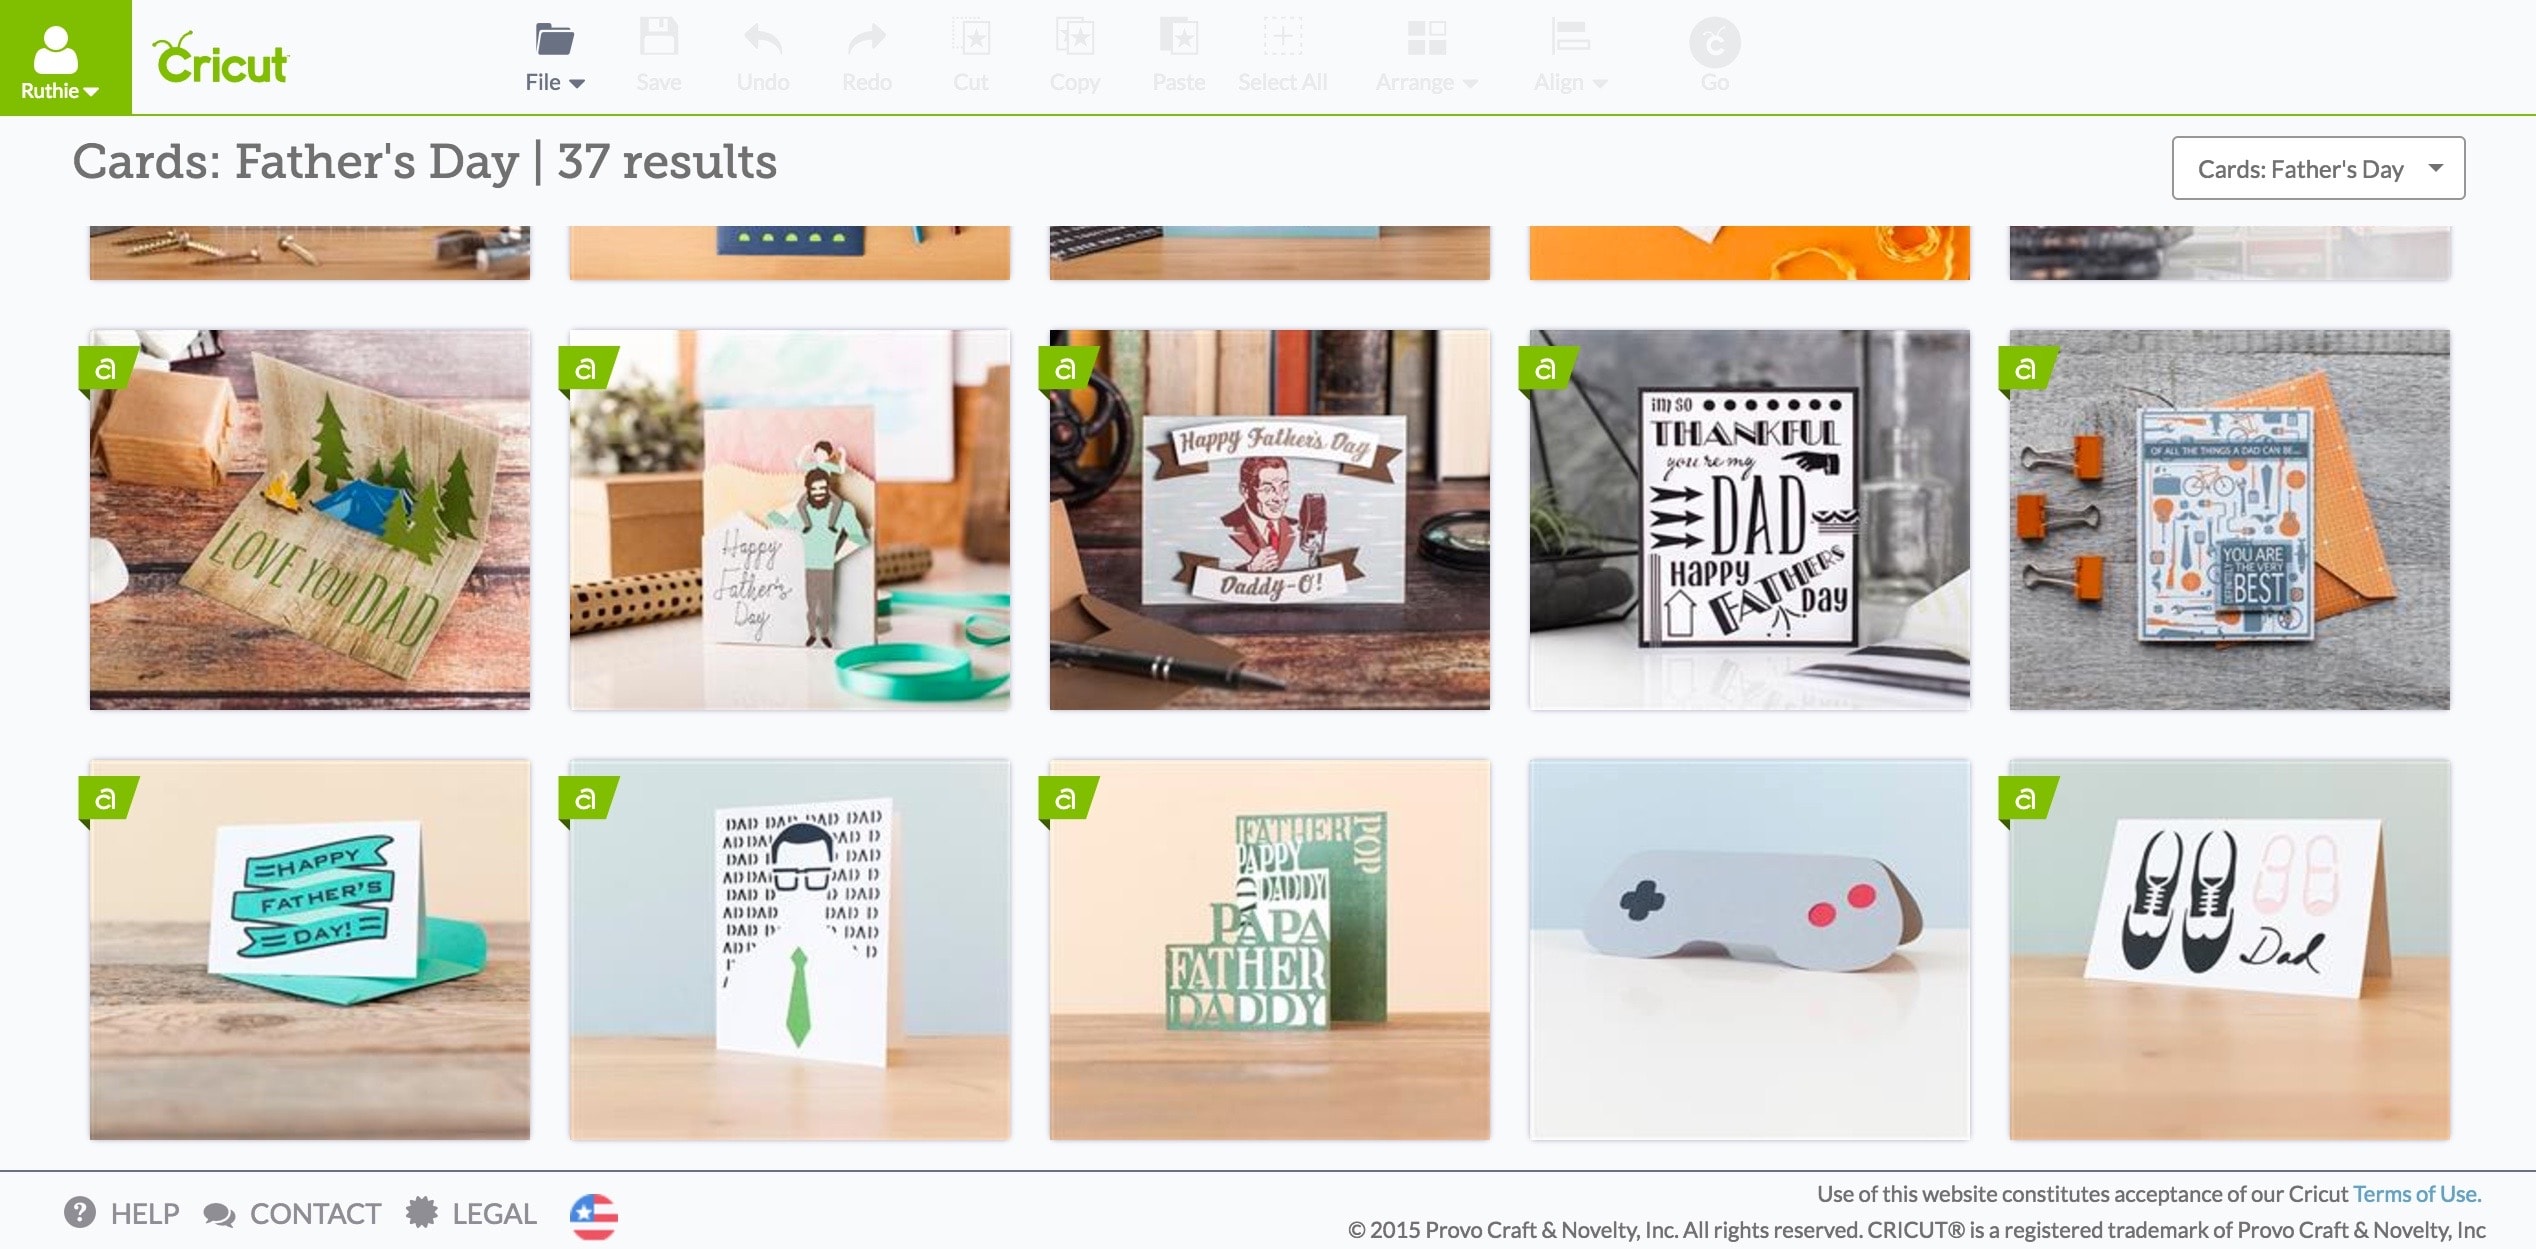
Since my husband is a Daddy to two little girls I decided to go with the card in the bottom right. How adorable is that?! Once you decide on which one you’d like to create then click on the image and it will bring you to details about the card regarding price, materials needed and instructions on how to make the card.
If for some reason you don’t have a specific color of cardstock suggested you can always do a different color. I happen to have all of the colors needed so I followed it exactly. When you are ready, click on the MAKE IT NOW button. It will bring you up to a screen where you can see each step to make the card.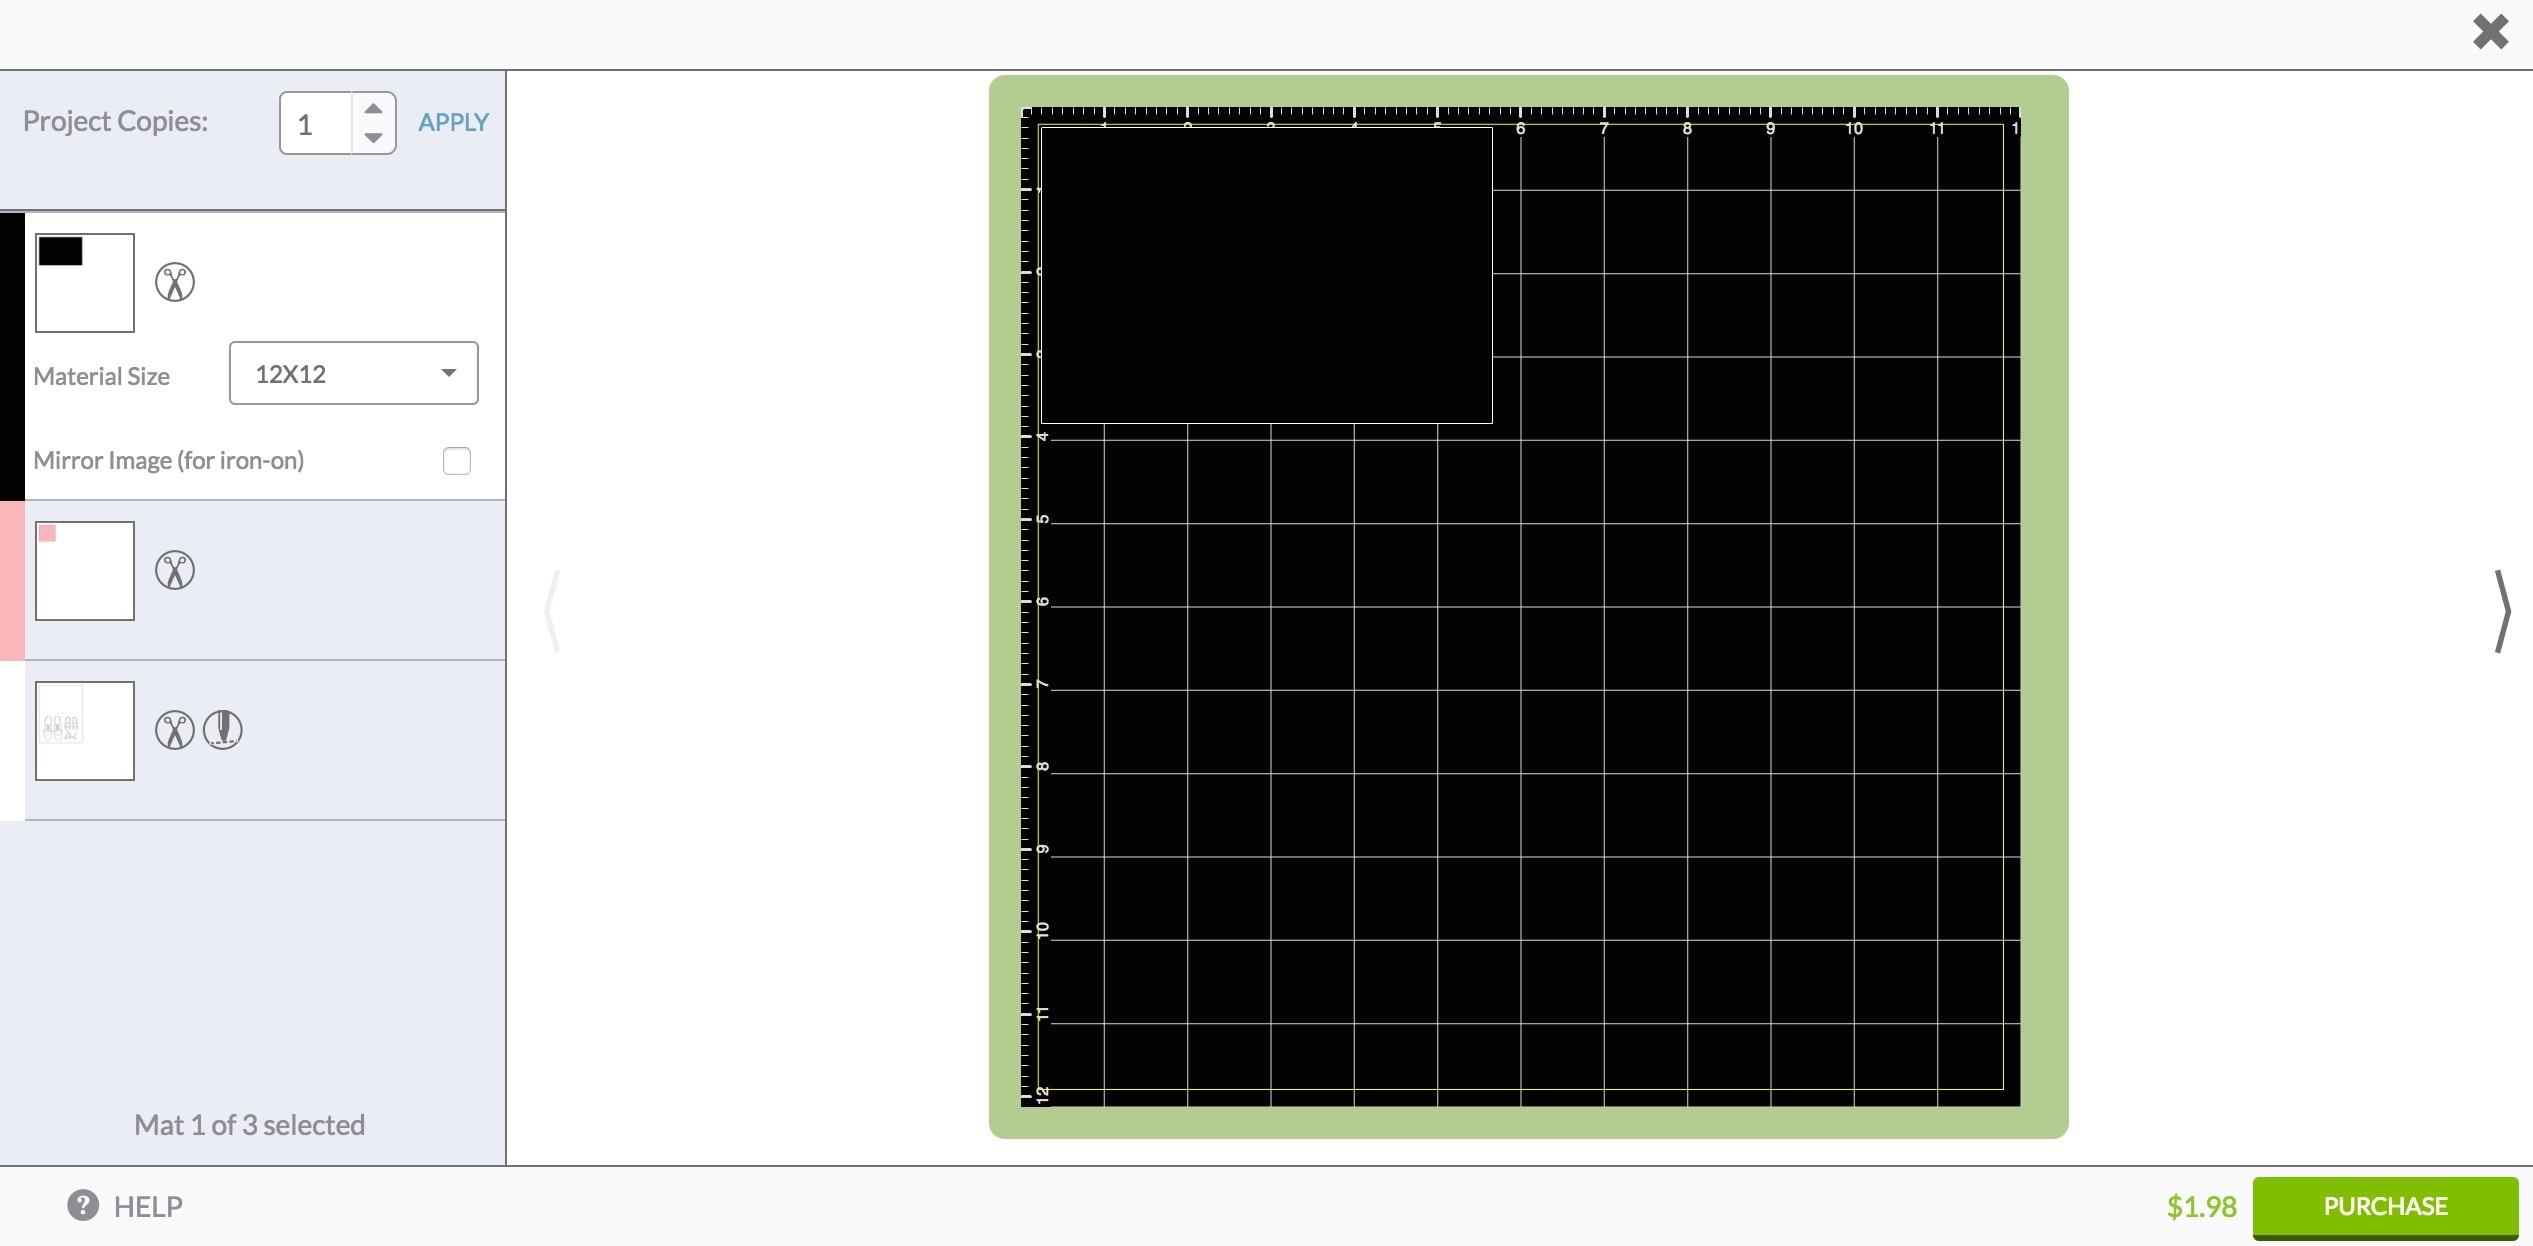
The first cut you will make is to cut out a black rectangle to go behind the card to make the male shoes black. The next cut you will make is the pink square for the baby shoes and the final cut is the rest of the card’s design. I love how it color coordinates it for you so you know when to use what color for each cut. I started with placing a black piece of cardstock on the cutting mat.
Click Go or Purchase (if you don’t own it or if it’s free) to get to the screen where you schedule your cuts. You can check the box to cut it in Fast Mode as this is a feature of the Cricut Explore Air 2. Make sure to turn your dial to the correct setting, in this case, it will be cardstock.

After you have done the first cut with the black cardstock it’s time to do the pink cardstock. You can tell by the size of the cut on what size of cardstock you should use. I only had 12×12 cardstock in black but I did have smaller pink cardstock that I used them for the pink cut. Make sure to designate a place in your craft room for excess paper. You can always use your scraps for different projects.
It’s now time for the final cut and if you notice there is a little scoring tool shown next to the scissors. Add the scoring stylus to the left clamp before you do the final cut with white cardstock. This will have a fold line to help you fold the card easier when assembling the card.

Now it’s time to assemble the card with the three cuts you made with your Cricut. Start by gluing the pink piece over top of the baby shoe area. Then glue the black piece over top of the rest of the design.


Now you have an adorable completed card ready to give to the special Daddy in your life!
I wanted to make one more card for my Dad and Father-in-Law so I browsed the Father’s Day projects in the Cricut Design Space and came across another fun card to make. I followed the instructions and created two more cards. I love how they turned out!
I love making things for the ones I love and now I can make cards as well! I’m having so much fun creating so many things on my Cricut! I can’t wait to share my next project with you! It’s very special to me and I think you will love it! So many possibilities with this Cricut! Have an amazing rest of your week!

Many outgoing links on Refashionably Late are affiliate links. I may earn a small commission to fund my Diet Mountain Dew drinking habit if you use these links to make a purchase. You will not be charged extra, and you’ll keep me supplied in caffeine. It’s a win for everyone, really. I only link to products I have tried and love! See my full disclosure here.