
 I’ve been excited to create this project for quite some time. I’ve searched for a pillow on Etsy with the quote “I belong to you, you belong to me, you’re my sweetheart” and couldn’t find exactly what I was looking for. Once I received my I thought this was the perfect opportunity to make my own!
I’m a fan of The Lumineers, mostly because the cellist is one of my best friends! I’ve watched The Lumineers become who they are from the beginning. I use to go see shows where there were only 30 people in the audience and they’d come out to the center of the small bar and perform “Ho Hey!” It has been so fun watching them grow and now performing in a stadium setting.
In honor of my friend I thought I’d make a little something to have in my house. To start you will upload an image to your design space. I got a beautiful template made for me by Kate at The Chaotically Creative Mom. Follow along to her blog because she has a Freebie Friday every week where she does templates to different files she’s created. They are so fun and I love her handwritten designs! 
Import the image into the Cricut Design Space and size the image to your desired size. I made mine roughly 12 inches by 13 inches. I wanted it to fit nicely on an 18 inch by 18 inch pillow cover. I purchased a gray linen pillow cover on Amazon to go over a pillow I got that came with our couch.

If when you go to make it and the letters are scrambled up then you will need to go back to this screen and highlight all the cuts on the right hand side and press the attach button. Then they will be in the correct order and be cut in one piece. Once that is ready then press the Make It button on the top right of your screen.

When making something with the iron on material you will need to press the mirror button on the right side. This will make it so that it reads correctly on your project.
Press continue and then you are ready to begin your cut. Make sure the shiny side is facing down on the cutting mat. Once it’s finished then you peel the excess material off.
Use your Cricut Weeding Tool to remove the inside of the lettering and any excess material removed.
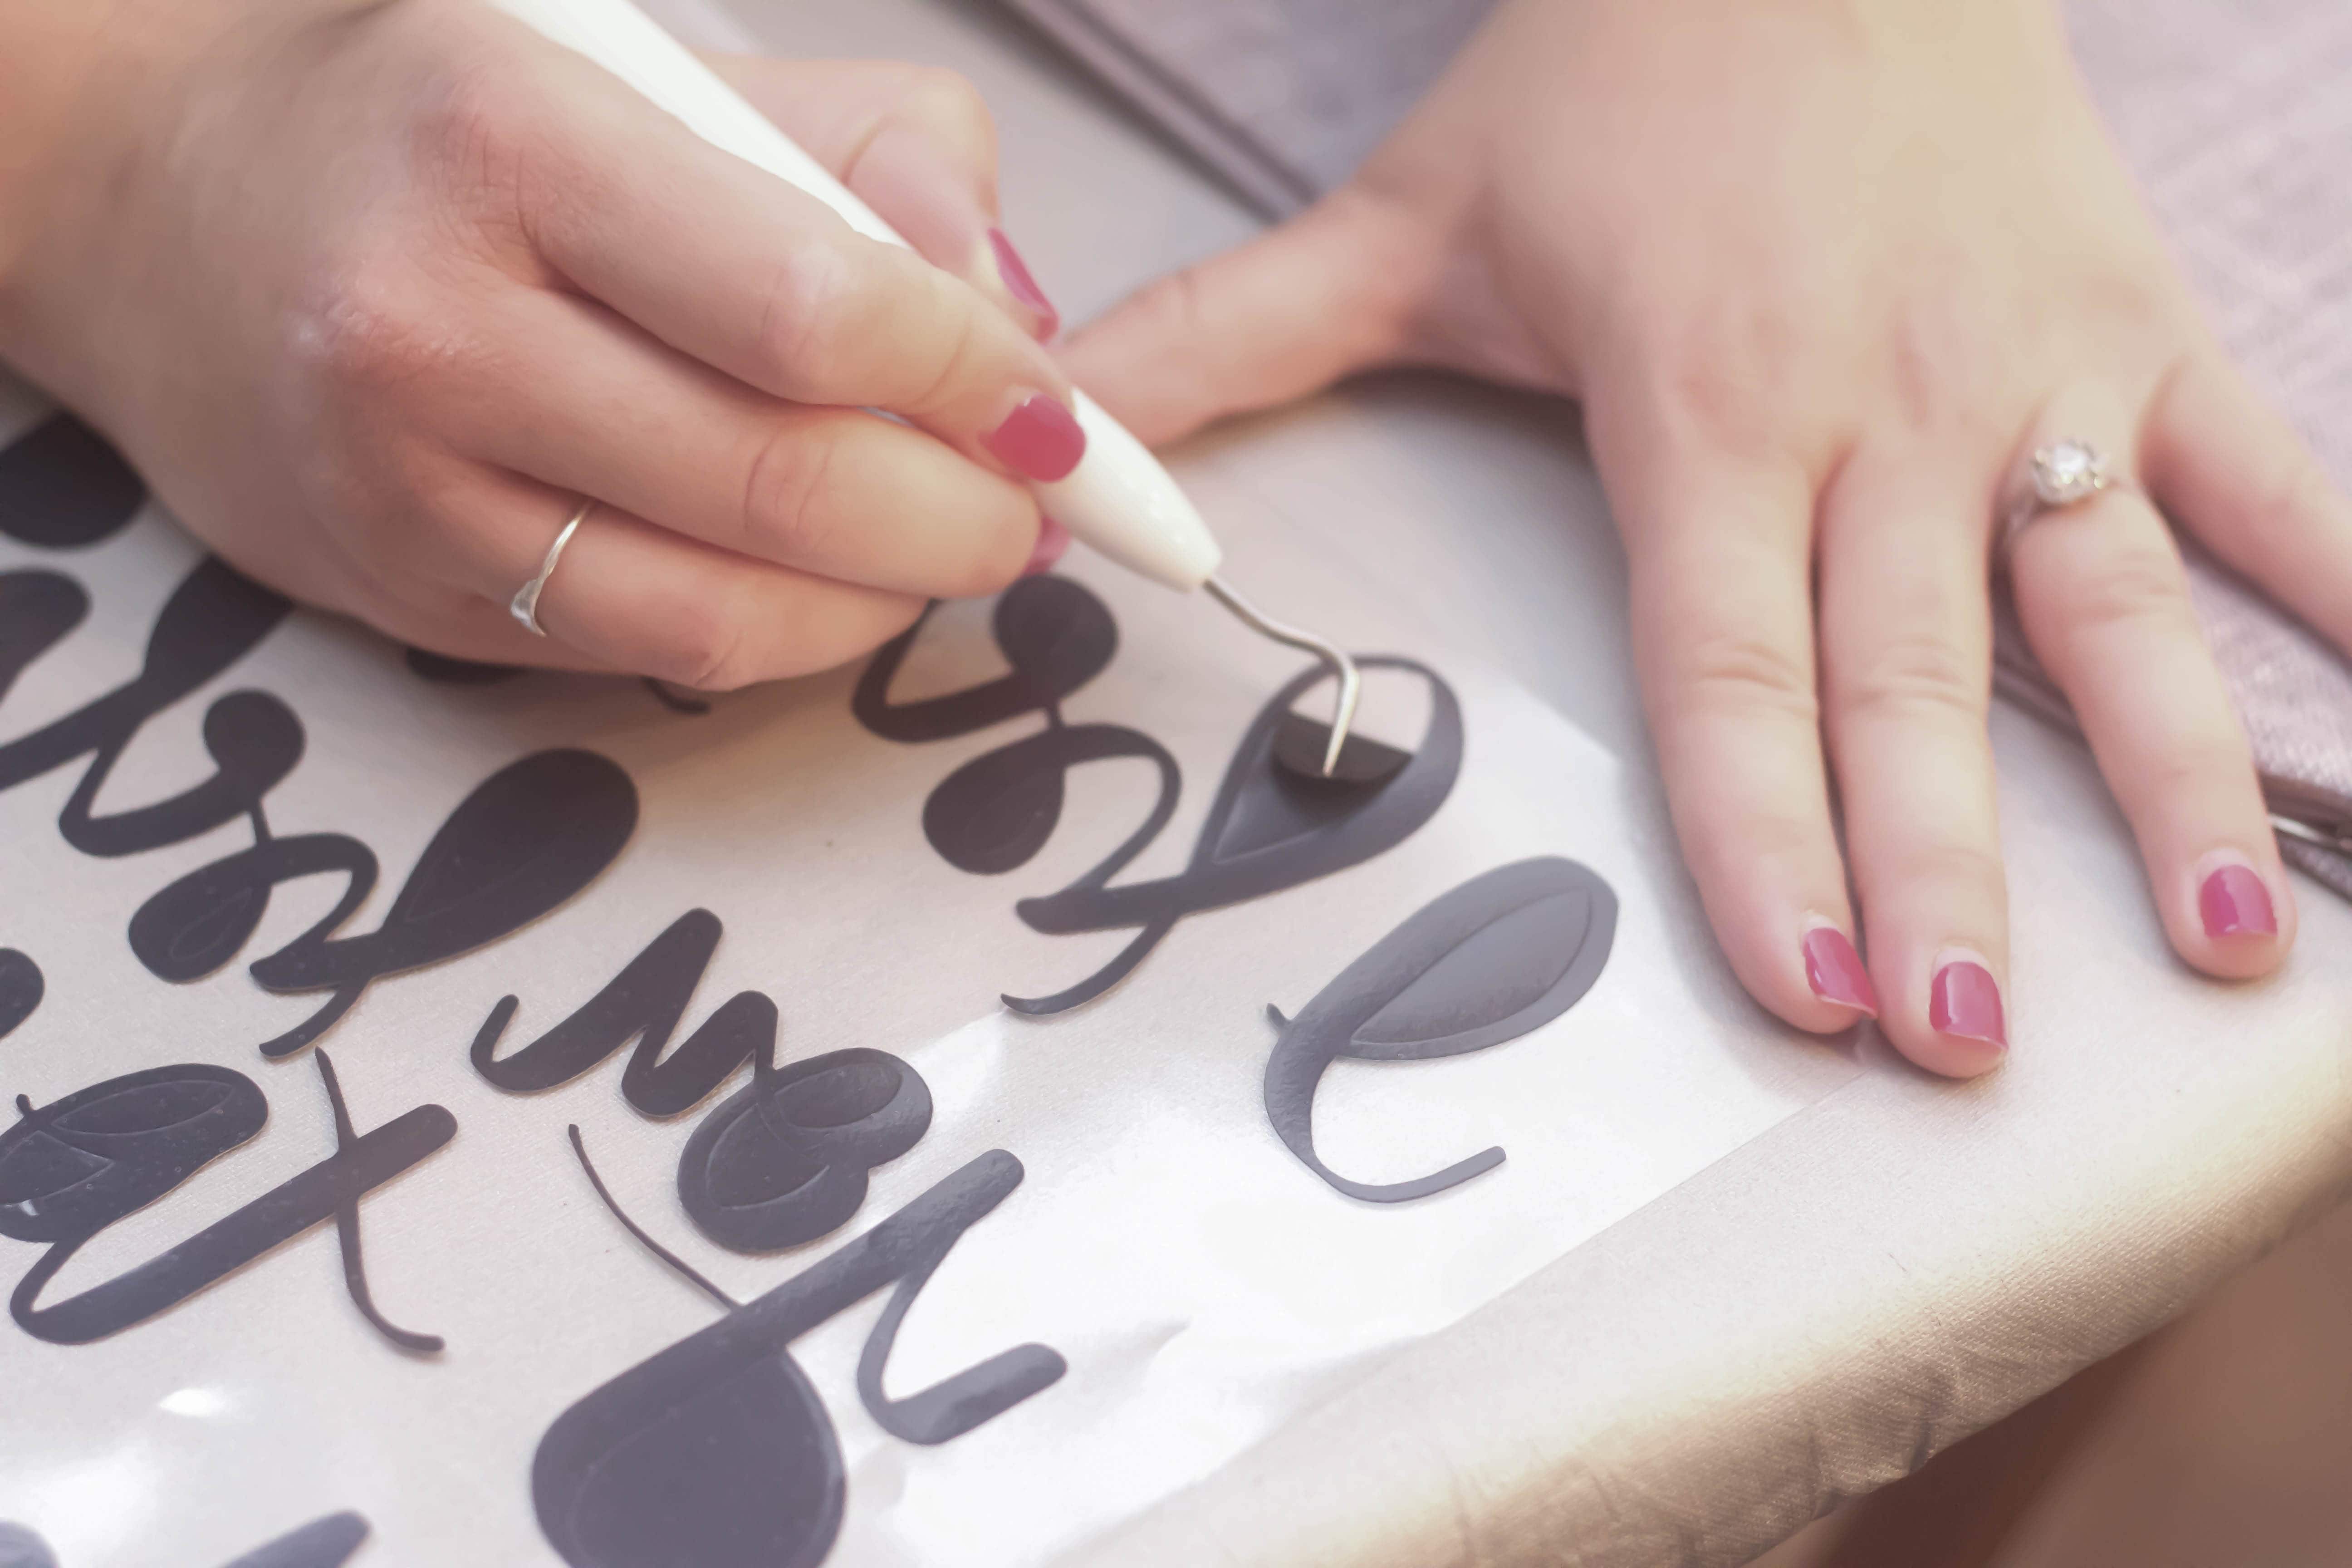
After everything is removed and ready then you get it set up to iron onto your project. Center it onto the pillow and then find a thin towel to lay on top. Set the iron on top for about 15-30 seconds in sections around the iron on material. Once you have applied heat to the entire area then lift up a corner to see if it attached to the pillow. If not then apply more heat to that area and try again. I found with the thin lettering that some areas needed to have the iron go over it a few times to make sure it adhered correctly.

Peel off the plastic and your pillow is finished! Put a a pillow insert inside of the cover and you are ready to display your work of art! I’m so excited to make more with my Cricut! I found some darling shirt design templates on Etsy and plan to make some summer fun shirts for my daughters! I’m also making some fun decals for a camping trip with friends for our Yeti mugs! So many possibilities with the Cricut!

Many outgoing links on Refashionably Late are affiliate links. I may earn a small commission to fund my Diet Mountain Dew drinking habit if you use these links to make a purchase. You will not be charged extra, and you’ll keep me supplied in caffeine. It’s a win for everyone, really. I only link to products I have tried and love! See my full disclosure here.


2 Comments